cwrsync in windows not being recognised
Categories:
Troubleshooting 'cwRsync Not Recognized' on Windows
Learn how to resolve common issues preventing cwRsync from being recognized in your Windows command prompt, ensuring seamless file synchronization.
cwRsync is a popular Windows port of the rsync utility, widely used for efficient file synchronization and backup. However, a common frustration for users is encountering the 'cwrsync is not recognized as an internal or external command' error. This article will guide you through the typical causes of this issue and provide clear, actionable steps to get cwRsync up and running correctly on your Windows system.
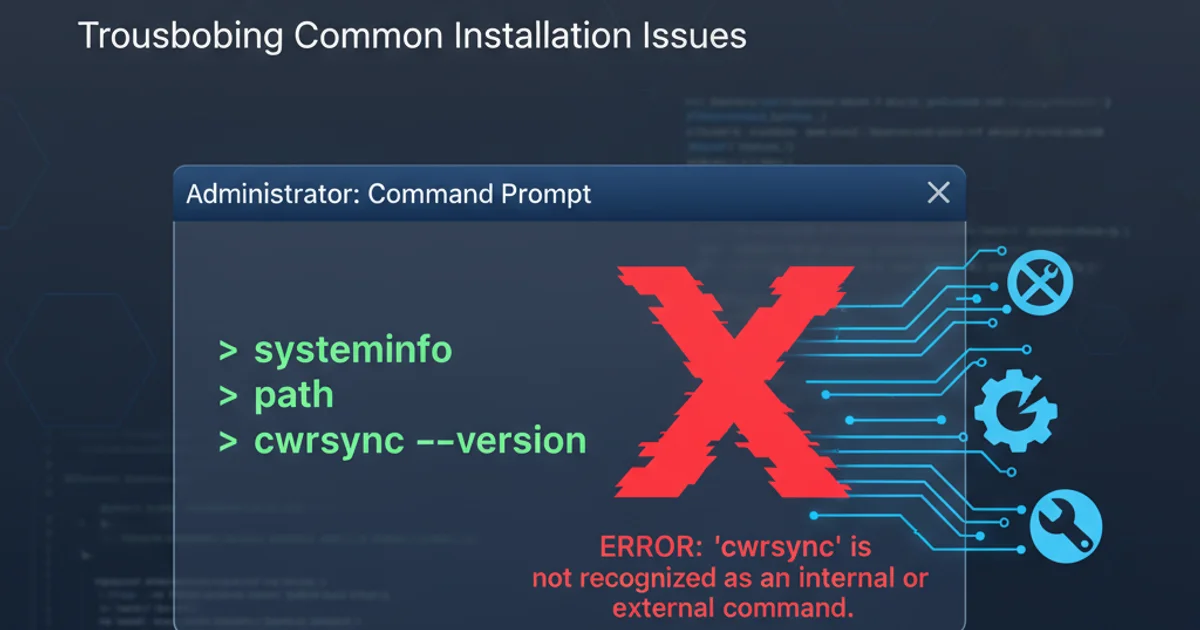
Understanding the 'Not Recognized' Error
When you type a command like rsync or cwrsync into your Windows Command Prompt or PowerShell and receive the 'not recognized' error, it means that the operating system cannot find an executable file with that name in any of the directories listed in its PATH environment variable. The PATH variable is a crucial system setting that tells Windows where to look for executable programs when you run them from the command line without specifying their full path.
flowchart TD
    A[User types 'rsync' in CMD] --> B{Is 'rsync.exe' in current directory?}
    B -- No --> C{Is 'rsync.exe' in any PATH directory?}
    B -- Yes --> D[Execute rsync.exe]
    C -- No --> E["Error: 'rsync' not recognized"]
    C -- Yes --> D
Flowchart illustrating how Windows resolves command execution.
Common Causes and Solutions
The 'not recognized' error typically stems from one of three main issues: cwRsync not being installed, an incorrect installation path, or the installation directory not being added to the system's PATH environment variable. Addressing these systematically will resolve most problems.
1. Step 1: Verify cwRsync Installation
First, confirm that cwRsync is actually installed on your system. Navigate to the expected installation directory (e.g., C:\Program Files\cwRsync or C:\cwRsync) using File Explorer. Look for rsync.exe and ssh.exe (if you installed the server/client package). If these files are missing, you'll need to download and install cwRsync.
2. Step 2: Locate the cwRsync Binaries
Once installed, identify the exact path to the directory containing rsync.exe. This is usually a bin subdirectory within the main cwRsync installation folder (e.g., C:\Program Files\cwRsync\bin). Make a note of this full path.
3. Step 3: Add cwRsync to System PATH
This is the most common fix. You need to add the directory containing rsync.exe to your system's PATH environment variable. This allows Windows to find the executable from any command prompt location.
- Search for 'Environment Variables' in the Windows search bar and select 'Edit the system environment variables'.
- In the 'System Properties' window, click the 'Environment Variables...' button.
- Under 'System variables', find and select the 'Path' variable, then click 'Edit...'.
- Click 'New' and paste the full path to your cwRsync
bindirectory (e.g.,C:\Program Files\cwRsync\bin). - Click 'OK' on all open windows to save the changes.
4. Step 4: Test the Installation
After modifying the PATH, open a new Command Prompt or PowerShell window (existing ones won't have the updated PATH). Type rsync --version or cwrsync --version. If successful, you should see the version information for rsync, indicating that it's now recognized.
set PATH=%PATH%;C:\Program Files\cwRsync\bin
rsync --version
Temporarily adding cwRsync to PATH for the current session and testing.
Alternative: Using Full Path or Aliases
If you prefer not to modify your system's PATH variable, or if you're working in a temporary environment, you can always execute cwRsync by providing its full path. Alternatively, you can create a simple alias in PowerShell for convenience.
"C:\Program Files\cwRsync\bin\rsync.exe" -avz source_folder destination_folder
Executing rsync using its full path.
Set-Alias -Name rsync -Value "C:\Program Files\cwRsync\bin\rsync.exe"
rsync -avz source_folder destination_folder
Creating a temporary PowerShell alias for rsync.