How to bake(convert) bones as FK from IK in Blender
Categories:
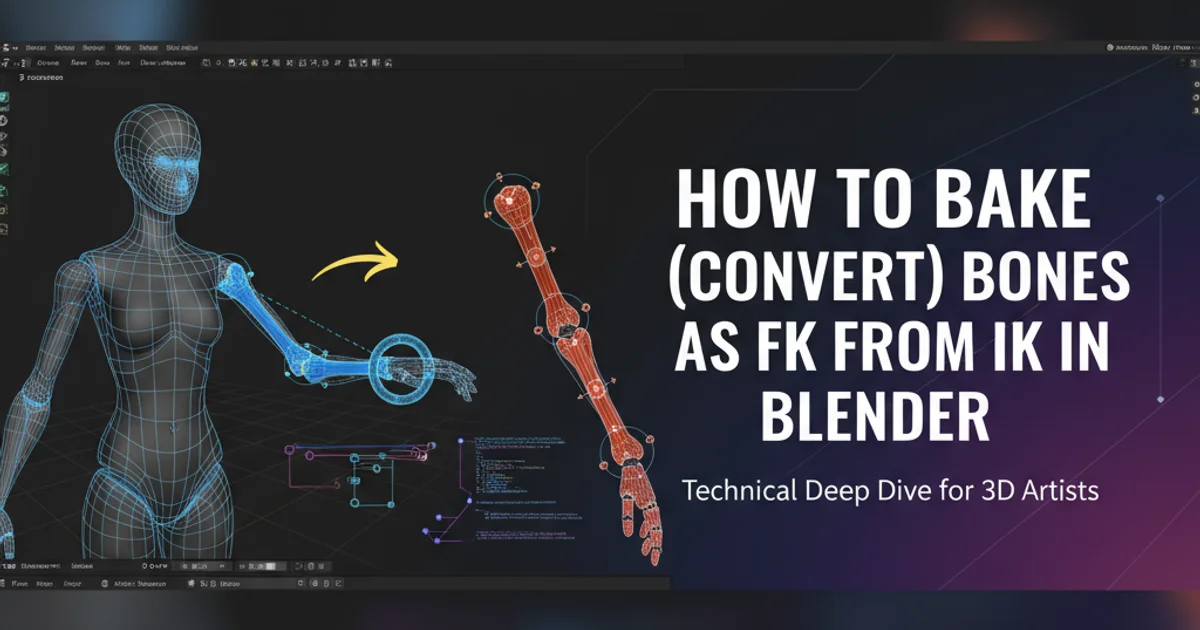
Baking IK to FK in Blender: A Comprehensive Guide for Animators
Learn how to convert Inverse Kinematics (IK) animation to Forward Kinematics (FK) in Blender, a crucial step for exporting animations to game engines like Three.js or for further FK refinement.
When animating characters in Blender, Inverse Kinematics (IK) offers intuitive control for posing and keyframing limbs. However, for various reasons, such as exporting to game engines (like Three.js, which often prefers FK data) or for further manual refinement of an animation using Forward Kinematics (FK), you might need to 'bake' your IK animation into FK keyframes. This process essentially converts the calculated IK poses into direct FK rotations for each bone in the chain. This article will guide you through the steps to achieve this in Blender, ensuring your animations are ready for their next destination.
Understanding IK and FK in Animation
Before diving into the baking process, it's helpful to understand the fundamental differences between IK and FK. Forward Kinematics (FK) is a hierarchical system where the rotation of a parent bone directly affects the position and rotation of its children. It's like moving a puppet by its strings, controlling each joint individually. Inverse Kinematics (IK), on the other hand, allows you to control a chain of bones by manipulating an 'IK target' or 'effector' at the end of the chain. The software then calculates the necessary rotations for all intermediate bones to reach that target. This is more like pulling a hand to a specific position, and the arm joints automatically adjust.
graph TD
    A[Animator Input] --> B{IK vs FK}
    B -->|IK Control| C[IK Target/Effector]
    C --> D{Blender Calculates Joint Rotations}
    D --> E[Animated Pose (IK)]
    B -->|FK Control| F[Individual Bone Rotations]
    F --> G[Animated Pose (FK)]
    E --> H[Bake IK to FK]
    H --> G
Conceptual flow of IK and FK animation, including the baking process
Why Bake IK to FK?
The primary reasons for baking IK to FK include:
- Game Engine Compatibility: Many game engines, including those used with Three.js, prefer or require animations to be in FK format. This simplifies the data structure and playback within the engine.
- Animation Refinement: After blocking out an animation with IK for speed, animators might switch to FK for fine-tuning specific arcs, overlaps, and secondary motion, which can be more precise with direct bone control.
- Data Portability: When transferring animation data between different software packages, FK data is often more universally understood and less prone to interpretation errors than IK constraints, which can vary greatly between applications.
- Simplification: Removing complex IK constraints can simplify the rig for export or for animators who prefer working solely with FK.
Step-by-Step: Baking IK to FK in Blender
This process assumes you have an armature with IK constraints already set up and animated. We'll focus on a single limb (e.g., an arm) but the process can be applied to multiple limbs or the entire character.
1. Select the Armature
In the 3D Viewport, select your character's armature. Ensure you are in 'Pose Mode' (Ctrl+Tab or select from the mode dropdown).
2. Select the IK Bones
Select all the bones in the IK chain that you want to bake. For an arm, this would typically be the upper arm, forearm, and hand bones. You can select them by Shift-clicking each bone.
3. Access the Bake Action Menu
Go to the 'Pose' menu at the top of the 3D Viewport, then navigate to 'Animation' > 'Bake Action...'. Alternatively, you can search for 'Bake Action' using F3 (or Spacebar in older Blender versions).
4. Configure Bake Action Settings
A 'Bake Action' dialog box will appear. Configure the following settings:
- Visual Keying: Enable this. This is crucial as it bakes the visual transformation of the bones, taking into account all constraints (like IK).
- Clear Constraints: Enable this. After baking, this will remove the IK constraints from the selected bones, leaving only the FK keyframes.
- Clear Parents: Keep this disabled unless you specifically want to detach the bones from their parent hierarchy.
- Overwrite Current Action: Enable this if you want the baked FK animation to replace the existing IK animation on the current action. If disabled, a new action will be created.
- Frame Start/End: Set the range of frames you want to bake. This should cover your entire animation.
- Frame Step: Usually set to 1 to bake every frame, ensuring smooth animation. Increase if you need fewer keyframes.
Click 'OK' to start the baking process.
5. Verify the Baked Animation
After the baking process completes, scrub through your timeline. The IK constraints should be gone, and you should see keyframes on the rotation channels of the baked bones in the Graph Editor or Dope Sheet. The animation should visually match the original IK animation.
Once baked, your animation is now driven by FK keyframes, making it suitable for export to platforms that prefer this format, such as Three.js. You can now export your armature and animation data, knowing that the motion will be preserved.