How to input the image to the neural network?
Categories:
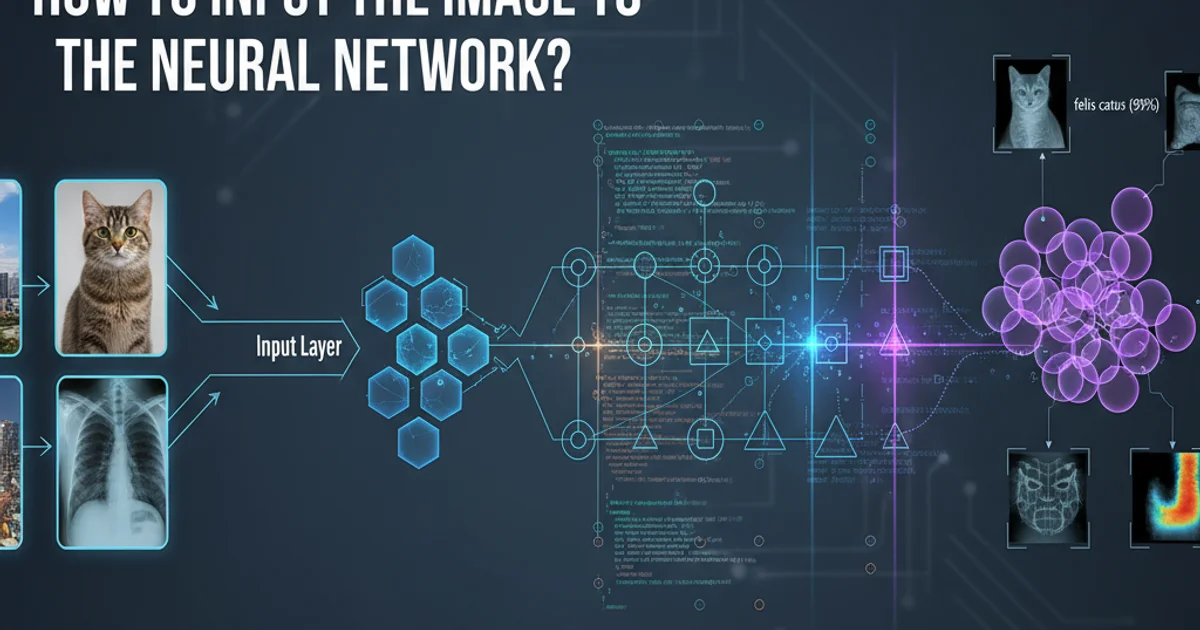
How to Prepare and Input Images into a Neural Network
Learn the essential steps for preprocessing and formatting image data to effectively train and deploy neural networks for computer vision tasks.
Neural networks, especially Convolutional Neural Networks (CNNs), have revolutionized computer vision. However, feeding raw image data directly into these networks isn't always straightforward. Images need to be properly prepared and formatted to ensure optimal performance, prevent errors, and facilitate efficient learning. This article will guide you through the critical steps involved in inputting images into a neural network, from loading and preprocessing to normalization and batching.
Understanding Image Data Structure
Before any processing, it's crucial to understand how images are represented digitally. An image is essentially a grid of pixels, and each pixel holds numerical values representing its color intensity. For grayscale images, each pixel typically has one channel (0-255 for intensity). For color images (like RGB), each pixel has three channels (Red, Green, Blue), each with an intensity value. These values are often stored as multi-dimensional arrays or tensors.
flowchart LR
    A[Raw Image File (e.g., JPG, PNG)] --> B{Load Image into Memory}
    B --> C[Image as Pixel Array/Tensor]
    C --> D{Grayscale?}
    D -- Yes --> E[H x W x 1 (Grayscale)]
    D -- No --> F[H x W x 3 (RGB)]
    E --> G[Data Representation]
    F --> G[Data Representation]
    G --> H[Ready for Preprocessing]
Initial Image Loading and Representation Flow
Key Preprocessing Steps
Preprocessing is a vital stage where raw image data is transformed into a format suitable for neural network consumption. This typically involves several steps to standardize the input and enhance the network's ability to learn meaningful features.
1. 1. Loading the Image
The first step is to load the image file from disk into memory. Libraries like Pillow (PIL), OpenCV, or TensorFlow/Keras utilities are commonly used for this. The image is typically loaded as a NumPy array or a TensorFlow/PyTorch tensor.
2. 2. Resizing and Cropping
Neural networks usually expect a fixed input size. Images often come in various dimensions, so they must be resized to a consistent height and width (e.g., 224x224, 256x256). Cropping might also be used to focus on specific regions or to augment data.
3. 3. Normalization/Standardization
Pixel values typically range from 0 to 255. Normalization scales these values to a smaller, more manageable range, often between 0 and 1 or -1 and 1. This helps stabilize training and speeds up convergence. Standardization (subtracting mean and dividing by standard deviation) is another common technique.
4. 4. Channel Ordering
Different deep learning frameworks might expect different channel orders. TensorFlow typically uses 'channels_last' (Height x Width x Channels), while PyTorch often uses 'channels_first' (Channels x Height x Width). Ensure your data matches the framework's expectation.
5. 5. Batching
Neural networks are trained in batches, not one image at a time. After individual images are preprocessed, they are grouped into batches. This adds an extra dimension to the tensor, resulting in a shape like (Batch_Size x Height x Width x Channels) or (Batch_Size x Channels x Height x Width).
Code Example: Image Preprocessing with TensorFlow/Keras
Here's a practical example demonstrating how to load, resize, and normalize an image using TensorFlow and Keras preprocessing utilities. This snippet prepares a single image for input into a model.
Python (TensorFlow/Keras)
import tensorflow as tf from tensorflow.keras.preprocessing import image import numpy as np
Define target image size for the model
IMG_HEIGHT = 224 IMG_WIDTH = 224
def preprocess_image(image_path): # 1. Load the image img = image.load_img(image_path, target_size=(IMG_HEIGHT, IMG_WIDTH))
# 2. Convert to NumPy array
img_array = image.img_to_array(img)

# 3. Expand dimensions to create a batch (1, H, W, C)
# Models expect a batch dimension, even for a single image
img_array = np.expand_dims(img_array, axis=0)

# 4. Normalize pixel values to [0, 1]
# Many pre-trained models expect values in [0, 1] or [-1, 1]
# For simple normalization to [0, 1]:
img_array = img_array / 255.0

return img_array
Example usage:
Assuming 'path/to/your/image.jpg' exists
preprocessed_img = preprocess_image('path/to/your/image.jpg')
print(f"Shape of preprocessed image: {preprocessed_img.shape}")
print(f"Min pixel value: {np.min(preprocessed_img)}")
print(f"Max pixel value: {np.max(preprocessed_img)}")
Now, this 'preprocessed_img' can be fed to your model:
model.predict(preprocessed_img)
Python (PyTorch)
import torch from torchvision import transforms from PIL import Image
Define target image size for the model
IMG_HEIGHT = 224 IMG_WIDTH = 224
def preprocess_image_pytorch(image_path): # 1. Load the image using PIL img = Image.open(image_path).convert('RGB') # Ensure RGB for consistency
# 2. Define transformations
# Resize, convert to tensor, and normalize
transform = transforms.Compose([
    transforms.Resize((IMG_HEIGHT, IMG_WIDTH)),
    transforms.ToTensor(), # Converts PIL Image to FloatTensor and scales to [0, 1]
    # Optional: Normalize with mean/std for pre-trained models (e.g., ImageNet)
    # transforms.Normalize(mean=[0.485, 0.456, 0.406], std=[0.229, 0.224, 0.225])
])

# 3. Apply transformations
img_tensor = transform(img)

# 4. Add a batch dimension (1, C, H, W)
img_tensor = img_tensor.unsqueeze(0)

return img_tensor