Install a Windows service using a Windows command prompt?
Categories:
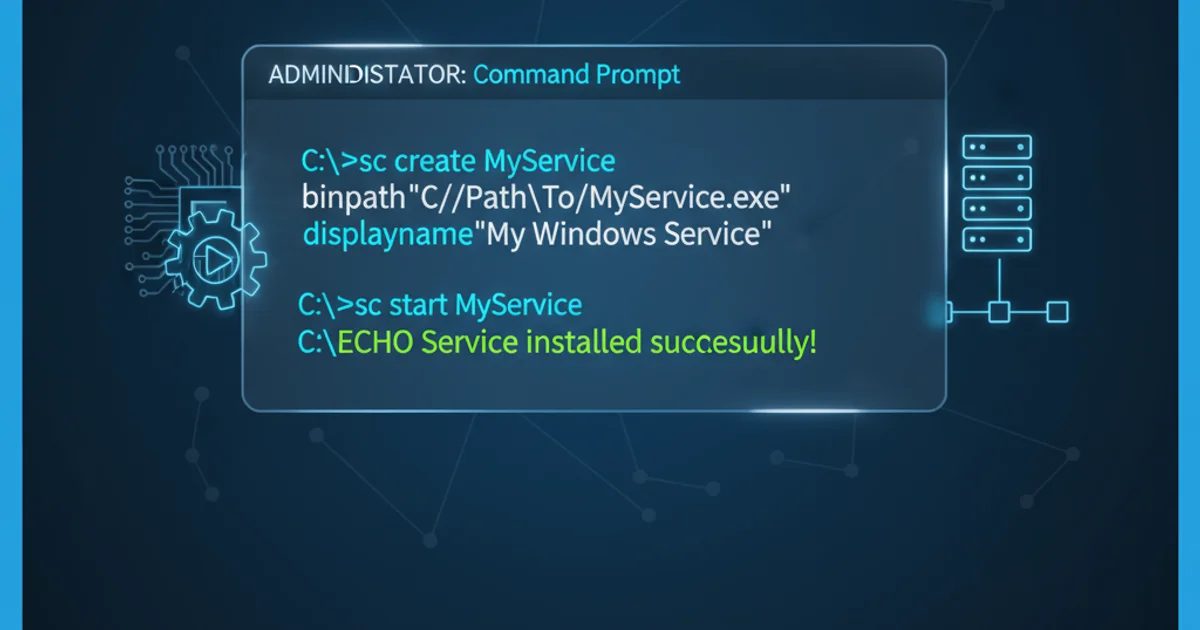
Installing a Windows Service from the Command Prompt
Learn how to register and manage Windows services directly from the command line using built-in tools like sc.exe and installutil.exe.
Windows services are long-running executable applications that do not show any user interface. They are ideal for server environments or for tasks that need to run continuously in the background, independent of a logged-in user. While many services come with their own installers, there are scenarios where you might need to install a custom service manually using the command prompt. This article will guide you through the process, covering common methods and essential commands.
Prerequisites for Service Installation
Before attempting to install a Windows service, ensure you have the following in place:
- Administrator Privileges: You must run the command prompt as an administrator to install or manage services.
- Service Executable: You need the compiled executable file (
.exe) of the Windows service you wish to install. This executable must be designed to run as a service. - .NET Framework (for
installutil.exe): If your service is a .NET application and uses theSystem.ServiceProcess.ServiceInstallerclass, you will likely useinstallutil.exe, which is part of the .NET Framework SDK.
flowchart TD
    A[Start]
    A --> B{Have Administrator Privileges?}
    B -- No --> C[Run Command Prompt as Administrator]
    B -- Yes --> D{Have Service Executable (.exe)?}
    C --> B
    D -- No --> E[Compile Service Project]
    D -- Yes --> F{Is it a .NET Service?}
    E --> D
    F -- Yes --> G[Use installutil.exe]
    F -- No --> H[Use sc.exe]
    G --> I[Install Service]
    H --> I
    I --> J[End]
Decision flow for choosing a service installation method
Method 1: Using sc.exe (Service Control)
The sc.exe command-line utility is a powerful, built-in tool in Windows for communicating with the Service Control Manager. It can be used to create, delete, query, and configure services. This method is generally preferred for non-.NET services or when you need more granular control over service parameters.
sc create <ServiceName> binPath= "<PathToServiceExecutable>" [DisplayName= "<Service Display Name>"] [start= <start_type>] [depend= <dependencies>] [obj= <AccountName>] [password= <Password>]
General syntax for creating a service with sc.exe
Let's break down the key parameters:
<ServiceName>: A unique, short name for your service (e.g.,MyCustomService). This is used internally by Windows.binPath= "<PathToServiceExecutable>": The full path to your service's executable file. Crucially, there must be a space afterbinPath=and before the opening quote.DisplayName= "<Service Display Name>": (Optional) The name that appears in the Services management console. If omitted,ServiceNameis used.start= <start_type>: (Optional) Specifies how the service starts. Common values include:auto: Starts automatically when the system boots.demand: Starts manually.disabled: Prevents the service from starting.
depend= <dependencies>: (Optional) A list of services that must start before this service. Separate multiple dependencies with a forward slash (/).obj= <AccountName>: (Optional) The account under which the service runs (e.g.,LocalSystem,NT AUTHORITY\NetworkService, or a specific user account).password= <Password>: (Optional) The password for theobjaccount if it's a user account.
binPath= "...".sc create MyServiceExample binPath= "C:\Services\MyService.exe" DisplayName= "My Custom Service" start= auto obj= LocalSystem
Example: Installing a service to run as LocalSystem and start automatically
Method 2: Using installutil.exe (for .NET Services)
For Windows services developed using the .NET Framework, especially those that inherit from System.ServiceProcess.ServiceBase and use System.Configuration.Install.Installer components, installutil.exe is the standard tool for installation. This utility handles the registration of the service with the Service Control Manager and can also execute custom installation logic defined within your service project.
installutil.exe is typically found in the .NET Framework directory, for example:
C:\Windows\Microsoft.NET\Framework64\v4.0.30319\installutil.exe (path may vary based on .NET version and system architecture).
"C:\Windows\Microsoft.NET\Framework64\v4.0.30319\installutil.exe" "C:\Services\MyDotNetService.exe"
Example: Installing a .NET service using installutil.exe
installutil.exe version that matches the target framework of your service executable. Using a mismatch can lead to installation failures.Managing Your Installed Service
Once your service is installed, you can manage its lifecycle using sc.exe or the net command.
:: Start a service
sc start <ServiceName>
net start <ServiceName>

:: Stop a service
sc stop <ServiceName>
net stop <ServiceName>

:: Delete a service
sc delete <ServiceName>

:: Query service status
sc query <ServiceName>
Common commands for managing Windows services
sc delete, you might need to reboot your system for the service entry to be completely removed from the Services management console.Troubleshooting Common Issues
Service installation can sometimes be tricky. Here are a few common issues and their solutions:
- "Access is denied": This almost always means you didn't run the command prompt as an administrator.
- "The specified service already exists": You're trying to create a service with a name that's already in use. Choose a different
ServiceNameor delete the existing one first. - "[SC] OpenSCManager FAILED 5: Access is denied.": Another administrator privilege issue.
- Service fails to start: Check the Windows Event Log (Application and System logs) for errors related to your service. This is the primary place to find out why a service isn't starting.
- Incorrect
binPath: Double-check the path to your executable and ensure the space afterbinPath=is present.