How to put a figure on the top of a page on its own in latex?
Categories:
Mastering LaTeX: Placing Figures on Their Own Page
Learn various LaTeX techniques to ensure your figures occupy an entire page, preventing unwanted text wrapping and maintaining document flow.
In academic and technical writing, it's often crucial for large or complex figures to stand alone on a dedicated page. This ensures clarity, readability, and adherence to specific formatting guidelines. LaTeX, with its powerful typesetting capabilities, offers several methods to achieve this. This article will guide you through the most effective approaches, from basic float environments to more advanced packages, helping you present your visuals exactly as intended.
Understanding LaTeX Floats and Placement
LaTeX handles figures and tables as 'floats,' meaning they are not placed exactly where they appear in the source code but are positioned by LaTeX's algorithm to optimize page layout. The placement specifiers [h], [t], [b], [p] (here, top, bottom, page) give LaTeX hints, but they are not commands. To force a figure onto its own page, we need to override this default behavior or use environments specifically designed for full-page floats.
flowchart TD
    A[Start Figure Placement] --> B{Is Figure Large/Complex?}
    B -->|Yes| C[Consider Full Page Placement]
    B -->|No| D[Use Standard Float [htbp]]
    C --> E{Need Exact Page?}
    E -->|Yes| F["Use \\clearpage or \\newpage"]
    E -->|No| G["Use \\begin{figure}[p]"]
    G --> H["Or \\begin{figure*}[p] for two-column"]
    F --> I[Place Figure Code]
    H --> I
    I --> J[End Figure Placement]
Decision flow for placing figures on their own page in LaTeX.
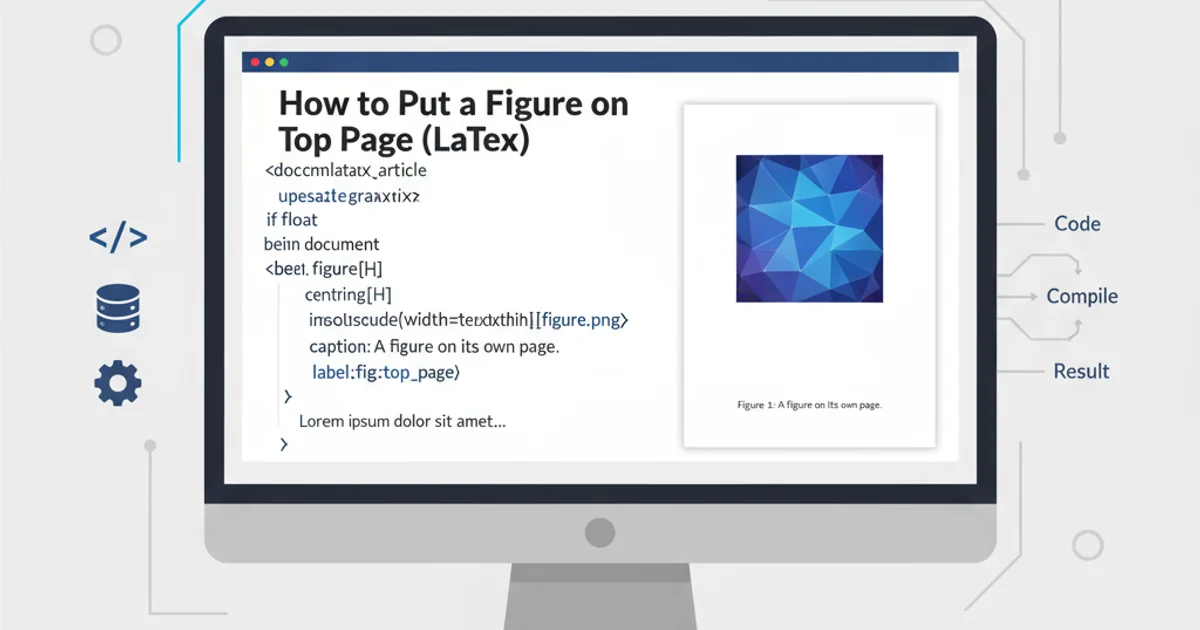
Method 1: Using the [p] Placement Specifier
The [p] placement specifier tells LaTeX to place the float on a dedicated 'float page' if possible. While not a guarantee, it's often the first step. For single-column documents, you'd use \begin{figure}[p]. For two-column documents, \begin{figure*}[p] is the equivalent for a wide figure spanning both columns.
\documentclass{article}
\usepackage{graphicx}
\usepackage{lipsum} % For dummy text

\begin{document}

\lipsum[1-2]

\begin{figure}[p]
    \centering
    \includegraphics[width=0.8\textwidth]{example-image-a}
    \caption{A figure intended for its own page using the [p] specifier.}
    \label{fig:p_page}
\end{figure}

\lipsum[3-4]

\end{document}
Example of using [p] placement specifier for a figure.
[p] specifier works best when there's enough content around the figure to allow LaTeX to naturally place it on a float page. If your document is short, LaTeX might still try to combine it with text.Method 2: Forcing a Page Break with \clearpage or \newpage
For absolute control, you can manually force a page break before and after your figure. \clearpage flushes all pending floats and starts a new page, while \newpage simply starts a new page without flushing floats. \clearpage is generally preferred for figures to ensure no floats from previous pages spill over.
\documentclass{article}
\usepackage{graphicx}
\usepackage{lipsum}

\begin{document}

\lipsum[1-2]

\clearpage % Flush floats and start a new page
\begin{figure}[h!]
    \centering
    \includegraphics[width=0.9\textwidth]{example-image-b}
    \caption{A figure forced onto its own page using \\clearpage.}
    \label{fig:clearpage}
\end{figure}
\clearpage % Start a new page after the figure

\lipsum[3-4]

\end{document}
Using \clearpage to isolate a figure on its own page.
\clearpage provides strong control, overuse can lead to poor document flow and excessive blank space. Use it judiciously for critical figures.Method 3: Using the afterpage Package
The afterpage package provides the \afterpage command, which executes its argument on the next page. This is useful if you want a figure to appear on the next available page, rather than immediately forcing a break. Combine it with \clearpage inside the \afterpage command for a full-page figure.
\documentclass{article}
\usepackage{graphicx}
\usepackage{lipsum}
\usepackage{afterpage}

\begin{document}

\lipsum[1-2]

\afterpage{
    \clearpage
    \begin{figure}[h!]
        \centering
        \includegraphics[width=0.9\textwidth]{example-image-c}
        \caption{A figure placed on the next page using `afterpage` and `clearpage`.}
        \label{fig:afterpage}
    \end{figure}
    \clearpage
}

\lipsum[3-4]

\end{document}
Placing a figure on the next page using the afterpage package.
Method 4: The hispagestyle{empty} Trick for Pure Figure Pages
Sometimes, you might want a figure page to have no header or footer (page number). You can achieve this by adding \thispagestyle{empty} within the \afterpage block or directly after \clearpage.
\documentclass{article}
\usepackage{graphicx}
\usepackage{lipsum}
\usepackage{afterpage}

\begin{document}

\lipsum[1-2]

\afterpage{
    \clearpage
    \thispagestyle{empty} % Remove header/footer for this page
    \begin{figure}[h!]
        \centering
        \includegraphics[width=0.9\textwidth]{example-image-d}
        \caption{A figure on its own page with no page number.}
        \label{fig:empty_page}
    \end{figure}
    \clearpage
}

\lipsum[3-4]

\end{document}
Removing page numbers from a figure-only page.
\usepackage{graphicx} for \includegraphics and \usepackage{lipsum} for dummy text in your preamble when testing these examples.