R, Times Series, Arima Model, Forecasting, Daily data
Categories:
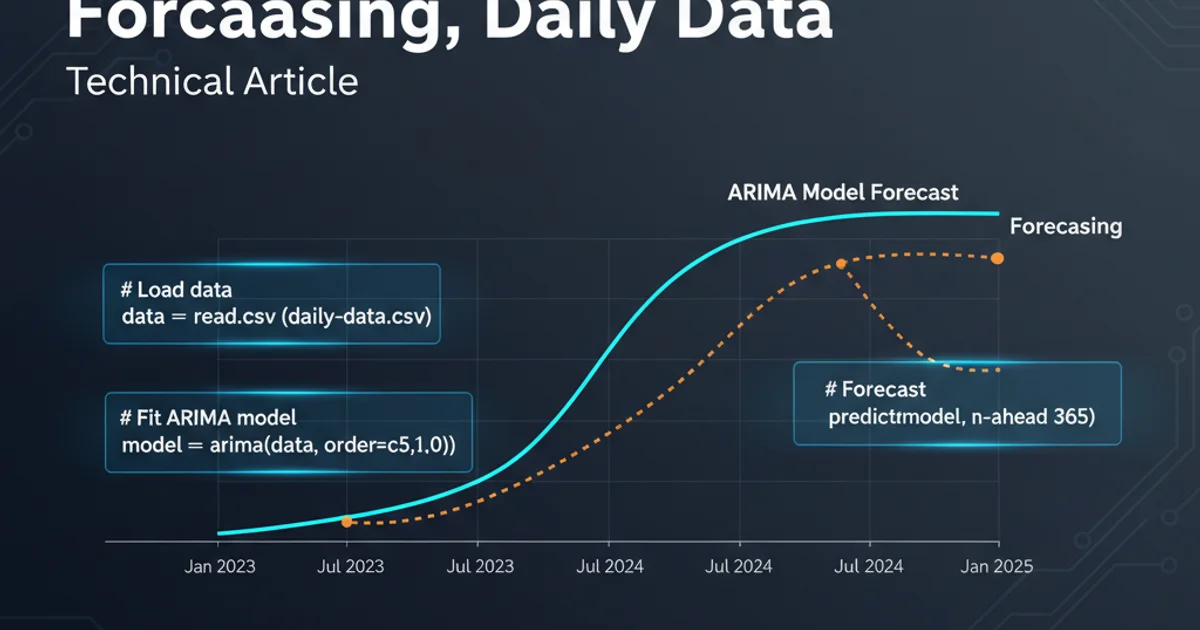
Forecasting Daily Time Series Data with ARIMA in R
Learn how to build and evaluate an ARIMA model in R for forecasting daily time series data, covering data preparation, model selection, and prediction.
Time series forecasting is a critical task in many domains, from finance to weather prediction. The Autoregressive Integrated Moving Average (ARIMA) model is a powerful and widely used statistical method for time series forecasting. This article will guide you through the process of applying ARIMA models to daily time series data using the R programming language. We'll cover data loading, exploration, stationarity testing, model identification, fitting, and forecasting.
Understanding ARIMA Models
ARIMA models are a class of statistical models for analyzing and forecasting time series data. An ARIMA(p, d, q) model is characterized by three components:
- AR (Autoregressive) - p: The number of autoregressive terms. This refers to the number of past observations that influence the current observation.
- I (Integrated) - d: The number of differences needed to make the time series stationary. Stationarity is a key assumption for ARIMA models, meaning the statistical properties (mean, variance, autocorrelation) of the series do not change over time.
- MA (Moving Average) - q: The number of moving average terms. This refers to the number of past forecast errors that influence the current observation.
Daily data often exhibits seasonality (e.g., weekly patterns) and trends, which need to be addressed before or during ARIMA modeling. Seasonal ARIMA (SARIMA) models extend ARIMA to handle such seasonal components.
flowchart TD
    A[Start: Load Daily Data] --> B{Data Exploration & Visualization}
    B --> C{Check for Stationarity}
    C -- Not Stationary --> D[Differencing (d)]
    D --> C
    C -- Stationary --> E{Identify p & q (ACF/PACF)}
    E --> F[Fit ARIMA(p,d,q) Model]
    F --> G{Model Diagnostics & Validation}
    G --> H[Forecast Future Values]
    H --> I[End: Evaluate Forecast]
Workflow for ARIMA Time Series Forecasting
Data Preparation and Exploration in R
Before building an ARIMA model, it's crucial to prepare and explore your daily time series data. This involves loading the data, converting it to a time series object, and visualizing its characteristics like trends and seasonality. We'll use the forecast package in R, which provides powerful functions for time series analysis.
# Install and load necessary packages
install.packages("forecast")
install.packages("xts") # For handling time series objects
library(forecast)
library(xts)

# --- Example: Create dummy daily data ---
# In a real scenario, you would load from CSV, database, etc.
set.seed(123)
dates <- seq(as.Date("2022-01-01"), as.Date("2023-12-31"), by = "day")
# Simulate data with a trend, seasonality (weekly), and noise
data_values <- 100 + 0.5 * (1:length(dates)) +
               10 * sin(2 * pi * (1:length(dates)) / 7) +
               rnorm(length(dates), mean = 0, sd = 5)

daily_data <- xts(data_values, order.by = dates)

# Convert to a ts object for forecast package (frequency=7 for daily data with weekly seasonality)
# Note: If your data has yearly seasonality, frequency=365.25 or 365
# For daily data with weekly seasonality, frequency = 7 is common.
# If you have missing days, you might need to handle them or use a different approach.
ts_data <- ts(coredata(daily_data), start = c(2022, 1), frequency = 7)

# Plot the time series
plot(ts_data, main = "Daily Time Series Data", xlab = "Date", ylab = "Value")

# Decompose the time series to see trend, seasonal, and random components
decomposition <- stl(ts_data, s.window = "periodic")
plot(decomposition)
Loading and visualizing daily time series data in R.
ts object, carefully consider the frequency parameter. For daily data with weekly seasonality, frequency = 7 is appropriate. If you expect yearly seasonality, frequency = 365 (or 365.25 for leap years) might be needed, but this can make modeling complex due to the high frequency.Achieving Stationarity and Model Identification
ARIMA models assume stationarity. You can check for stationarity using visual inspection (plot of the series), autocorrelation function (ACF), partial autocorrelation function (PACF) plots, or statistical tests like the Augmented Dickey-Fuller (ADF) test. If the data is not stationary, differencing (the 'I' in ARIMA) is applied.
After achieving stationarity, ACF and PACF plots help identify the appropriate p and q orders. The auto.arima() function in the forecast package can automate this process, including handling seasonality (SARIMA).
# Check for stationarity (e.g., using ADF test from 'tseries' package)
# install.packages("tseries")
# library(tseries)
# adf.test(ts_data)

# If p-value > 0.05, data is not stationary, consider differencing
# For simplicity, we'll let auto.arima handle differencing.

# Plot ACF and PACF to manually identify p and q (optional, auto.arima does this)
par(mfrow = c(1, 2))
Acf(ts_data, main = "ACF of Daily Data")
Pacf(ts_data, main = "PACF of Daily Data")
par(mfrow = c(1, 1))

# Use auto.arima to find the best ARIMA model
# seasonal = TRUE enables SARIMA, trace = TRUE shows the search process
# stepwise = FALSE for a more thorough search (can be slower)
fit_arima <- auto.arima(ts_data, seasonal = TRUE, stepwise = FALSE, trace = TRUE)
print(fit_arima)

# Check model residuals
checkresiduals(fit_arima)
Identifying ARIMA model orders and fitting the model.
Forecasting and Evaluation
Once the ARIMA model is fitted, you can use it to forecast future values. It's also important to evaluate the model's performance using metrics like Mean Absolute Error (MAE), Root Mean Squared Error (RMSE), or by visually inspecting the forecast against actual values (if you held out a test set).
# Forecast for the next 30 days
forecast_horizon <- 30
forecast_result <- forecast(fit_arima, h = forecast_horizon)

# Plot the forecast
plot(forecast_result, main = "ARIMA Forecast for Daily Data", xlab = "Date", ylab = "Value")

# You can access forecast values and confidence intervals
print(forecast_result)

# --- Optional: Splitting data for training and testing ---
# This is a more robust way to evaluate model performance
# train_size <- floor(0.8 * length(ts_data))
# train_data <- window(ts_data, end = time(ts_data)[train_size])
# test_data <- window(ts_data, start = time(ts_data)[train_size + 1])

# fit_arima_train <- auto.arima(train_data, seasonal = TRUE, stepwise = FALSE, trace = FALSE)
# forecast_test <- forecast(fit_arima_train, h = length(test_data))

# Plot actual vs. forecast on test set
# plot(forecast_test, main = "ARIMA Forecast vs. Actual (Test Set)")
# lines(test_data, col = "red")

# Calculate accuracy metrics (e.g., MAE, RMSE)
# accuracy(forecast_test, test_data)
Generating and visualizing forecasts from the ARIMA model.
auto.arima() is convenient, it's always good practice to understand the underlying principles of ARIMA and to manually inspect ACF/PACF plots and model residuals. Over-reliance on automated functions without understanding can lead to suboptimal models, especially with complex daily patterns or outliers.