How to develop npm module locally
Categories:
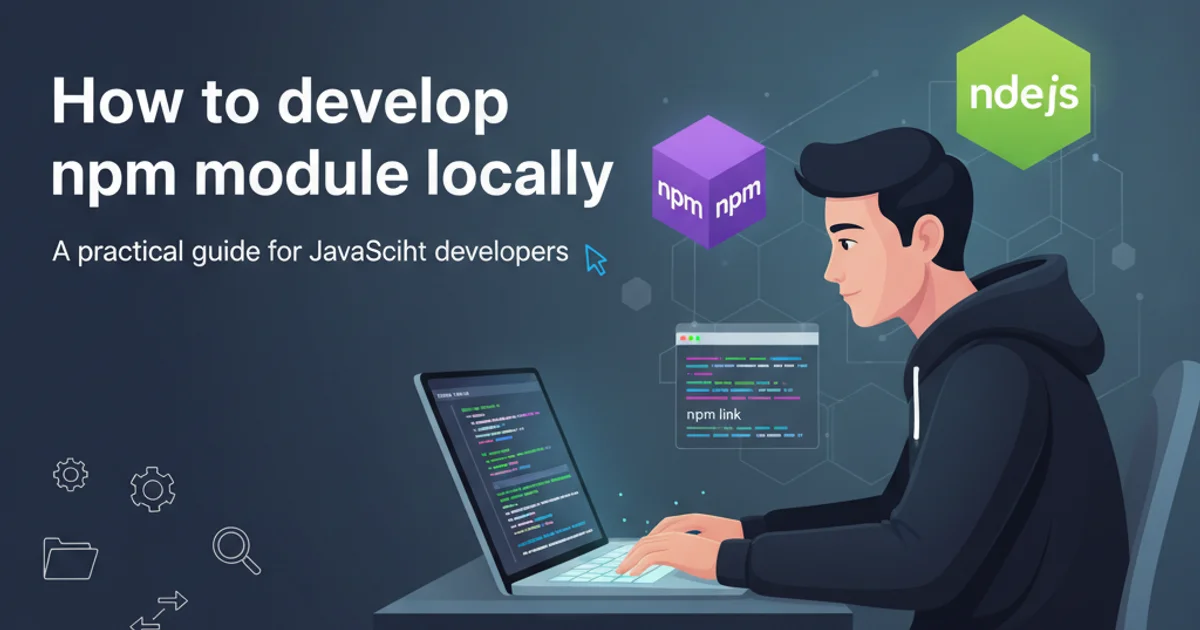
Developing npm Modules Locally: A Comprehensive Guide
Learn how to efficiently develop and test npm modules on your local machine before publishing, streamlining your workflow and improving code quality.
Developing npm modules is a common practice for sharing reusable code across projects or with the wider community. However, testing these modules during development can be tricky. This guide will walk you through the essential techniques for local npm module development, allowing you to iterate quickly and ensure your module works as expected before it ever hits the npm registry.
The Challenge of Local Module Testing
When you're building a new npm module, you often need to test it within the context of another application. The typical workflow involves publishing your module to npm, then installing it in your test project. This process is cumbersome and slow, especially when you're making frequent changes. Each change would require a new publish, a new install, and potentially version bumps, leading to a frustrating development experience.
flowchart TD
    A[Develop Module] --> B{Make Changes?}
    B -- Yes --> A
    B -- No --> C[Publish to npm]
    C --> D[Install in Test Project]
    D --> E[Test Application]
    E -- Bug Found --> A
    style A fill:#f9f,stroke:#333,stroke-width:2px
    style B fill:#bbf,stroke:#333,stroke-width:2px
    style C fill:#afa,stroke:#333,stroke-width:2px
    style D fill:#afa,stroke:#333,stroke-width:2px
    style E fill:#f9f,stroke:#333,stroke-width:2px
Traditional (Inefficient) npm Module Development Workflow
Solution 1: Using npm link for Local Development
The npm link command is a powerful tool that creates a symbolic link (symlink) between your local module's directory and your global node_modules directory, and then from your test project's node_modules to that global link. This effectively makes your local module available as if it were installed from the npm registry, but any changes you make to the source code are immediately reflected in the consuming project without reinstallation.
1. Step 1: Navigate to your module's root directory
Open your terminal and change the directory to the root of your npm module project.
2. Step 2: Create a global symlink
Run npm link. This command creates a symlink from your module's directory to a global node_modules directory, making your module globally accessible by its package name.
3. Step 3: Navigate to your consuming project
Change the directory to the root of the project that will be using your module.
4. Step 4: Link your module to the consuming project
Run npm link <your-module-name>. This command creates a symlink from your consuming project's node_modules to the global symlink created in Step 2. Now, when your consuming project tries to require() or import your module, it will resolve to your local development version.
5. Step 5: Test and Develop
Make changes to your module's code. These changes will be immediately reflected in your consuming project. You can run tests, build your application, and debug as usual.
6. Step 6: Unlink (Optional)
Once you're done developing, you can unlink your module. In your consuming project, run npm unlink <your-module-name>. Then, in your module's directory, run npm unlink to remove the global symlink. You can then install the published version of your module if needed (npm install <your-module-name>).
# In your module's root directory:
cd ~/projects/my-awesome-module
npm link

# In your consuming project's root directory:
cd ~/projects/my-app
npm link my-awesome-module

# To unlink later:
# In your consuming project:
npm unlink my-awesome-module
# In your module's directory:
npm unlink
Example usage of npm link
npm link handles direct dependencies well, but peer dependencies might require manual installation in the consuming project if not already present.Solution 2: Using Local File Paths
For simpler cases or when npm link causes unexpected issues (which can happen with certain build tools or complex dependency trees), you can directly install your local module using a file path. This method copies your module into the node_modules of your consuming project, similar to a regular npm install, but from a local source.
# In your consuming project's root directory:
npm install /path/to/your/local/module
# or using a relative path:
npm install ../my-awesome-module
Installing a local module using a file path
npm install /path/to/your/local/module again in your consuming project to update the copied version. This is less efficient than npm link for rapid iteration.Considerations for Monorepos
If you're working within a monorepo structure (e.g., using Lerna, Yarn Workspaces, or pnpm Workspaces), the process of linking local packages is often handled automatically by the monorepo tool. These tools are designed to manage inter-package dependencies within the same repository, providing a more integrated and often more robust solution than manual npm link commands.
graph TD
    A[Monorepo Root]
    B[Package A] --> C[Package B]
    C --> D[App X]
    A -- Manages --> B
    A -- Manages --> C
    A -- Manages --> D
    subgraph Monorepo Tools
        L[Lerna]
        Y[Yarn Workspaces]
        P[pnpm Workspaces]
    end
    L --> A
    Y --> A
    P --> A
    style A fill:#f9f,stroke:#333,stroke-width:2px
    style B fill:#bbf,stroke:#333,stroke-width:2px
    style C fill:#bbf,stroke:#333,stroke-width:2px
    style D fill:#afa,stroke:#333,stroke-width:2px
Monorepo Structure with Inter-Package Dependencies
By understanding and utilizing npm link or local file paths, you can significantly improve your npm module development workflow, allowing for faster iteration and more confident releases. For larger projects or teams, exploring monorepo solutions might offer even greater benefits.