SQL Server Insert Example
Mastering SQL Server INSERT Statements: A Comprehensive Guide
Learn the fundamentals and advanced techniques for inserting data into SQL Server tables, from basic row insertion to complex multi-row and SELECT-based inserts.
The INSERT statement is a fundamental Data Manipulation Language (DML) command in SQL Server, used to add new rows of data into a table. Understanding its various forms is crucial for any database developer or administrator. This article will guide you through the different ways to insert data, providing practical examples and best practices.
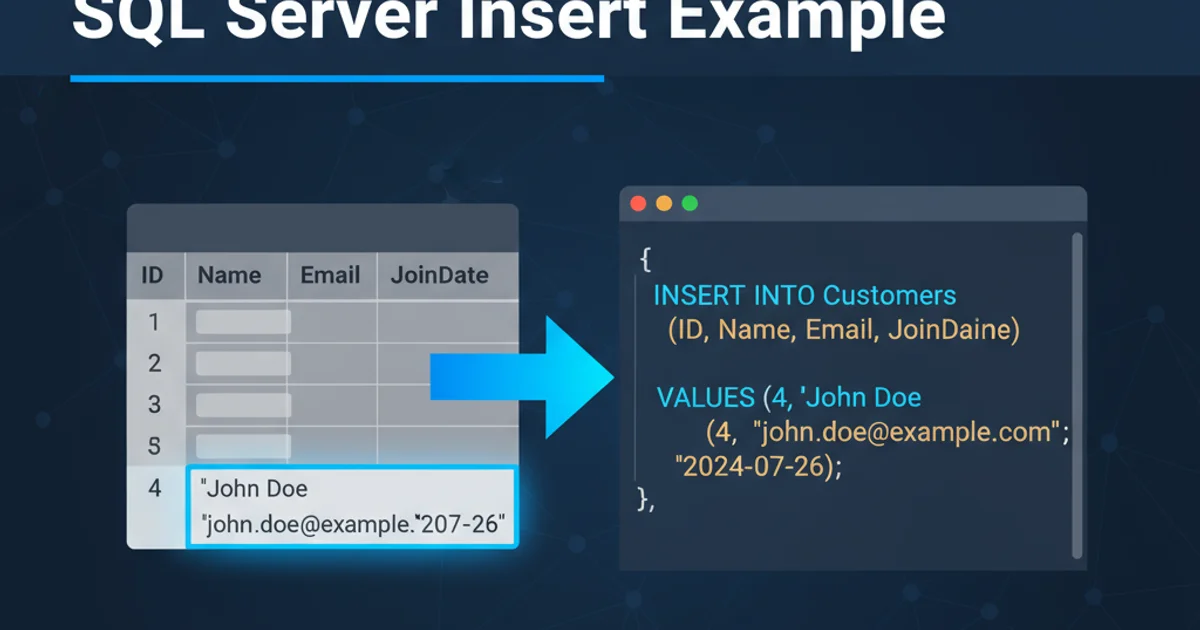
Basic INSERT Statement: Adding a Single Row
The most common use of the INSERT statement is to add a single row of data into a table. You can specify values for all columns or for a subset of columns. When inserting into a subset of columns, the remaining columns must either allow NULL values or have a default constraint defined.
CREATE TABLE Products (
    ProductID INT PRIMARY KEY IDENTITY(1,1),
    ProductName NVARCHAR(100) NOT NULL,
    Price DECIMAL(10, 2) DEFAULT 0.00,
    StockQuantity INT NULL
);

-- Inserting values into all columns
INSERT INTO Products (ProductName, Price, StockQuantity)
VALUES ('Laptop', 1200.00, 50);

-- Inserting values into specific columns, others use defaults or NULL
INSERT INTO Products (ProductName, StockQuantity)
VALUES ('Mouse', 200);

-- Inserting with explicit NULL for a nullable column
INSERT INTO Products (ProductName, Price, StockQuantity)
VALUES ('Keyboard', 75.50, NULL);
Examples of basic single-row INSERT statements.
INSERT statements, even if you are providing values for all columns. This makes your code more robust to schema changes (e.g., adding a new column with a default value).Inserting Multiple Rows with VALUES
SQL Server allows you to insert multiple rows in a single INSERT statement using the VALUES clause. This can be more efficient than executing multiple single-row INSERT statements, especially when inserting a small to moderate number of rows.
INSERT INTO Products (ProductName, Price, StockQuantity)
VALUES
    ('Monitor', 300.00, 30),
    ('Webcam', 50.00, 100),
    ('Headphones', 150.00, 75);
Inserting multiple rows using a single INSERT statement.
Inserting Data from Another Table (INSERT...SELECT)
One of the most powerful INSERT variations is INSERT...SELECT, which allows you to populate a table with data retrieved from another table or a query result. This is commonly used for data migration, archiving, or creating summary tables.
CREATE TABLE ArchivedProducts (
    ArchiveID INT PRIMARY KEY IDENTITY(1,1),
    OriginalProductID INT,
    ProductName NVARCHAR(100),
    ArchiveDate DATETIME DEFAULT GETDATE()
);

-- Insert products with low stock into the archive table
INSERT INTO ArchivedProducts (OriginalProductID, ProductName)
SELECT ProductID, ProductName
FROM Products
WHERE StockQuantity < 10;
Using INSERT...SELECT to copy data between tables.
flowchart TD
    A[Source Table] --> B{SELECT Query}
    B --> C[Target Table]
    C -- INSERT --> D[New Rows Added]
Conceptual flow of an INSERT...SELECT operation.
INSERT...SELECT, ensure that the data types and order of columns in your SELECT statement match the target table's columns. Mismatches can lead to errors or implicit data conversions.Using the OUTPUT Clause with INSERT
The OUTPUT clause can be used with INSERT statements to return information about the rows affected by the DML operation. This is particularly useful for retrieving identity column values, default values, or other computed values generated during the insert process.
DECLARE @InsertedProducts TABLE (
    NewProductID INT,
    NewProductName NVARCHAR(100),
    InsertTimestamp DATETIME
);

INSERT INTO Products (ProductName, Price, StockQuantity)
OUTPUT INSERTED.ProductID, INSERTED.ProductName, GETDATE()
INTO @InsertedProducts (NewProductID, NewProductName, InsertTimestamp)
VALUES ('Tablet', 450.00, 80);

SELECT * FROM @InsertedProducts;
Using the OUTPUT clause to capture inserted data.
Best Practices for INSERT Statements
Adhering to best practices can significantly improve the performance and reliability of your INSERT operations in SQL Server.
1. Specify Column Names
Always explicitly list the columns you are inserting into. This prevents errors if the table schema changes (e.g., a new column is added) and makes your code more readable.
2. Batch Inserts for Performance
For large volumes of data, consider using multi-row VALUES clauses or INSERT...SELECT instead of many individual INSERT statements. For extremely large datasets, bulk insert operations (like BULK INSERT or bcp) are even more efficient.
3. Handle Identity Columns
Do not include identity columns in your INSERT statement unless IDENTITY_INSERT is set to ON. Let the database generate these values automatically. Use the OUTPUT clause to retrieve generated identity values if needed.
4. Manage Transactions
Wrap multiple related INSERT statements within a transaction (BEGIN TRANSACTION, COMMIT TRANSACTION, ROLLBACK TRANSACTION) to ensure data integrity. This guarantees that either all operations succeed or none do.
5. Consider Constraints and Triggers
Be aware of any CHECK constraints, FOREIGN KEY constraints, or INSTEAD OF triggers that might affect your INSERT operations. These can cause inserts to fail or modify the data being inserted.