How to install an Android application on a real device without publishing and Eclipse?
Categories:
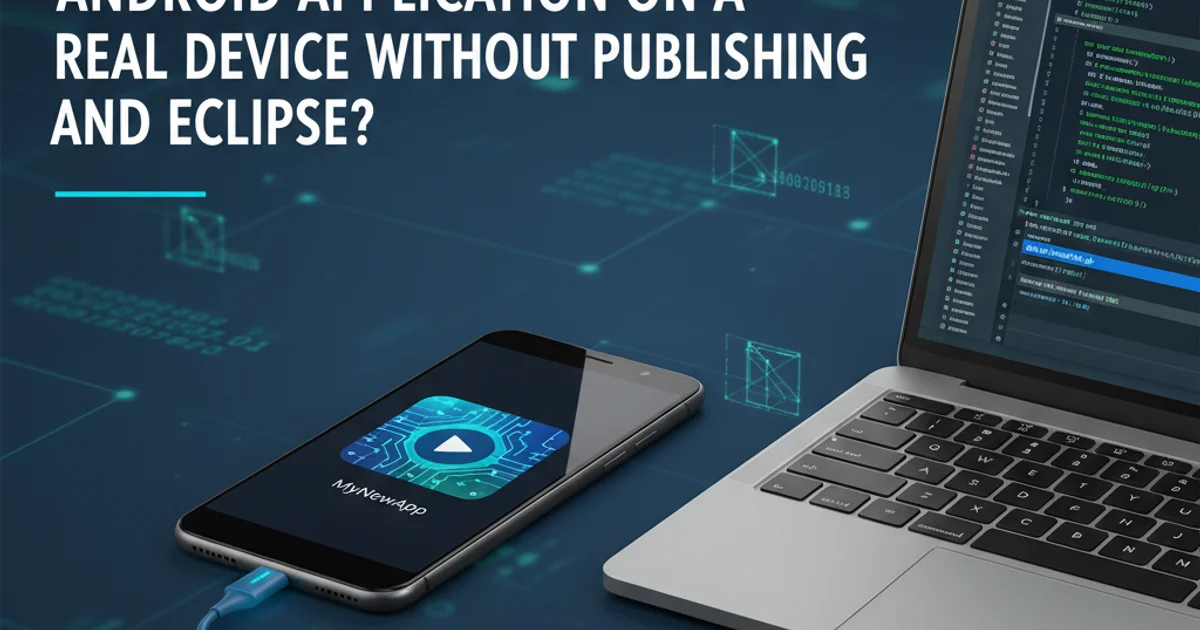
Deploying Android Apps to Real Devices Without Publishing or Eclipse
Learn how to install your Android application directly onto a physical device for testing and development, bypassing the Google Play Store and traditional IDEs like Eclipse.
Developing Android applications often requires testing on a real device to ensure proper functionality, performance, and user experience. While publishing to the Google Play Store is the ultimate goal for distribution, developers frequently need to install apps directly onto their devices for debugging, internal testing, or showcasing prototypes without going through the full release cycle. This guide will walk you through the process of sideloading your Android application package (APK) onto a physical device, focusing on methods that don't require publishing or the now-deprecated Eclipse IDE.
Prerequisites for Device Deployment
Before you can install an APK directly onto your Android device, you need to ensure a few essential settings are configured. These steps enable your device to communicate with your development machine and accept installations from unknown sources, which is necessary for sideloading.
1. Enable Developer Options
On your Android device, navigate to Settings > About phone (or About device). Locate 'Build number' and tap it seven times rapidly. You should see a toast message indicating that 'Developer options' have been enabled.
2. Enable USB Debugging
Go back to Settings, and you'll find 'Developer options' listed (often under System or directly in Settings). Enter 'Developer options' and toggle on 'USB debugging'. Confirm any prompts that appear. This allows your computer to communicate with your device via ADB (Android Debug Bridge).
3. Allow Installation from Unknown Sources
For Android 8.0 (Oreo) and later, this setting is managed on a per-app basis. When you attempt to install an APK from a file manager or browser, you will be prompted to grant permission to that specific app to install unknown apps. For older Android versions (prior to 8.0), navigate to Settings > Security and enable 'Unknown sources'. This allows the installation of applications from sources other than the Google Play Store.
Methods for Installing APKs
Once your device is set up, you have several ways to get your compiled APK onto it. The most common methods involve using ADB (Android Debug Bridge) from your computer or directly transferring the APK file to the device and installing it.
flowchart TD
    A[Start]
    B{Device Setup Complete?}
    C[Connect Device via USB]
    D[Install ADB on PC]
    E[Run 'adb install app.apk']
    F[Transfer APK to Device]
    G[Open File Manager on Device]
    H[Tap APK to Install]
    I[App Installed]

    A --> B
    B -- Yes --> C
    C --> D
    D --> E
    E --> I

    B -- No --> J[Review Prerequisites]
    J --> A

    C --> F
    F --> G
    G --> H
    H --> I
Flowchart of Android APK installation methods
Method 1: Using Android Debug Bridge (ADB)
ADB is a versatile command-line tool that lets you communicate with an Android-powered device. It's part of the Android SDK Platform-Tools and is the most robust way to install apps for development and debugging.
1. Install ADB
If you have Android Studio installed, ADB is usually included. Otherwise, you can download the Platform-Tools package directly from the Android Developers website. Extract the contents to a convenient location (e.g., C:\platform-tools on Windows or ~/platform-tools on Linux/macOS). Add this directory to your system's PATH environment variable for easy access from any terminal.
2. Connect Your Device
Connect your Android device to your computer using a USB cable. If prompted on your device, allow USB debugging for your computer. You can verify the connection by opening a terminal or command prompt and running adb devices. Your device's serial number should appear in the list.
3. Install the APK
Navigate your terminal to the directory where your APK file is located. Then, execute the command adb install your_app_name.apk. Replace your_app_name.apk with the actual name of your APK file. ADB will push the APK to your device and install it. You should see a 'Success' message upon completion.
adb devices
# List of devices attached
# emulator-5554   device
# 192.168.56.101:5555 device

adb install my_awesome_app.apk
# Performing Streamed Install
# Success
Example ADB commands for checking devices and installing an APK
Method 2: Manual APK Transfer and Installation
This method is simpler and doesn't require ADB or a computer if you can get the APK file onto your device through other means (e.g., email, cloud storage). It's ideal for quick installations or when you don't have your development environment set up.
1. Transfer the APK File
Connect your Android device to your computer via USB and transfer the APK file to a folder on your device's internal storage or SD card (e.g., the 'Downloads' folder). Alternatively, you can email the APK to yourself, upload it to a cloud storage service (like Google Drive or Dropbox), or download it directly from a web server using your device's browser.
2. Locate and Install the APK
On your Android device, open a file manager app (most devices have one pre-installed, or you can download one from the Play Store). Navigate to the location where you saved the APK file. Tap on the APK file. Your device will prompt you to install the application. Follow the on-screen instructions, granting any necessary permissions (like 'Install unknown apps' if prompted).
By following these methods, you can efficiently install your Android applications on real devices for testing and development purposes without the need for publishing to an app store or relying on outdated IDEs like Eclipse. This streamlines your development workflow and allows for rapid iteration and debugging.