C programming in Visual Studio
Categories:
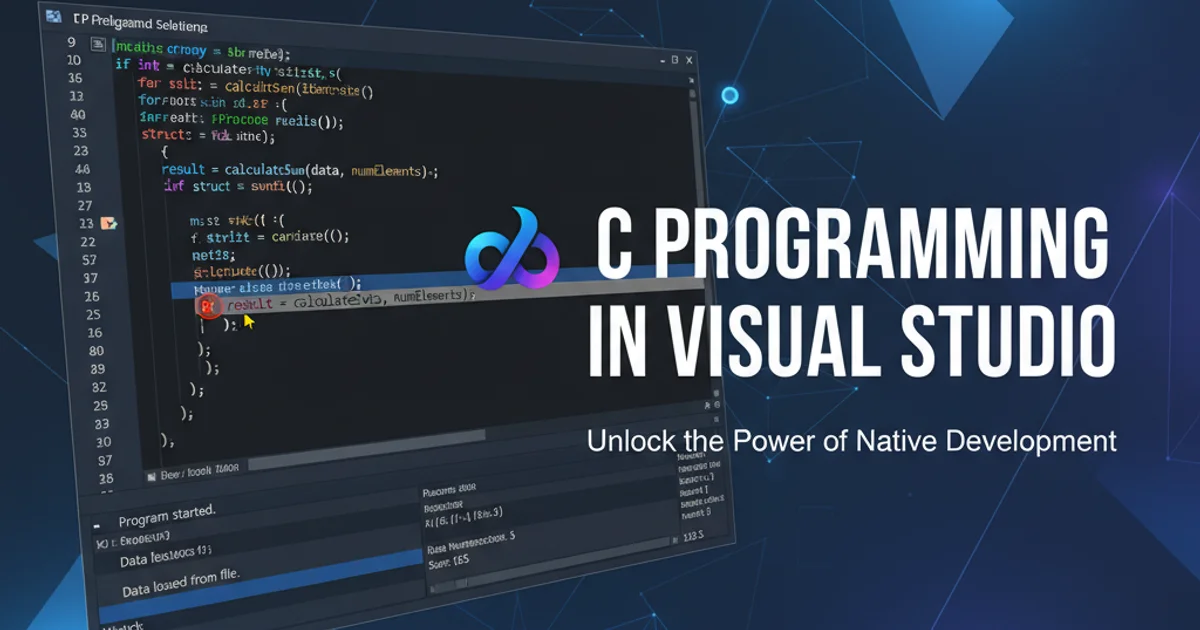
Mastering C Programming in Visual Studio
Learn how to set up, compile, debug, and manage C projects efficiently within the Visual Studio IDE, enhancing your development workflow.
Visual Studio is a powerful Integrated Development Environment (IDE) that offers comprehensive support for C programming. While often associated with C# and C++, it provides excellent tools for C development, including a robust compiler, debugger, and project management features. This guide will walk you through setting up your environment, creating a C project, writing code, and debugging your applications effectively.
Setting Up Your C Development Environment
Before you can start coding in C, you need to ensure Visual Studio is correctly configured with the necessary components. The primary component for C development is the 'Desktop development with C++' workload, which includes the MSVC compiler, libraries, and other essential tools for C and C++.
1. Install Visual Studio
If you haven't already, download and install Visual Studio from the official Microsoft website. The Community edition is free for individual developers and academic use.
2. Select Workloads
During installation, or by modifying an existing installation via the Visual Studio Installer, select the 'Desktop development with C++' workload. This workload includes the C compiler and related tools.
3. Verify Installation
Once installed, open Visual Studio. You should now be able to create new C/C++ projects.
cl.exe) is part of this package.Creating Your First C Project
Visual Studio organizes code into projects and solutions. A solution can contain multiple projects. For a simple C program, you'll typically create a single project within a solution.
1. Start a New Project
From the Visual Studio start window, select 'Create a new project'. Alternatively, go to File > New > Project.
2. Choose Project Template
In the 'Create a new project' dialog, search for 'Empty Project' and select the 'Empty Project (C++)' template. Click 'Next'.
3. Configure Project
Provide a 'Project name' (e.g., MyFirstCProgram), 'Location', and 'Solution name'. Ensure 'Place solution and project in the same directory' is unchecked if you prefer separate folders. Click 'Create'.
4. Add a C Source File
In the Solution Explorer, right-click on your project (e.g., MyFirstCProgram), then select Add > New Item.... Choose 'C++ File (.cpp)' and name it main.c (it's crucial to use the .c extension for C code). Click 'Add'.
flowchart TD
    A[Start Visual Studio] --> B{Create New Project}
    B --> C["Select 'Empty Project (C++)' Template"]
    C --> D[Configure Project Name/Location]
    D --> E[Project Created]
    E --> F["Right-click Project > Add > New Item..."]
    F --> G["Select 'C++ File (.cpp)'"]
    G --> H["Name file 'main.c' (important!)"]
    H --> I[Add File to Project]
    I --> J[Ready to Code]
Workflow for creating a new C project in Visual Studio
Writing and Compiling C Code
Now that you have a project and a .c file, you can write your C code. Visual Studio will automatically use the C compiler for files with the .c extension.
#include <stdio.h>

int main() {
    printf("Hello, C World from Visual Studio!\n");
    return 0;
}
A simple 'Hello World' program in C.
1. Enter Code
Type or paste the 'Hello World' code into your main.c file.
2. Build the Project
Go to Build > Build Solution or press F7. Visual Studio will compile your C code. Any errors or warnings will appear in the 'Error List' window.
3. Run the Program
Go to Debug > Start Without Debugging (Ctrl+F5) to run your program. A console window will open, display the output, and then close.
Ctrl+F5 (Start Without Debugging) is often preferred for simple console applications as it keeps the console window open after execution, allowing you to see the output.