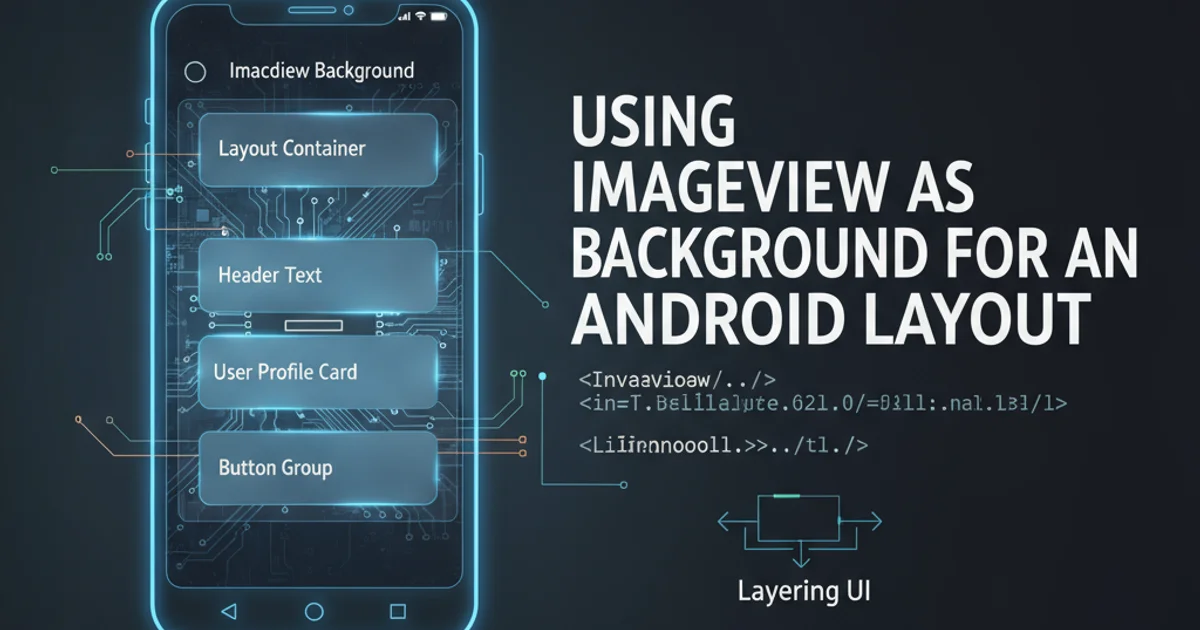
Using ImageView as background for an Android Layout
Categories:
Using ImageView as a Background for Android Layouts
Learn how to effectively use an ImageView as a background for any Android layout, providing visual depth and flexibility beyond simple color or drawable backgrounds.
In Android development, setting a background for a layout is a common requirement. While simple color or drawable resources often suffice, there are scenarios where you need a more dynamic or visually rich background, such as an image that can scale, crop, or animate. This article explores how to achieve this by placing an ImageView behind your main layout content, offering greater control over image display properties compared to directly setting a drawable background.
Why Use ImageView as a Background?
Using an ImageView as a background offers several advantages over directly assigning a drawable to a layout's android:background attribute:
- Scaling and Cropping Control:
ImageViewprovidesandroid:scaleTypeattributes (e.g.,centerCrop,fitXY,centerInside) that give you precise control over how the image scales and crops within its bounds. This is crucial for ensuring your background image looks good on various screen sizes and aspect ratios. - Dynamic Image Loading: You can load images dynamically from URLs, local storage, or resources using libraries like Glide or Picasso, which is more complex with simple drawable backgrounds.
- Layering and Overlays: By placing the
ImageViewas the first child in aFrameLayoutorRelativeLayout, you can easily layer other UI elements on top of it, and even add semi-transparent overlays for better text readability. - Performance: For large images,
ImageViewcan handle memory management and scaling more efficiently than simply setting a large drawable as a background, potentially reducingOutOfMemoryErrorissues.
flowchart TD
    A[Start]
    A --> B{Choose Background Method?}
    B -->|Simple Color/Drawable| C[Set android:background]
    B -->|Advanced Image Control| D[Use ImageView as Background]
    D --> E[Wrap Layout in FrameLayout/RelativeLayout]
    E --> F[Place ImageView as first child]
    F --> G[Set ImageView scaleType]
    G --> H[Place content layout on top]
    C --> I[End]
    H --> I[End]
Decision flow for choosing a background method
Implementing ImageView as a Background
The most common and flexible way to use an ImageView as a background is by placing it inside a FrameLayout or RelativeLayout. These layouts allow child views to overlap, making them ideal for layering. The ImageView will be the first child, occupying the full space, and your actual content layout will be placed on top of it.
<?xml version="1.0" encoding="utf-8"?>
<FrameLayout xmlns:android="http://schemas.android.com/apk/res/android"
    xmlns:app="http://schemas.android.com/apk/res-auto"
    xmlns:tools="http://schemas.android.com/tools"
    android:layout_width="match_parent"
    android:layout_height="match_parent"
    tools:context=".MainActivity">

    <!-- Background ImageView -->
    <ImageView
        android:id="@+id/background_image"
        android:layout_width="match_parent"
        android:layout_height="match_parent"
        android:scaleType="centerCrop"
        android:src="@drawable/my_background_image"
        android:contentDescription="@string/background_image_description" />

    <!-- Optional: Semi-transparent overlay for better readability -->
    <View
        android:layout_width="match_parent"
        android:layout_height="match_parent"
        android:background="#80000000" /> <!-- 50% black overlay -->

    <!-- Your main content layout goes here -->
    <LinearLayout
        android:layout_width="match_parent"
        android:layout_height="match_parent"
        android:orientation="vertical"
        android:gravity="center"
        android:padding="16dp">

        <TextView
            android:layout_width="wrap_content"
            android:layout_height="wrap_content"
            android:text="Welcome to My App!"
            android:textColor="@android:color/white"
            android:textSize="24sp"
            android:textStyle="bold" />

        <Button
            android:layout_width="wrap_content"
            android:layout_height="wrap_content"
            android:layout_marginTop="24dp"
            android:text="Get Started" />

    </LinearLayout>

</FrameLayout>
contentDescription for your ImageView for accessibility purposes, even if it's a background image. This helps screen readers understand the purpose of the image.Key Attributes for Background ImageView
When using an ImageView as a background, pay close attention to these attributes:
android:layout_width="match_parent"andandroid:layout_height="match_parent": These ensure theImageViewfills the entire parent layout.android:scaleType: This is the most critical attribute for background images. Common values include:centerCrop: Scales the image uniformly (maintaining aspect ratio) so that both dimensions (width and height) of the image are equal to or greater than the corresponding dimension of the view (minus padding). The image is then centered in the view. This is often ideal for backgrounds as it ensures no empty space.fitXY: Scales the image non-uniformly to fit the entire view, potentially distorting the image's aspect ratio.centerInside: Scales the image uniformly (maintaining aspect ratio) so that both dimensions of the image are less than or equal to the corresponding dimension of the view (minus padding). The image is then centered in the view.
android:src: Points to your drawable resource. You can also set this programmatically usingsetImageDrawable(),setImageResource(), or image loading libraries.- Overlay (Optional): Adding a
Viewwith a semi-transparent background on top of theImageViewbut below your content can significantly improve the readability of text and other UI elements, especially if your background image is busy or has high contrast.
<!-- Example of different scaleType values -->
<ImageView
    android:layout_width="match_parent"
    android:layout_height="match_parent"
    android:src="@drawable/my_background_image"
    android:scaleType="fitXY" />

<ImageView
    android:layout_width="match_parent"
    android:layout_height="match_parent"
    android:src="@drawable/my_background_image"
    android:scaleType="centerInside" />

<ImageView
    android:layout_width="match_parent"
    android:layout_height="match_parent"
    android:src="@drawable/my_background_image"
    android:scaleType="fitCenter" />