Javascript drag/drop - Illustrator style 'smart guides'
Categories:
Implementing Illustrator-Style Smart Guides for JavaScript Drag and Drop

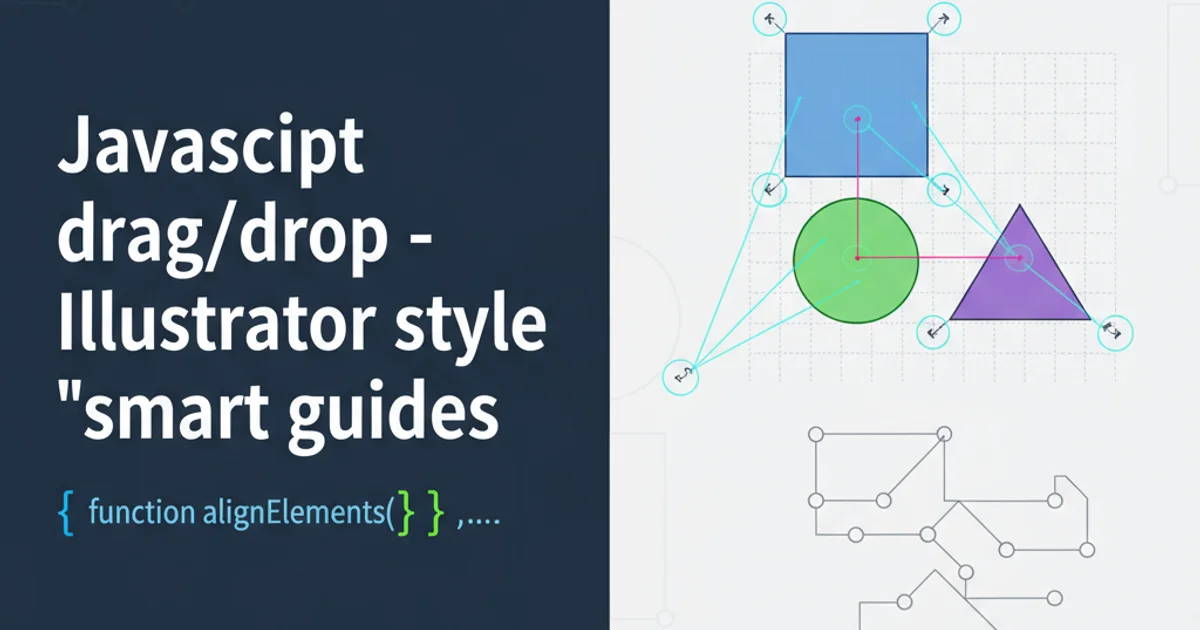
Learn how to create dynamic 'smart guides' for draggable elements in JavaScript, mimicking the precise alignment features found in design software like Adobe Illustrator.
When developing interactive web applications, especially those involving drag-and-drop interfaces, users often expect a level of precision and visual feedback similar to professional design tools. One highly valued feature in applications like Adobe Illustrator is 'smart guides' – temporary visual cues that appear when objects align with each other or with the canvas. This article will guide you through implementing a similar smart guide system using JavaScript, focusing on jQuery UI's Draggable component, to enhance the user experience of your drag-and-drop interfaces.
Understanding Smart Guides and Their Mechanics
Smart guides provide real-time visual feedback during a drag operation, indicating when a draggable element's edges or center align with those of other elements or predefined grid lines. To achieve this, we need to continuously monitor the position of the dragged element and compare it against the positions of all other potential target elements. When an alignment threshold is met, a temporary guide line is rendered. The core mechanics involve:
- Event Listening: Capturing the
dragevent from the draggable element. - Position Calculation: Determining the current position of the dragged element and all static elements.
- Alignment Detection: Checking for horizontal and vertical alignment conditions (e.g., left edge to left edge, center to center).
- Guide Rendering: Dynamically creating and positioning visual guide elements (e.g.,
<div>s with CSS styling). - Snapping (Optional but Recommended): Adjusting the dragged element's position slightly to 'snap' it into perfect alignment.
flowchart TD
    A[User Starts Dragging Element] --> B{On 'drag' event};
    B --> C[Get Draggable Element Position];
    C --> D[Iterate Through Other Elements];
    D --> E{Calculate Potential Alignments?};
    E -- Yes --> F[Check Horizontal & Vertical Alignments];
    F --> G{Alignment Detected?};
    G -- Yes --> H[Render Smart Guide];
    G -- Yes --> I[Apply Snapping (Adjust Position)];
    H --> J[Update Draggable Position];
    I --> J;
    J --> K{User Stops Dragging?};
    K -- No --> B;
    K -- Yes --> L[Remove Smart Guides];
    L --> M[End Drag];
Flowchart of the Smart Guide Detection and Rendering Process
Setting Up the Draggable Elements
First, ensure you have jQuery and jQuery UI included in your project. We'll start with a basic HTML structure and initialize our draggable elements. For simplicity, we'll use a container and several div elements that can be dragged.
<!DOCTYPE html>
<html>
<head>
    <title>Smart Guides Demo</title>
    <link rel="stylesheet" href="//code.jquery.com/ui/1.12.1/themes/base/jquery-ui.css">
    <style>
        #container {
            width: 600px;
            height: 400px;
            border: 1px solid #ccc;
            position: relative;
            background-color: #f9f9f9;
            overflow: hidden;
        }
        .draggable-item {
            width: 100px;
            height: 100px;
            background-color: #007bff;
            border: 1px solid #0056b3;
            position: absolute;
            cursor: grab;
            color: white;
            display: flex;
            align-items: center;
            justify-content: center;
            font-family: sans-serif;
            font-size: 1.2em;
        }
        .draggable-item:nth-child(2) { left: 150px; top: 50px; background-color: #28a745; }
        .draggable-item:nth-child(3) { left: 50px; top: 200px; background-color: #ffc107; }
        .guide-line {
            position: absolute;
            background-color: #dc3545;
            z-index: 9999;
        }
        .guide-line.horizontal { height: 1px; width: 100%; left: 0; }
        .guide-line.vertical { width: 1px; height: 100%; top: 0; }
    </style>
</head>
<body>
    <div id="container">
        <div class="draggable-item" style="left: 10px; top: 10px;">Item 1</div>
        <div class="draggable-item">Item 2</div>
        <div class="draggable-item">Item 3</div>
    </div>

    <script src="https://code.jquery.com/jquery-3.6.0.min.js"></script>
    <script src="https://code.jquery.com/ui/1.12.1/jquery-ui.min.js"></script>
    <script>
        // JavaScript for smart guides will go here
    </script>
</body>
</html>
Basic HTML structure and CSS for draggable items and guide lines.
Implementing the Smart Guide Logic
The core logic resides within the drag and stop events of the jQuery UI Draggable. We'll define a snapTolerance to control how close elements need to be for a guide to appear and for snapping to occur. We'll also create helper functions to manage the guide lines.
$(function() {
    var snapTolerance = 5; // Pixels within which to snap
    var $container = $('#container');
    var $guideH = $('<div class="guide-line horizontal"></div>').appendTo($container).hide();
    var $guideV = $('<div class="guide-line vertical"></div>').appendTo($container).hide();

    // Function to remove guides
    function hideGuides() {
        $guideH.hide();
        $guideV.hide();
    }

    $('.draggable-item').draggable({
        containment: '#container',
        drag: function(event, ui) {
            hideGuides(); // Hide previous guides

            var $this = $(this);
            var thisPos = ui.position; // Current position of the dragged item relative to its parent
            var thisWidth = $this.outerWidth();
            var thisHeight = $this.outerHeight();

            // Iterate over all other draggable items
            $('.draggable-item').not($this).each(function() {
                var $other = $(this);
                var otherPos = $other.position();
                var otherWidth = $other.outerWidth();
                var otherHeight = $other.outerHeight();

                // --- Horizontal Alignment Checks ---
                // Left edge to left edge
                if (Math.abs(thisPos.left - otherPos.left) < snapTolerance) {
                    ui.position.left = otherPos.left;
                    $guideV.css({ left: otherPos.left, top: 0, height: '100%' }).show();
                }
                // Right edge to right edge
                else if (Math.abs(thisPos.left + thisWidth - (otherPos.left + otherWidth)) < snapTolerance) {
                    ui.position.left = otherPos.left + otherWidth - thisWidth;
                    $guideV.css({ left: otherPos.left + otherWidth, top: 0, height: '100%' }).show();
                }
                // Center to center (horizontal)
                else if (Math.abs(thisPos.left + thisWidth / 2 - (otherPos.left + otherWidth / 2)) < snapTolerance) {
                    ui.position.left = otherPos.left + otherWidth / 2 - thisWidth / 2;
                    $guideV.css({ left: otherPos.left + otherWidth / 2, top: 0, height: '100%' }).show();
                }
                // Left edge to right edge
                else if (Math.abs(thisPos.left - (otherPos.left + otherWidth)) < snapTolerance) {
                    ui.position.left = otherPos.left + otherWidth;
                    $guideV.css({ left: otherPos.left + otherWidth, top: 0, height: '100%' }).show();
                }
                // Right edge to left edge
                else if (Math.abs(thisPos.left + thisWidth - otherPos.left) < snapTolerance) {
                    ui.position.left = otherPos.left - thisWidth;
                    $guideV.css({ left: otherPos.left, top: 0, height: '100%' }).show();
                }

                // --- Vertical Alignment Checks ---
                // Top edge to top edge
                if (Math.abs(thisPos.top - otherPos.top) < snapTolerance) {
                    ui.position.top = otherPos.top;
                    $guideH.css({ top: otherPos.top, left: 0, width: '100%' }).show();
                }
                // Bottom edge to bottom edge
                else if (Math.abs(thisPos.top + thisHeight - (otherPos.top + otherHeight)) < snapTolerance) {
                    ui.position.top = otherPos.top + otherHeight - thisHeight;
                    $guideH.css({ top: otherPos.top + otherHeight, left: 0, width: '100%' }).show();
                }
                // Center to center (vertical)
                else if (Math.abs(thisPos.top + thisHeight / 2 - (otherPos.top + otherHeight / 2)) < snapTolerance) {
                    ui.position.top = otherPos.top + otherHeight / 2 - thisHeight / 2;
                    $guideH.css({ top: otherPos.top + otherHeight / 2, left: 0, width: '100%' }).show();
                }
                // Top edge to bottom edge
                else if (Math.abs(thisPos.top - (otherPos.top + otherHeight)) < snapTolerance) {
                    ui.position.top = otherPos.top + otherHeight;
                    $guideH.css({ top: otherPos.top + otherHeight, left: 0, width: '100%' }).show();
                }
                // Bottom edge to top edge
                else if (Math.abs(thisPos.top + thisHeight - otherPos.top) < snapTolerance) {
                    ui.position.top = otherPos.top - thisHeight;
                    $guideH.css({ top: otherPos.top - thisHeight, left: 0, width: '100%' }).show();
                }
            });
        },
        stop: function(event, ui) {
            hideGuides(); // Ensure guides are hidden when dragging stops
        }
    });
});
JavaScript code for implementing smart guides and snapping behavior.
drag event, you could use a spatial partitioning technique (like a quadtree) to only check elements within a certain proximity.Extending Functionality: Container Guides and More
The current implementation focuses on aligning elements with each other. You can extend this to include alignment with the container's edges or even a custom grid. To add container alignment, you would perform similar Math.abs checks against the container's 0 position (for top/left) and its width/height (for right/bottom).
Further enhancements could include:
- Multiple Guides: Displaying multiple horizontal and vertical guides simultaneously if an element aligns with several others.
- Guide Styling: Different colors or dashed lines for different types of alignment (e.g., center vs. edge).
- Performance: Debouncing the
dragevent or using requestAnimationFrame for smoother updates, especially in complex layouts. - Accessibility: Providing auditory feedback or ARIA live region updates for users who rely on screen readers.

Visualizing various alignment scenarios for smart guides.
By implementing these smart guides, you significantly improve the user experience of your drag-and-drop interfaces, making them feel more intuitive and professional. Users can precisely position elements without guesswork, leading to more efficient and satisfying interactions.