How to resolve "You need to have Ruby and Sass installed and in your PATH for this task to work" ...
Categories:
Resolving 'You need to have Ruby and Sass installed' Warning on macOS
A comprehensive guide to fixing the common 'Ruby and Sass not found' warning, detailing installation and PATH configuration for macOS users.
Encountering the warning "You need to have Ruby and Sass installed and in your PATH for this task to work" can be a frustrating roadblock for web developers, especially on macOS. This message typically appears when a build process or a task runner (like Gulp or Grunt) attempts to compile Sass files but cannot locate the necessary Ruby and Sass executables. This article will walk you through the steps to diagnose and resolve this issue, ensuring Ruby and Sass are correctly installed and accessible in your system's PATH.
Understanding the Warning
Historically, Sass was primarily implemented in Ruby, and many older projects or build tools still rely on this Ruby-based Sass compiler. Even with the rise of Node.js-based Sass compilers like Dart Sass, the Ruby Sass compiler remains relevant for maintaining legacy projects. The warning indicates that your system cannot find the ruby and sass commands in any of the directories listed in your shell's PATH environment variable. This could be due to missing installations, incorrect installation paths, or an improperly configured PATH.
Step 1: Verify Ruby Installation
macOS comes with a pre-installed version of Ruby, but it's often an older version and is not recommended for development purposes as system updates can interfere with it. It's best practice to use a Ruby Version Manager (RVM or rbenv) to install and manage Ruby versions. First, check if Ruby is already accessible and which version it is:
ruby -v
Check the currently active Ruby version.
If this command returns an error or an outdated version, you'll need to install a modern Ruby version. We recommend using rbenv for its simplicity and non-intrusive nature.
1. Step 1
Install rbenv using Homebrew: brew install rbenv ruby-build
2. Step 2
Add rbenv to your shell's configuration. For Bash, add eval "$(rbenv init - bash)" to ~/.bash_profile or ~/.bashrc. For Zsh, add eval "$(rbenv init - zsh)" to ~/.zshrc. Then, restart your terminal or run source ~/.bash_profile (or ~/.zshrc).
3. Step 3
Install a stable Ruby version (e.g., 3.1.2): rbenv install 3.1.2
4. Step 4
Set the newly installed Ruby as the global default: rbenv global 3.1.2
5. Step 5
Verify the installation: ruby -v
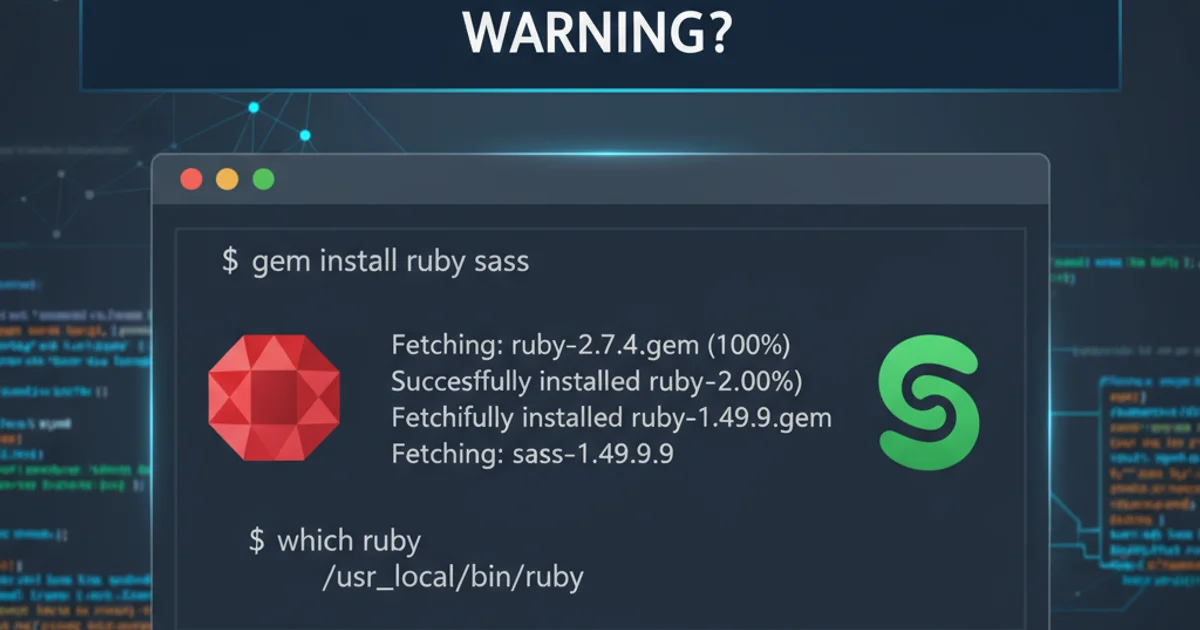
Step 2: Install Ruby Sass Gem
Once Ruby is correctly installed and configured, you can install the Sass gem. The gem command is Ruby's package manager, similar to npm for Node.js or pip for Python.
gem install sass
Install the Sass gem using Ruby's package manager.
After installation, verify that Sass is accessible:
sass -v
Check the installed Sass version.
gem install, avoid using sudo gem install. This can corrupt your gem environment. Instead, ensure your Ruby environment (e.g., rbenv) is correctly configured to manage gems without root privileges.Step 3: Verify PATH Configuration
Even if Ruby and Sass are installed, the warning can persist if their executables are not in your system's PATH. The PATH environment variable tells your shell where to look for executable commands. When using rbenv, it manages the PATH for you, but it's good to confirm.
echo $PATH
Display the current PATH environment variable.
You should see entries related to rbenv and Ruby gems (e.g., ~/.rbenv/shims, ~/.rbenv/bin, and a gem bin directory like ~/.rbenv/versions/3.1.2/bin). If these are missing, revisit Step 1 to ensure rbenv init is correctly sourced in your shell's configuration file (.bash_profile, .bashrc, or .zshrc). Remember to restart your terminal after modifying these files.

Troubleshooting flow for Ruby and Sass installation
Conclusion
By following these steps, you should successfully resolve the "You need to have Ruby and Sass installed and in your PATH for this task to work" warning. The key is to ensure a modern Ruby version is installed via a version manager like rbenv, followed by installing the Sass gem, and finally, confirming that your shell's PATH correctly points to these executables. With Ruby and Sass properly configured, your development workflow can proceed smoothly.