How to override !important?
Categories:
Mastering CSS: Strategies to Override !important
Learn effective techniques to override the !important rule in CSS, ensuring your styles are applied as intended without resorting to bad practices.
The !important declaration in CSS is a powerful tool, but often misused. While it can be helpful in specific scenarios, such as overriding inline styles or third-party library styles, its overuse can lead to maintainability nightmares and make debugging incredibly difficult. This article will guide you through various strategies to effectively override !important when necessary, promoting cleaner and more manageable CSS.
Understanding CSS Specificity
Before diving into overriding !important, it's crucial to understand CSS specificity. Specificity is the algorithm browsers use to determine which CSS declaration is the most relevant to an element and, therefore, which declaration value gets applied. It's calculated based on the type of selectors used:
- Inline styles: Highest specificity (e.g.,
style="color: red;") - IDs: High specificity (e.g.,
#my-element) - Classes, attributes, and pseudo-classes: Medium specificity (e.g.,
.my-class,[type="text"],:hover) - Elements and pseudo-elements: Low specificity (e.g.,
p,::before)
!important trumps all specificity calculations, but it can still be overridden by another !important rule with higher specificity or by a later !important rule in the stylesheet.
flowchart TD
    A[Start] --> B{Is `!important` present?}
    B -- Yes --> C{Is there another `!important` with higher specificity or later in source?}
    C -- Yes --> D[New `!important` wins]
    C -- No --> E[`!important` wins]
    B -- No --> F{Calculate Specificity}
    F --> G[Highest specificity wins]
    G --> H[End]
    E --> H
    D --> H
CSS Rule Resolution Flow with !important
Strategies to Override !important
Overriding an !important rule requires careful consideration. Here are the most common and effective strategies, ordered from generally preferred to less ideal:
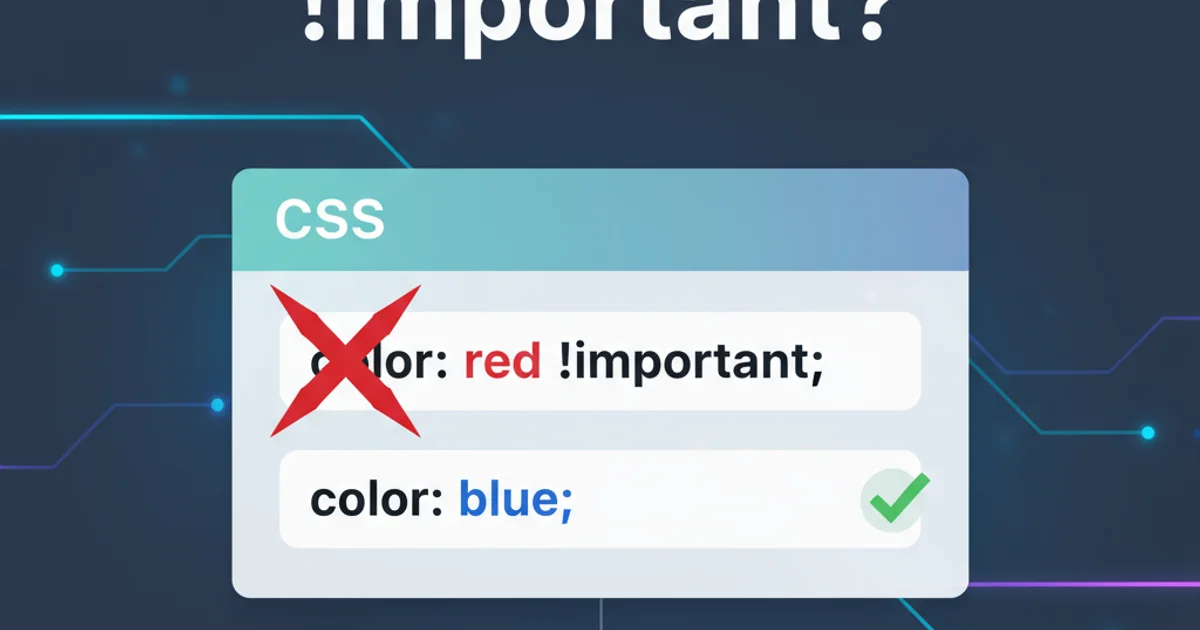
Increase Specificity (without
!important): This is the cleanest approach. If the original!importantrule has low specificity (e.g., applied to an element selector), you can often override it by using a more specific selector (e.g., an ID or a combination of classes and elements) without needing your own!important.Use Another
!importantwith Higher Specificity: If the original!importantrule already has high specificity, you might need to use your own!importantdeclaration. However, ensure your selector has even higher specificity than the original. This often involves adding more selectors to your rule (e.g.,body .container #my-element { color: blue !important; }).Place Your Rule Later in the Stylesheet: When two
!importantrules have the exact same specificity, the one declared later in the stylesheet (or loaded later) will take precedence. This is a simple but sometimes fragile method, as stylesheet order can change.Modify the HTML (Inline Styles): Inline styles (e.g.,
<div style="color: blue !important;">) have the highest specificity and can override any!importantrule in external or internal stylesheets. However, this is generally considered a bad practice as it mixes presentation with structure and makes maintenance difficult. Use only as a last resort for very specific, isolated cases.JavaScript Manipulation: As a last resort, you can use JavaScript to directly manipulate the
styleproperty of an element. This will apply an inline style, which, as mentioned, has the highest specificity. This should be avoided for styling purposes and reserved for dynamic, interactive changes.
/* Original CSS (e.g., from a library) */
.some-component p {
  color: red !important;
}

/* Strategy 1: Increase Specificity (no !important needed) */
#app .some-component p {
  color: blue;
}

/* Strategy 2: Another !important with higher specificity */
body #app .some-component p {
  color: green !important;
}

/* Strategy 3: Later in stylesheet (assuming same specificity) */
.some-component p {
  color: purple !important; /* This would override the first red !important if placed after it */
}
Examples of overriding !important using different CSS strategies.
!important unless absolutely necessary. Its overuse can lead to 'specificity wars' and make your CSS extremely difficult to debug and maintain. Always try to refactor the original CSS or use higher specificity without !important first.When to Use !important (Sparingly)
While generally discouraged, there are a few legitimate use cases for !important:
- Utility Classes: For highly specific, single-purpose utility classes that must always apply (e.g.,
.u-hidden { display: none !important; }). - Overriding Inline Styles: When you need to override an inline style that you cannot remove from the HTML directly.
- Third-Party Libraries: When dealing with external libraries or frameworks where you cannot modify the source CSS directly and need to enforce your styles.
- User Stylesheets (Accessibility): In rare cases, users might use
!importantin their own stylesheets to enforce accessibility preferences.
By understanding CSS specificity and applying these strategies thoughtfully, you can effectively manage and override !important declarations, leading to more robust and maintainable stylesheets.