extract font character image from ttf file
Categories:
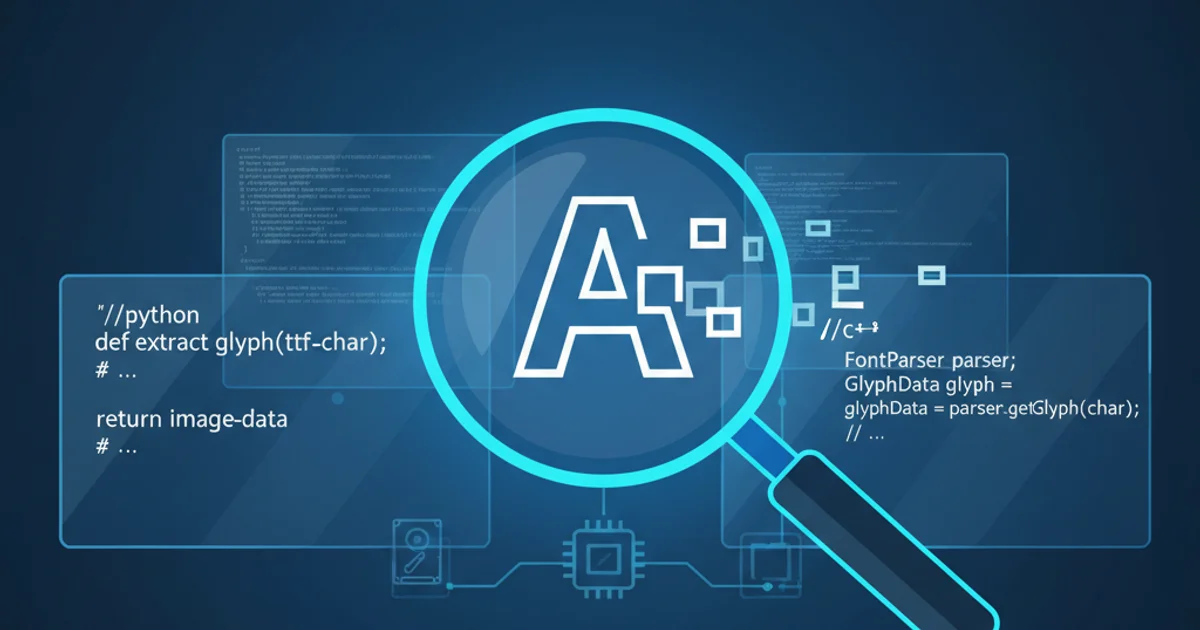
Extracting Font Character Images from TTF Files
Learn how to programmatically extract individual character glyphs as images from TrueType Font (TTF) files, enabling custom rendering and asset generation.
TrueType Font (TTF) files are a common format for digital fonts, containing vector outlines for each character (glyph). While browsers and operating systems render these characters seamlessly, there are scenarios where you might need to extract individual character images programmatically. This could be for creating custom text effects, generating sprite sheets for games, or performing advanced text analysis. This article will guide you through the process of parsing TTF files and rendering specific glyphs into image formats.
Understanding TTF Structure and Glyphs
Before extracting images, it's crucial to understand how TTF files store character information. A TTF file is a complex binary structure composed of several tables. Key tables for glyph extraction include:
cmap(Character to Glyph Mapping): Maps character codes (e.g., Unicode) to glyph indices.glyf(Glyph Data): Contains the actual outline data for each glyph.loca(Index to Location): Provides offsets to theglyftable, indicating where each glyph's data begins.head(Font Header): Contains global font information, including units per EM.
To extract a character image, you typically follow these steps:
- Find the Unicode character code.
- Use the
cmaptable to get the corresponding glyph index. - Use the
locatable to find the offset of the glyph data in theglyftable. - Parse the glyph data (which describes the vector outline).
- Render this vector outline onto a bitmap canvas.
flowchart TD
    A[Start: Unicode Character] --> B{"Lookup Glyph Index (cmap table)"}
    B --> C{"Lookup Glyph Offset (loca table)"}
    C --> D{"Read Glyph Outline Data (glyf table)"}
    D --> E{"Parse Vector Outline"}
    E --> F{"Render Outline to Bitmap Canvas"}
    F --> G[End: Character Image]
Process flow for extracting a character image from a TTF file.
Tools and Libraries for TTF Parsing
Manually parsing TTF files can be a daunting task due to their intricate binary format. Fortunately, several libraries exist across different programming languages that abstract away much of this complexity, allowing you to focus on rendering. Popular choices include:
- Python:
fontTools,Pillow(for rendering) - JavaScript/Node.js:
opentype.js,fontkit - C#:
SkiaSharp,System.Drawing(Windows-specific) - Java:
Apache FOP,FontBox
These libraries provide methods to load a font, access its tables, retrieve glyph paths, and often include rendering capabilities or integrate well with graphics libraries. For this article, we'll focus on a conceptual approach that can be adapted to various libraries.
Rendering Glyphs to Images (Conceptual Example)
Once you have the vector path data for a glyph, the next step is to render it onto a bitmap. This typically involves:
- Creating a canvas: Initialize an in-memory bitmap or image object with desired dimensions and resolution.
- Setting transformation: Apply scaling and translation to fit the glyph within the canvas, considering the font's
unitsPerEmand desired font size. - Drawing the path: Iterate through the glyph's path commands (e.g.,
moveTo,lineTo,quadraticCurveTo,bezierCurveTo) and draw them onto the canvas. - Filling the path: Fill the closed path to render the solid character.
- Saving the image: Export the canvas content to a desired image format (e.g., PNG, JPEG).
Python (fontTools & Pillow)
from fontTools.ttLib import TTFont
from PIL import Image, ImageDraw

def extract_glyph_image(ttf_path, char_code, font_size=100, padding=10):
    font = TTFont(ttf_path)
    cmap = font['cmap'].getBestCmap()
    glyph_name = cmap.get(char_code)

    if not glyph_name:
        print(f"Character code {char_code} not found in font.")
        return None

    glyph_set = font.getGlyphSet()
    glyph = glyph_set[glyph_name]

    # Get glyph bounding box
    # Some fonts might not have a proper bounding box, so we calculate it
    # based on the path commands if necessary.
    # For simplicity, we'll assume a reasonable bbox for now.
    # A more robust solution would iterate through path commands to find min/max x/y.
    # For fontTools, glyph.getBounds() can be used if available.
    # Let's use a placeholder for bbox for demonstration.
    # In a real scenario, you'd calculate this from glyph.getCoordinates() and glyph.getContour()
    # or use a library's built-in bbox calculation.

    # Placeholder for bounding box (xMin, yMin, xMax, yMax)
    # A real implementation would calculate this from glyph.getCoordinates()
    # For simplicity, we'll use a fixed size and center the glyph.

    # Calculate image dimensions based on font_size and padding
    # This is a simplified approach. A proper one would use font metrics.
    image_width = font_size + 2 * padding
    image_height = font_size + 2 * padding

    img = Image.new('RGBA', (image_width, image_height), (0, 0, 0, 0)) # Transparent background
    draw = ImageDraw.Draw(img)

    # Scale and translate to fit the glyph
    # This is a simplified transformation. Real world needs font.get('head').unitsPerEm
    # and proper scaling based on glyph bbox.
    scale_factor = font_size / font.get('head').unitsPerEm

    # Center the glyph (simplified)
    x_offset = padding
    y_offset = padding + font_size # Adjust for y-axis inversion in image libs

    # Draw the glyph path
    path = glyph.getOutline(draw=None) # Get the raw path commands

    # fontTools path commands are complex. Pillow's ImageDraw doesn't directly support
    # complex TTF paths. You'd typically convert to a series of lines/curves.
    # For a full implementation, you'd iterate through path.commands and draw them.
    # Example: draw.polygon([(x1,y1), (x2,y2), ...], fill='black')
    # This example will draw a simple rectangle as a placeholder for the glyph.

    # A more complete example using Pillow and fontTools would involve:
    # 1. Iterating through glyph.getCoordinates() and glyph.getContour()
    # 2. Converting TTF quadratic/cubic Bezier curves to Pillow's drawing primitives
    #    or using a library that handles this conversion.

    # For demonstration, let's draw a simple square representing the glyph area
    # This is NOT actual glyph rendering but shows the canvas setup.
    draw.rectangle([x_offset, y_offset - font_size, x_offset + font_size, y_offset], fill='black')

    return img

# Example usage:
# ttf_file = 'path/to/your/font.ttf'
# char_to_extract = ord('A') # Unicode for 'A'
# image = extract_glyph_image(ttf_file, char_to_extract)
# if image:
#     image.save('glyph_A.png')
#     print("Glyph 'A' saved as glyph_A.png")
JavaScript (opentype.js)
import opentype from 'opentype.js';

async function extractGlyphImage(ttf_path, char_code, font_size = 100, padding = 10) {
    const font = await opentype.load(ttf_path);
    const char = String.fromCharCode(char_code);
    const glyph = font.charToGlyph(char);

    if (!glyph) {
        console.log(`Character '${char}' (code ${char_code}) not found in font.`);
        return null;
    }

    // Calculate image dimensions based on font_size and padding
    const image_width = font_size + 2 * padding;
    const image_height = font_size + 2 * padding;

    // Create a canvas element (Node.js requires 'canvas' package)
    const { createCanvas } = require('canvas'); // For Node.js
    const canvas = createCanvas(image_width, image_height);
    const ctx = canvas.getContext('2d');

    // Set background to transparent
    ctx.clearRect(0, 0, image_width, image_height);

    // Scale and translate to fit the glyph
    // opentype.js handles scaling automatically when drawing paths
    // We need to translate to center the glyph and account for canvas's y-axis
    const scale = font_size / font.unitsPerEm;
    const x_offset = padding - glyph.xMin * scale;
    const y_offset = padding + font_size - glyph.yMax * scale; // Adjust for y-axis inversion

    ctx.translate(x_offset, y_offset);
    ctx.scale(scale, -scale); // Invert y-axis for typical font coordinates

    // Draw the glyph path
    glyph.draw(ctx, 0, 0, font_size); // Draw at (0,0) after translation/scaling

    // Fill the path
    ctx.fillStyle = 'black';
    ctx.fill();

    // Reset transformations for saving
    ctx.setTransform(1, 0, 0, 1, 0, 0);

    // Return as a Buffer (for Node.js) or Blob (for browser)
    return canvas.toBuffer('image/png');
}

// Example usage (Node.js):
// const ttf_file = './path/to/your/font.ttf';
// const char_to_extract = 'A'.charCodeAt(0);
// extractGlyphImage(ttf_file, char_to_extract).then(buffer => {
//     if (buffer) {
//         require('fs').writeFileSync('glyph_A.png', buffer);
//         console.log("Glyph 'A' saved as glyph_A.png");
//     }
// });
1. Install Necessary Libraries
Depending on your chosen language, install the required font parsing and image manipulation libraries. For Python, this would be pip install fonttools Pillow. For Node.js, npm install opentype.js canvas.
2. Load the TTF Font File
Use your chosen library's load or open function to parse the TTF file into a font object. This object will provide access to the font's internal tables and glyph data.
3. Identify the Character and Glyph
Determine the Unicode character code for the character you want to extract. Use the font object's methods (e.g., charToGlyph in opentype.js or cmap.get in fontTools) to find the corresponding glyph object or index.
4. Create a Drawing Canvas
Initialize an in-memory image canvas (e.g., Pillow.Image in Python, canvas in Node.js) with sufficient dimensions to accommodate the rendered glyph at your desired font size and padding.
5. Render the Glyph Path
Access the glyph's vector path data. Apply appropriate scaling and translation transformations to the canvas context to correctly position and size the glyph. Then, draw the glyph's path commands (lines, curves) onto the canvas and fill it with a color.
6. Save the Image
Export the content of the canvas to your desired image format (e.g., PNG, JPEG). This will give you a standalone image file of the extracted character.