How to define default project setting in a visual studio solution
Categories:
Defining Default Project Settings in Visual Studio Solutions
Learn how to establish consistent default project settings across your Visual Studio solutions, enhancing productivity and maintaining code standards for C++ projects.
When working on large C++ projects or across multiple projects within a Visual Studio solution, maintaining consistent project settings is crucial. Manually configuring settings for each new project can be tedious and error-prone. This article will guide you through various methods to define and apply default project settings, focusing on Visual Studio 2012, to streamline your development workflow and ensure uniformity.
Understanding Visual Studio Project Settings
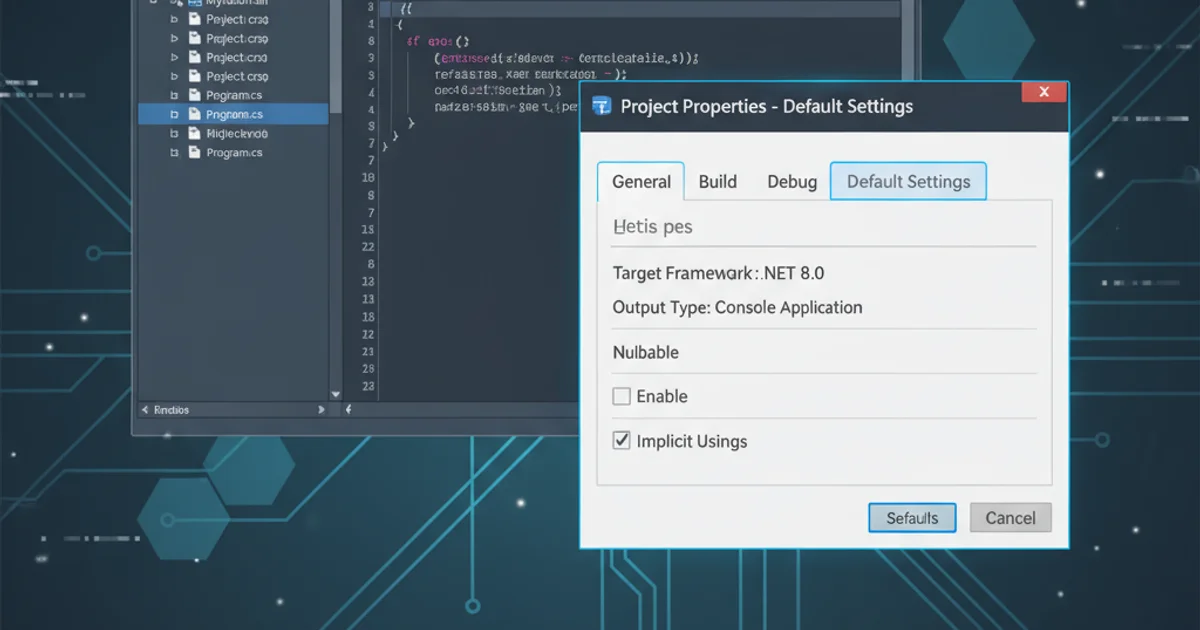
Visual Studio project settings are stored in .vcxproj files (for C++ projects) and .props files. While .vcxproj files contain project-specific configurations, .props files are designed for sharing common settings across multiple projects. By leveraging .props files, you can define a set of default configurations that can be easily imported into any project, ensuring consistency without repetitive manual setup.
flowchart TD
    A[Start New Project] --> B{Default Settings Needed?}
    B -- Yes --> C[Create/Edit .props File]
    C --> D[Define Common Settings]
    D --> E[Import .props into .vcxproj]
    E --> F[Build Project with Defaults]
    B -- No --> G[Configure Project Manually]
    G --> F
Workflow for applying default project settings using .props files
Method 1: Using Property Sheets (.props files)
Property sheets are the most robust and recommended way to manage default settings. They allow you to define build configurations, include directories, preprocessor definitions, and more, in a single file that can be imported by multiple projects. This centralizes your settings, making them easy to update and maintain.
1. Create a New Property Sheet
In Visual Studio, go to 'View' > 'Property Manager' (or 'Other Windows' > 'Property Manager'). Right-click on any project and select 'Add New Project Property Sheet...'. Give it a meaningful name, like CommonSettings.props.
2. Configure Default Settings
Double-click the newly created .props file in the Property Manager. This opens the Property Pages dialog, which is identical to the project's property pages. Configure all the settings you want to be default (e.g., C/C++ > General > Additional Include Directories, Linker > General > Additional Library Directories, etc.).
3. Apply to Projects
To apply these settings to a project, right-click the project in Solution Explorer, go to 'Property Manager', and then right-click on the desired configuration (e.g., 'Debug | Win32') and select 'Add Existing Property Sheet...'. Browse to your CommonSettings.props file and add it. The settings defined in the .props file will now be inherited by the project.
Method 2: Modifying Project Templates
For a more integrated approach, especially for new projects, you can modify the default Visual Studio project templates. This ensures that any new project created from that template will automatically include your desired default settings. This method is more involved but can save significant time in the long run for frequently created project types.
1. Export an Existing Project Template
Create a new project of the type you want to customize (e.g., 'Win32 Console Application'). Configure all the desired default settings within this project. Then, go to 'File' > 'Export Template...' and follow the wizard to export it as a project template. This will create a .zip file.
2. Modify the Template
Unzip the exported template file. Inside, you'll find the .vcxproj file and a .vstemplate file. You can either directly modify the .vcxproj file to hardcode settings or, preferably, modify the .vstemplate file to include a reference to a .props file (as described in Method 1). Re-zip the contents.
3. Install the Custom Template
Place the modified .zip file in your Visual Studio project templates directory (e.g., C:\Users\<YourUser>\Documents\Visual Studio 2012\Templates\ProjectTemplates\Visual C++). Restart Visual Studio, and your custom template will appear in the 'New Project' dialog.
Example: Adding a Common Include Directory via .props
Let's walk through a practical example of how to add a common include directory that all projects in your solution can use, without manually adding it to each project.
<?xml version="1.0" encoding="utf-8"?>
<Project ToolsVersion="4.0" xmlns="http://schemas.microsoft.com/developer/msbuild/2003">
  <ImportGroup Label="PropertySheets" />
  <PropertyGroup Label="UserMacros" />
  <PropertyGroup>
    <_PropertySheetDisplayName>Common Settings</_PropertySheetDisplayName>
  </PropertyGroup>
  <ItemDefinitionGroup>
    <ClCompile>
      <AdditionalIncludeDirectories>$(SolutionDir)CommonIncludes;%(AdditionalIncludeDirectories)</AdditionalIncludeDirectories>
    </ClCompile>
  </ItemDefinitionGroup>
  <ItemGroup />
</Project>
Example CommonSettings.props file adding a shared include directory
In this .props file, $(SolutionDir)CommonIncludes specifies a directory relative to your solution file. Any project importing this property sheet will automatically include this path in its C++ include directories. The %(AdditionalIncludeDirectories) ensures that any existing project-specific include directories are preserved.