Install .ipa to iPad with or without iTunes
Categories:
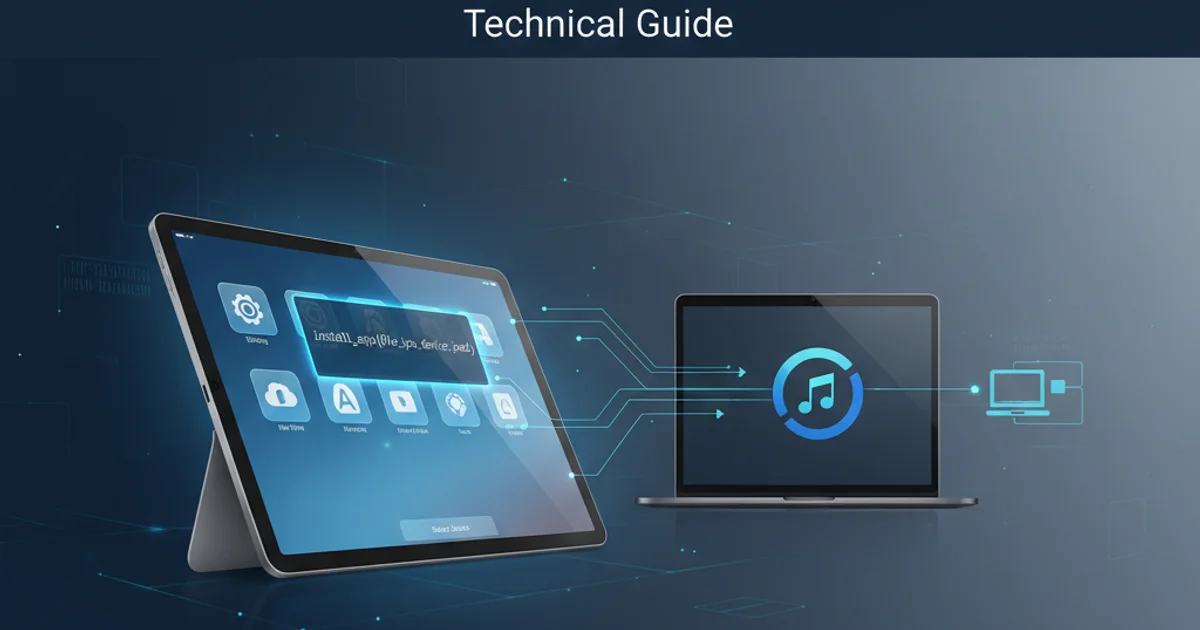
How to Install .ipa Files on Your iPad: With or Without iTunes
Learn various methods to install .ipa application packages onto your iPad, covering both traditional iTunes synchronization and alternative sideloading techniques for greater flexibility.
Installing .ipa files on your iPad allows you to deploy applications that might not be available on the App Store, such as custom enterprise apps, beta versions, or apps developed for testing. While iTunes (or Finder on macOS Catalina and later) has traditionally been the primary method, several alternative tools and techniques offer more flexibility, especially for developers or users who prefer not to use Apple's official desktop software. This guide will walk you through the most common and effective ways to get your .ipa files onto your device.
Understanding .ipa Files and iOS App Installation
An .ipa file (iOS App Store Package) is an iOS application archive file that stores an iOS app. Each .ipa file is compressed using a standard ZIP compression and contains a binary for the ARM architecture, along with resources like images, sounds, and property lists. When you download an app from the App Store, you're essentially downloading an .ipa file that Apple's systems then install on your device. Sideloading refers to installing these files directly onto your device without going through the official App Store.
flowchart TD
    A[Developer Creates App] --> B[Builds .ipa File]
    B --> C{Installation Method?}
    C -->|Official App Store| D[Upload to App Store Connect]
    D --> E[App Store Review]
    E --> F[User Downloads from App Store]
    C -->|Sideloading (e.g., iTunes/Finder)| G[Connect iPad to Computer]
    G --> H[Drag .ipa to iTunes/Finder]
    H --> I[Sync/Install App]
    C -->|Sideloading (e.g., Third-Party Tools)| J[Use Tool (e.g., Sideloadly, AltStore)]
    J --> K[Select .ipa File]
    K --> L[Install to Device]
    F & I & L --> M[App Installed on iPad]
Overview of iOS App Installation Pathways
Method 1: Installing .ipa with iTunes (Windows) or Finder (macOS)
This is the traditional and most straightforward method for many users. On Windows, you'll use iTunes. On macOS Catalina and later, Finder has replaced iTunes for device management and app synchronization. This method requires your device to be connected to your computer.
1. Step 1: Connect Your iPad
Connect your iPad to your computer using a USB cable. Ensure your iPad is unlocked and you've trusted the computer if prompted.
2. Step 2: Open iTunes/Finder
On Windows, open iTunes. On macOS, open a Finder window. Your iPad should appear in the sidebar (Finder) or as a device icon (iTunes).
3. Step 3: Access Device Management
In iTunes, click the device icon. In Finder, select your iPad from the sidebar. Navigate to the 'Files' or 'Apps' section, depending on your iTunes version or Finder view.
4. Step 4: Drag and Drop the .ipa File
Locate your .ipa file on your computer. Drag and drop the .ipa file directly onto the iTunes 'Apps' section or the Finder window for your iPad. iTunes/Finder will typically prompt you to install the app.
5. Step 5: Sync/Install
Confirm the installation. iTunes or Finder will then sync the app to your iPad. You might need to go to 'Settings' > 'General' > 'Device Management' on your iPad and trust the developer profile if it's an enterprise or development app.
.ipa file to the 'Apps' section.Method 2: Sideloading with Third-Party Tools (Without iTunes/Finder)
For those who prefer not to use iTunes/Finder, or need more advanced sideloading capabilities (like signing apps with a free developer account), several third-party tools are available. These tools often provide a more streamlined experience for installing .ipa files.
Popular tools include Sideloadly, AltStore, and Xcode (for developers). We'll focus on Sideloadly as a common and user-friendly option.
1. Step 1: Download and Install Sideloadly
Download Sideloadly from its official website (sideloadly.io). Install it on your Windows or macOS computer. You may also need to install iTunes (Windows) or Xcode (macOS) for necessary drivers, even if you won't use them directly for sideloading.
2. Step 2: Connect Your iPad
Connect your iPad to your computer via USB. Ensure your iPad is unlocked and you've trusted the computer.
3. Step 3: Open Sideloadly and Select .ipa
Launch Sideloadly. It should detect your connected iPad. Click the 'IPA' icon to browse and select the .ipa file you wish to install.
4. Step 4: Enter Apple ID Credentials
Sideloadly requires your Apple ID and password to sign the application. This is necessary for Apple's system to allow the app to run on your device. If you're concerned about privacy, you can create a burner Apple ID. Your credentials are sent directly to Apple for signing.
5. Step 5: Start Installation
Click the 'Start' button. Sideloadly will sign the .ipa file and install it on your iPad. This process can take a few minutes.
6. Step 6: Trust the Developer Profile on iPad
Once installed, go to 'Settings' > 'General' > 'VPN & Device Management' (or 'Device Management' on older iOS versions) on your iPad. Find the developer profile associated with your Apple ID, tap it, and then tap 'Trust [Your Apple ID]'.
Troubleshooting Common Installation Issues
Sideloading can sometimes present challenges. Here are some common issues and their solutions:
- "Untrusted Developer" Error: This is the most common issue. After installing a sideloaded app, you must manually trust the developer profile on your iPad. Go to
Settings > General > VPN & Device Managementand trust the profile associated with your Apple ID. - App Crashes Immediately After Launch: This often indicates an issue with the
.ipafile itself (e.g., it's corrupted, not compatible with your iOS version, or built for a different device architecture). Try obtaining a different.ipafile or ensuring it's compatible. - Installation Fails/Stalls: Ensure your iPad has enough free storage. Check your internet connection if the tool requires online verification. Restart both your computer and iPad. Try a different USB port or cable.
- Apple ID Login Issues with Third-Party Tools: Ensure you're using the correct Apple ID and password. If you have two-factor authentication enabled, you might need to generate an app-specific password for some tools instead of your main Apple ID password. Some tools handle 2FA prompts directly.