How to overlay views in other apps
Categories:
Overlaying Views in Other Android Applications
Learn how to create and manage system-level overlay views in Android, enabling your app to draw content on top of other applications. This guide covers permissions, service implementation, and view management.
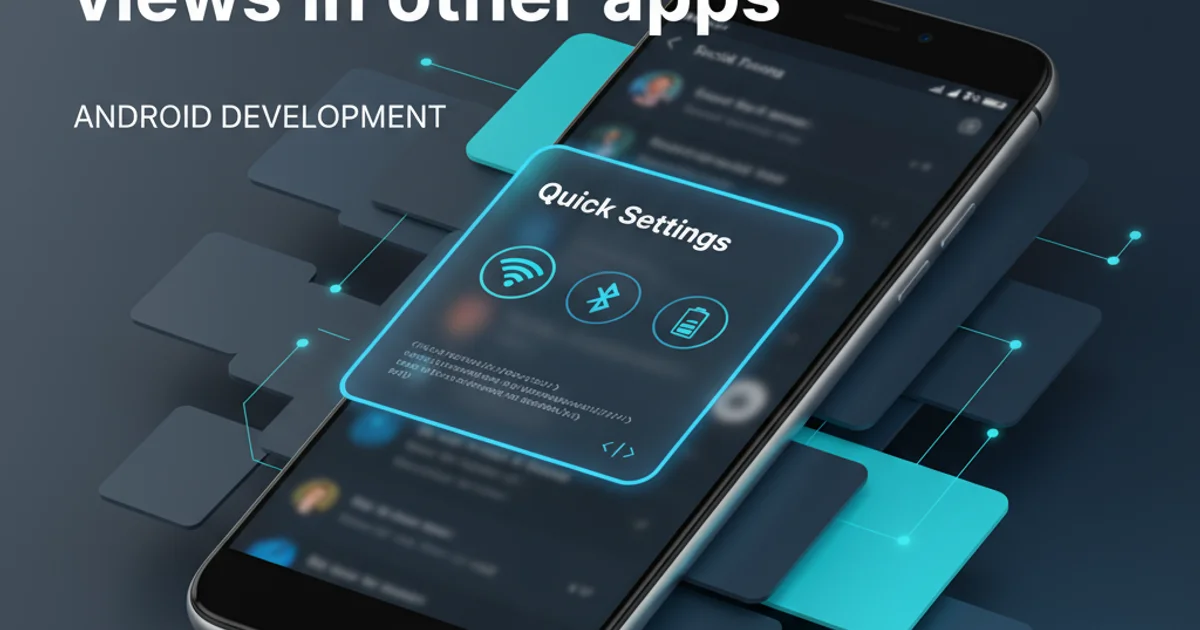
Overlaying views in Android allows an application to draw content on top of other running applications. This powerful feature is used for various purposes, such as chat heads, screen recorders, accessibility tools, and system-level alerts. However, due to security and user experience considerations, Android has strict requirements and permissions for implementing such overlays. This article will guide you through the necessary steps to create and manage an overlay view, focusing on best practices and common pitfalls.
Understanding the SYSTEM_ALERT_WINDOW Permission
To draw over other apps, your application must declare the SYSTEM_ALERT_WINDOW permission in its AndroidManifest.xml file. This is considered a dangerous permission because it allows an app to interfere with the user's interaction with other apps, potentially leading to security vulnerabilities or a poor user experience. Therefore, Android requires explicit user consent for this permission, typically granted at runtime.
<manifest xmlns:android="http://schemas.android.com/apk/res/android"
    package="com.example.overlayapp">

    <uses-permission android:name="android.permission.SYSTEM_ALERT_WINDOW" />

    <application
        ...
    </application>

</manifest>
Declaring SYSTEM_ALERT_WINDOW permission in AndroidManifest.xml.
Requesting Runtime Permission
Starting with Android 6.0 (API level 23), users must explicitly grant the SYSTEM_ALERT_WINDOW permission. Your app needs to check if the permission is granted and, if not, direct the user to the system settings to enable it. This is typically done when the user attempts to activate a feature that requires the overlay.
import android.content.Intent;
import android.net.Uri;
import android.os.Build;
import android.provider.Settings;
import androidx.appcompat.app.AppCompatActivity;

public class MainActivity extends AppCompatActivity {

    private static final int OVERLAY_PERMISSION_REQUEST_CODE = 1001;

    private void checkOverlayPermission() {
        if (Build.VERSION.SDK_INT >= Build.VERSION_CODES.M && !Settings.canDrawOverlays(this)) {
            Intent intent = new Intent(Settings.ACTION_MANAGE_OVERLAY_PERMISSION,
                    Uri.parse("package:" + getPackageName()));
            startActivityForResult(intent, OVERLAY_PERMISSION_REQUEST_CODE);
        }
    }

    @Override
    protected void onActivityResult(int requestCode, int resultCode, Intent data) {
        super.onActivityResult(requestCode, resultCode, data);
        if (requestCode == OVERLAY_PERMISSION_REQUEST_CODE) {
            if (Build.VERSION.SDK_INT >= Build.VERSION_CODES.M && Settings.canDrawOverlays(this)) {
                // Permission granted, start your overlay service
                startOverlayService();
            } else {
                // Permission denied, inform the user
                // Toast.makeText(this, "Overlay permission denied", Toast.LENGTH_SHORT).show();
            }
        }
    }

    private void startOverlayService() {
        // Implement your service start logic here
    }
}
Checking and requesting SYSTEM_ALERT_WINDOW permission at runtime.
Implementing the Overlay Service
Overlay views are typically managed by a Service to ensure they persist even when your main activity is not in the foreground. This service will be responsible for creating, updating, and removing the overlay view. The key components are WindowManager and WindowManager.LayoutParams.
flowchart TD
    A[User Action in App] --> B{Check Overlay Permission?}
    B -- No --> C[Request Permission]
    C -- Granted --> D[Start Overlay Service]
    B -- Yes --> D
    D --> E[Service onCreate()]
    E --> F[Create Overlay View]
    F --> G[Add View to WindowManager]
    G --> H[Overlay Visible]
    H -- User Interacts --> I[Update View (Optional)]
    H -- User Closes / App Stops --> J[Remove View from WindowManager]
    J --> K[Service onDestroy()]
    K --> L[Overlay Removed]
Lifecycle of an Android overlay view.
import android.app.Service;
import android.content.Intent;
import android.graphics.PixelFormat;
import android.os.IBinder;
import android.view.Gravity;
import android.view.LayoutInflater;
import android.view.View;
import android.view.WindowManager;
import android.widget.TextView;

public class OverlayService extends Service {

    private WindowManager mWindowManager;
    private View mOverlayView;

    @Override
    public IBinder onBind(Intent intent) {
        return null;
    }

    @Override
    public void onCreate() {
        super.onCreate();

        mWindowManager = (WindowManager) getSystemService(WINDOW_SERVICE);

        // Inflate the layout for the overlay view
        mOverlayView = LayoutInflater.from(this).inflate(R.layout.overlay_layout, null);

        // Set up layout parameters for the overlay view
        WindowManager.LayoutParams params = new WindowManager.LayoutParams(
                WindowManager.LayoutParams.WRAP_CONTENT,
                WindowManager.LayoutParams.WRAP_CONTENT,
                WindowManager.LayoutParams.TYPE_APPLICATION_OVERLAY, // For API 26+
                // WindowManager.LayoutParams.TYPE_PHONE, // For older APIs
                WindowManager.LayoutParams.FLAG_NOT_FOCUSABLE | WindowManager.LayoutParams.FLAG_NOT_TOUCH_MODAL,
                PixelFormat.TRANSLUCENT);

        params.gravity = Gravity.TOP | Gravity.START;
        params.x = 0;
        params.y = 100;

        // Add the view to the window manager
        mWindowManager.addView(mOverlayView, params);

        // Example: Update text in the overlay
        TextView overlayText = mOverlayView.findViewById(R.id.overlay_text);
        if (overlayText != null) {
            overlayText.setText("Hello from Overlay!");
        }
    }

    @Override
    public void onDestroy() {
        super.onDestroy();
        if (mOverlayView != null) {
            mWindowManager.removeView(mOverlayView);
        }
    }
}
Basic OverlayService implementation to display a simple text view.
<!-- res/layout/overlay_layout.xml -->
<LinearLayout xmlns:android="http://schemas.android.com/apk/res/android"
    android:layout_width="wrap_content"
    android:layout_height="wrap_content"
    android:orientation="vertical"
    android:background="#80000000" <!-- Semi-transparent black background -->
    android:padding="8dp">

    <TextView
        android:id="@+id/overlay_text"
        android:layout_width="wrap_content"
        android:layout_height="wrap_content"
        android:text="Overlay Content"
        android:textColor="#FFFFFF"
        android:textSize="16sp" />

</LinearLayout>
Example layout for the overlay view (overlay_layout.xml).
WindowManager.LayoutParams.TYPE_APPLICATION_OVERLAY, ensure your targetSdkVersion is 26 or higher. For older APIs, use WindowManager.LayoutParams.TYPE_PHONE or TYPE_PRIORITY_PHONE.Handling User Interaction and View Updates
Overlay views can be interactive. You can attach touch listeners to your overlay view to enable dragging, resizing, or other interactions. Remember that the FLAG_NOT_FOCUSABLE and FLAG_NOT_TOUCH_MODAL flags are crucial for allowing touches to pass through to the underlying app when not interacting with your overlay. If you want your overlay to consume touches, you might need to adjust these flags or handle touch events carefully.
import android.view.MotionEvent;
import android.view.View;

// Inside OverlayService.onCreate() after mWindowManager.addView()

mOverlayView.setOnTouchListener(new View.OnTouchListener() {
    private int initialX;
    private int initialY;
    private float initialTouchX;
    private float initialTouchY;

    @Override
    public boolean onTouch(View v, MotionEvent event) {
        WindowManager.LayoutParams params = (WindowManager.LayoutParams) v.getLayoutParams();
        switch (event.getAction()) {
            case MotionEvent.ACTION_DOWN:
                initialX = params.x;
                initialY = params.y;
                initialTouchX = event.getRawX();
                initialTouchY = event.getRawY();
                return true;
            case MotionEvent.ACTION_MOVE:
                params.x = initialX + (int) (event.getRawX() - initialTouchX);
                params.y = initialY + (int) (event.getRawY() - initialTouchY);
                mWindowManager.updateViewLayout(v, params);
                return true;
            case MotionEvent.ACTION_UP:
                // Handle click or release actions
                return true;
        }
        return false;
    }
});
Adding a touch listener to the overlay view for dragging functionality.
GestureDetector for better handling of taps, long presses, and flings, rather than just raw onTouch events.Best Practices and Considerations
While powerful, overlay views should be used judiciously. Overuse or poor implementation can lead to a frustrating user experience or even security concerns. Always prioritize user control and transparency.
1. Minimize Overlay Size
Keep your overlay views as small and unobtrusive as possible. Large, opaque overlays can block content and make other apps unusable.
2. Provide Clear Exit Strategy
Always offer a clear and easy way for users to dismiss or disable the overlay. This could be a close button, a notification, or a setting in your app.
3. Handle Lifecycle Events
Properly manage the lifecycle of your overlay service. Ensure the overlay is removed when the service is destroyed or when it's no longer needed to prevent memory leaks or orphaned views.
4. Test Across Android Versions
Overlay behavior and permissions can vary slightly between Android versions. Thoroughly test your implementation on different API levels, especially around API 23 (Marshmallow) and API 26 (Oreo) for permission and LayoutParams type changes.
5. Consider Accessibility
Ensure your overlay does not interfere with accessibility services or make the underlying content inaccessible to users with disabilities.