How to perform code signing using osslsigncode
Categories:
Code Signing with osslsigncode: A Comprehensive Guide
Learn how to digitally sign Windows executables and other files using osslsigncode, an open-source tool for Linux, macOS, and Windows, ensuring integrity and authenticity.
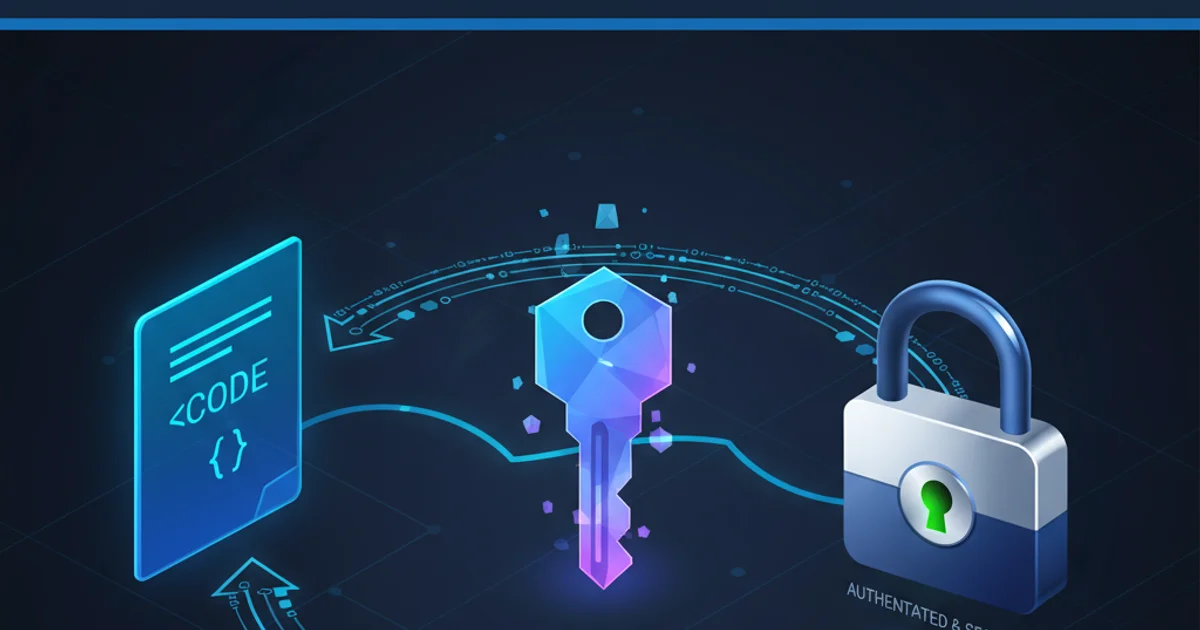
Digital code signing is a critical security practice that verifies the authenticity and integrity of software. It assures users that the software they are installing or running comes from a trusted publisher and has not been tampered with since it was signed. While Microsoft provides signtool.exe for Windows, osslsigncode offers a cross-platform, open-source alternative, particularly useful for developers working in non-Windows environments who need to sign Windows executables. This article will guide you through the process of using osslsigncode to sign your code effectively.
Understanding Code Signing Fundamentals
Before diving into the practical steps, it's essential to grasp the core concepts behind code signing. At its heart, code signing uses public-key cryptography. A software publisher obtains a code signing certificate from a Certificate Authority (CA). This certificate contains the publisher's public key and is digitally signed by the CA, vouching for the publisher's identity. When signing code, the publisher uses their private key to create a digital signature of the software's hash. This signature, along with the certificate, is then embedded into the software package. When a user attempts to run the software, the operating system verifies the signature using the public key in the certificate and checks if the software's hash matches the signed hash. If both checks pass, the software is deemed trustworthy.
flowchart TD
    A[Software Publisher] --> B{Obtain Code Signing Certificate}
    B --> C[Private Key & Public Key Pair]
    C --> D[Calculate Software Hash]
    D --> E[Sign Hash with Private Key]
    E --> F[Embed Signature & Certificate in Software]
    F --> G[Distribute Signed Software]
    G --> H[User Runs Software]
    H --> I{Verify Signature with Public Key}
    I --> J{Verify Software Hash}
    J -- Match --> K[Software Trusted]
    J -- Mismatch --> L[Software Untrusted]
    I -- Invalid Signature --> L
Code Signing Process Flow
Prerequisites and Installation of osslsigncode
osslsigncode relies on OpenSSL for cryptographic operations. Therefore, ensuring you have OpenSSL installed is the first step. osslsigncode itself can be installed from source or via package managers on various systems. For Windows, you might use a Linux subsystem like WSL or a MinGW/MSYS2 environment.
1. Install OpenSSL
Ensure OpenSSL is installed on your system. On Debian/Ubuntu, use sudo apt-get install openssl. On macOS, use brew install openssl. For Windows, consider installing a distribution like Git for Windows which includes OpenSSL, or use WSL.
2. Install osslsigncode
The most common way to install osslsigncode is by compiling from source. Download the latest release from the official GitHub repository. Extract the archive, navigate to the directory in your terminal, and run ./configure, make, and sudo make install. Alternatively, on some Linux distributions, it might be available via a package manager (e.g., sudo apt-get install osslsigncode).
3. Obtain a Code Signing Certificate
You will need a code signing certificate, typically in PKCS#12 (.pfx) format, which includes both your public certificate and private key. These are usually purchased from a trusted Certificate Authority (CA) like DigiCert, Sectigo, or GlobalSign. Ensure you have the password for your .pfx file.
Signing Your Code with osslsigncode
Once osslsigncode is installed and you have your .pfx certificate, signing your executable is straightforward. The basic command involves specifying the input file, output file, certificate, and its password. osslsigncode supports various options, including adding a timestamp, which is crucial for long-term validity of your signature.
osslsigncode sign \
    -pkcs12 "your_certificate.pfx" \
    -pass "your_pfx_password" \
    -n "Your Application Name" \
    -i "https://www.yourwebsite.com" \
    -t "http://timestamp.digicert.com" \
    -in "unsigned_app.exe" \
    -out "signed_app.exe"
Basic command to sign a Windows executable with osslsigncode
Let's break down the key parameters:
-pkcs12 "your_certificate.pfx": Specifies the path to your PKCS#12 certificate file.-pass "your_pfx_password": Provides the password for your PKCS#12 file. Be cautious with hardcoding passwords in scripts; consider using environment variables or secure input methods.-n "Your Application Name": Sets the display name for your application in the signature details.-i "https://www.yourwebsite.com": Specifies the URL of your application's website.-t "http://timestamp.digicert.com": Crucial for long-term validity. This adds a timestamp to your signature, ensuring it remains valid even after your certificate expires, as long as it was valid at the time of signing. Replace with a timestamp server from your CA or a public one.-in "unsigned_app.exe": The path to the unsigned input executable or file.-out "signed_app.exe": The path where the signed output file will be saved.
Verifying Your Signed Code
After signing, it's good practice to verify the signature to ensure the process was successful and the signature is valid. On Windows, you can right-click the executable, go to 'Properties', then the 'Digital Signatures' tab. On Linux or macOS, you can use osslsigncode itself to verify.
osslsigncode verify -in "signed_app.exe"
Verifying a signed executable with osslsigncode
This command will output details about the signature, including the signer, issuer, timestamp, and whether the signature is valid. A successful verification confirms that your code is properly signed and its integrity is intact.
.pfx file) and its password. Unauthorized access could allow malicious actors to sign their code with your identity, severely damaging your reputation. Store it securely, ideally in a hardware security module (HSM) or a secure vault.