How do I push a new local branch to a remote Git repository and track it too?
Categories:
Pushing a New Local Branch to a Remote Git Repository and Tracking It
Learn how to effectively push a newly created local Git branch to a remote repository and establish a tracking relationship for streamlined development.
When working with Git, it's common practice to develop new features or fixes in isolated branches. Once your work on a local branch is complete and ready for collaboration or review, you'll need to push it to a remote repository. This article will guide you through the process of pushing a new local branch to a remote and, crucially, setting up a tracking relationship so that future pushes and pulls are simpler and more intuitive.
Understanding Remote Tracking Branches
Before diving into the commands, it's important to understand what a remote tracking branch is. When you clone a repository, Git automatically sets up remote tracking branches for all branches on the remote (e.g., origin/main, origin/develop). These are local references to the state of branches on the remote repository. When you create a new local branch, it doesn't automatically have a corresponding remote tracking branch. Establishing this link allows Git to know which remote branch your local branch corresponds to, simplifying commands like git pull and git push.
flowchart TD
    A[Local Branch Created] --> B{Push to Remote?}
    B -- Yes --> C[Remote Branch Created]
    C --> D[Local Branch Tracks Remote Branch]
    D --> E[Simplified Push/Pull Operations]
    B -- No --> F[Local Only Development]
Flowchart illustrating the process of pushing a local branch and establishing tracking.
Pushing a New Branch and Setting Up Tracking
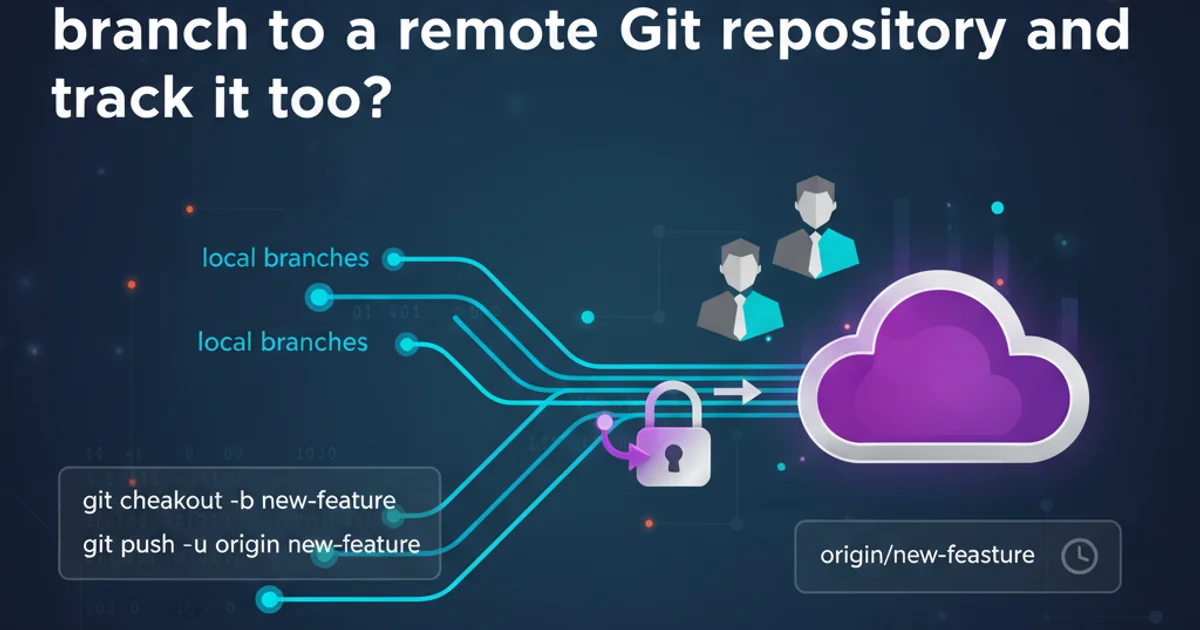
The most common and recommended way to push a new local branch to a remote repository and set it up to track the remote branch is by using the -u or --set-upstream-to flag with the git push command. This flag tells Git to remember the upstream (remote) branch for your current local branch.
git push -u origin <your-branch-name>
Pushing a new local branch and setting its upstream.
Let's break down this command:
git push: The basic command to send your local commits to the remote repository.-uor--set-upstream-to: This flag is the key. It tells Git to set the upstream reference for the current local branch to the specified remote branch. From this point forward, you can simply usegit pushorgit pullwithout specifying the remote and branch name.origin: This is the default name for your remote repository. If you have multiple remotes, you would replaceoriginwith the appropriate remote name.<your-branch-name>: This is the name of the local branch you want to push. Git will create a branch with the same name on theoriginremote.
-u, you can simply use git push and git pull for that branch. Git will automatically know which remote branch to interact with.Verifying the Tracking Relationship
You can verify that your local branch is correctly tracking its remote counterpart using the git branch -vv command. This command shows a detailed list of your local branches, including their tracking information.
git branch -vv
Checking the tracking status of local branches.
The output will show something similar to this:
  main        a1b2c3d [origin/main] Commit message for main
* feature/new-feature e4f5g6h [origin/feature/new-feature] Commit message for new feature
  develop     h7i8j9k [origin/develop] Commit message for develop
In this example, feature/new-feature is tracking origin/feature/new-feature, indicated by [origin/feature/new-feature].
Alternative: Pushing Without Setting Up Tracking (Not Recommended for New Branches)
While not recommended for the initial push of a new branch, you can push a branch without setting up tracking. In this case, you'll always need to specify the remote and branch name for subsequent pushes and pulls.
git push origin <your-branch-name>
Pushing a branch without setting an upstream (tracking) branch.
-u, subsequent git push or git pull commands on that branch will require you to specify the remote and branch name again, or Git will prompt you to set an upstream branch.1. Create a New Local Branch
First, ensure you are on the branch from which you want to create your new branch (e.g., main or develop), then create and switch to your new branch.
2. Make Your Changes and Commit
Perform your development work, stage your changes, and commit them to your new local branch.
3. Push and Set Up Tracking
Use the git push -u origin <your-branch-name> command to push your new branch to the remote and establish the tracking relationship.
4. Verify (Optional but Recommended)
Run git branch -vv to confirm that your local branch is now tracking its remote counterpart.