How do I get a Nexus 5/~5 inch 1080p phone emulator?
Categories:
Emulating a Nexus 5 (or Similar 1080p Device) in Android Studio
Learn how to set up an Android Virtual Device (AVD) in Android Studio that accurately simulates a Nexus 5 or a generic 5-inch 1080p Android phone, ensuring your app looks great on common device specifications.
Developing Android applications often requires testing on various device configurations to ensure compatibility and a consistent user experience. The Nexus 5, with its 5-inch 1080p display, represented a common and popular form factor for many years. While direct Nexus 5 images might be deprecated, you can still create an Android Virtual Device (AVD) that closely matches its specifications, or a generic 5-inch 1080p device, using Android Studio's AVD Manager. This article will guide you through the process, helping you set up an emulator that accurately reflects these device characteristics.
Understanding Nexus 5 Specifications
Before diving into AVD creation, it's helpful to recall the key specifications of the Nexus 5 that we aim to emulate:
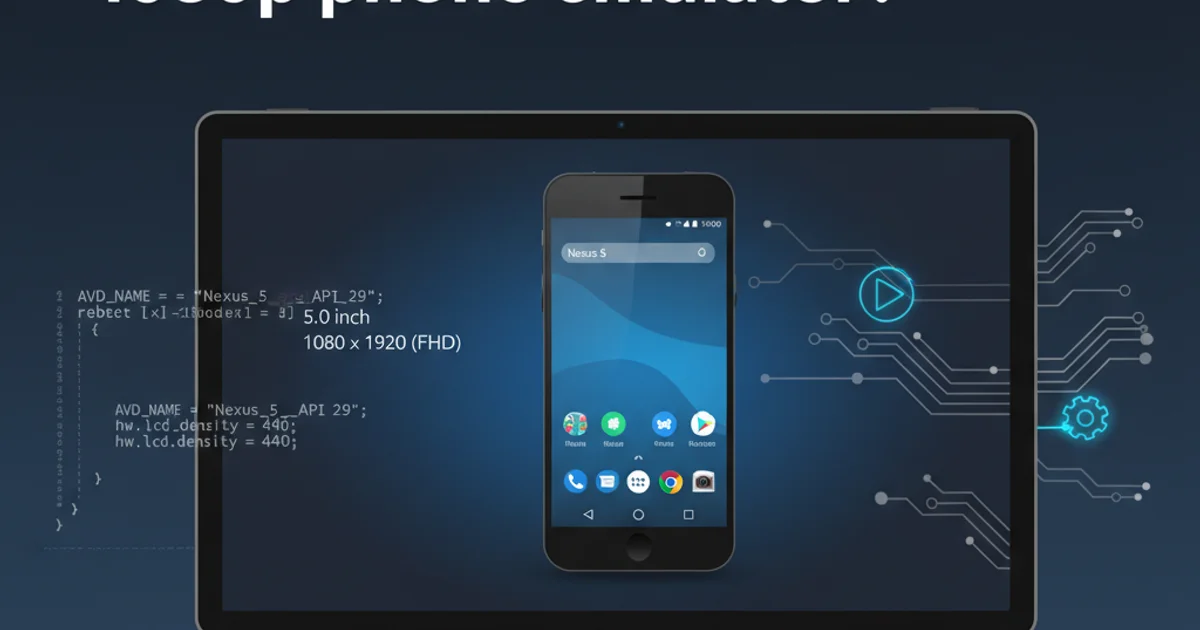
- Screen Size: Approximately 4.95 inches (often rounded to 5 inches)
- Resolution: 1080 x 1920 pixels (Full HD)
- Pixel Density (DPI): ~445 ppi (xhdpi or xxhdpi)
- Aspect Ratio: 16:9
These details are crucial for configuring a custom AVD that provides a realistic testing environment for your application's UI and performance on devices with similar screen characteristics. Modern Android Studio versions might not offer a direct 'Nexus 5' profile, but they provide the tools to create a custom profile or select a generic one that fits these criteria.
flowchart TD
    A[Start AVD Manager] --> B{Choose Device Definition}
    B --"Nexus 5 profile available?"-->|Yes| C[Select Nexus 5]
    B --"Nexus 5 profile available?"-->|No| D[Create New Hardware Profile]
    C --> E[Select System Image]
    D --> F[Configure Custom Profile]
    F --> G{"Screen Size: 5.0"
"Resolution: 1080x1920"
"Density: xxhdpi"}
    G --> E
    E --> H[Verify AVD Settings]
    H --> I[Launch Emulator]
    I --> J[Test Application]
    J --> K[End]
Flowchart for creating a Nexus 5-like AVD
Creating a Custom 5-inch 1080p AVD
If a direct Nexus 5 profile isn't available or you prefer more control, you can create a custom hardware profile. This allows you to precisely define the screen size, resolution, and density to match the Nexus 5 or any other target device.
1. Open AVD Manager
In Android Studio, navigate to Tools > AVD Manager.
2. Create New Virtual Device
Click the + Create Virtual Device... button at the bottom of the AVD Manager window.
3. Select Phone Category
In the 'Select Hardware' screen, choose the Phone category. Look for a device that is close to 5 inches, or select New Hardware Profile if you want to define everything from scratch.
4. Configure Hardware Profile (if custom)
If you chose New Hardware Profile, enter a name like "Custom 5-inch 1080p". Set the following:
- Screen size: 5.0 inches
- Resolution: 1080 x 1920 (select
Customif not available) - Density:
xxhdpi(or480dpiif custom DPI is an option)
Click Finish to save your new hardware profile.
5. Choose System Image
Back in the 'Select System Image' screen, choose an appropriate Android API level. For a Nexus 5, an older API level like Marshmallow (API 23) or Lollipop (API 21) would be historically accurate, but for modern development, choose a recent stable API level (e.g., API 30+). Ensure you select an image with Google APIs if your app uses Google services, or Google Play if you need the Play Store.
6. Verify AVD Configuration
On the 'Verify Configuration' screen, review your settings. You can give your AVD a descriptive name (e.g., "Nexus_5_Emulator"). Ensure the Emulated Performance is set to Hardware - GLES 2.0 for better performance. Click Finish.
Launching and Testing Your Emulator
Once your AVD is created, you can launch it from the AVD Manager. It will appear as a separate window on your desktop, simulating an Android device. You can then run your application directly onto this emulator from Android Studio.
<!-- Example of a layout file for a 1080p screen -->
<RelativeLayout xmlns:android="http://schemas.android.com/apk/res/android"
    xmlns:tools="http://schemas.android.com/tools"
    android:layout_width="match_parent"
    android:layout_height="match_parent"
    tools:context=".MainActivity">

    <TextView
        android:layout_width="wrap_content"
        android:layout_height="wrap_content"
        android:text="Hello from 1080p!"
        android:textSize="24sp"
        android:layout_centerInParent="true" />

</RelativeLayout>
A simple Android layout designed for a typical phone screen.
When testing, pay close attention to:
- Layouts: Do your UI elements scale correctly? Are there any unexpected overlaps or cut-offs?
- Text Size: Is text readable and appropriately sized for the screen density?
- Image Assets: Are your drawable assets (e.g.,
drawable-xxhdpi) being picked up correctly? - Performance: Does the app run smoothly on the emulated hardware?
By carefully configuring your AVD, you can create a robust testing environment that accurately mimics the user experience on a Nexus 5 or any other 5-inch 1080p Android device, ensuring your app is polished and ready for a wide range of users.