Installing Homebrew on macOS
Categories:
Installing Homebrew on macOS: Your Gateway to Command-Line Tools
Learn how to install Homebrew, the essential package manager for macOS, and unlock a vast ecosystem of command-line utilities and applications.
Homebrew is a free and open-source software package management system that simplifies the installation of software on Apple's macOS operating system. It's often referred to as 'the missing package manager for macOS' because it allows you to install thousands of command-line tools, utilities, and applications that Apple doesn't provide by default. If you're a developer, a system administrator, or just someone who likes to tinker with their Mac, Homebrew is an indispensable tool.
Prerequisites: What You Need Before You Start
Before you can install Homebrew, there are a couple of essential prerequisites you need to have in place. These ensure that Homebrew can function correctly and compile software from source if necessary. The primary requirement is Apple's Command Line Tools for Xcode.
1. Install Xcode Command Line Tools
Open your Terminal application (you can find it in Applications/Utilities or by searching with Spotlight Cmd + Space and typing 'Terminal'). Then, execute the following command to install the Xcode Command Line Tools. This package includes Git, GCC, and other Unix tools that Homebrew relies on.
2. Verify Installation (Optional but Recommended)
After the installation completes, you can verify that Git (one of the tools included) is correctly installed by checking its version. This confirms the Command Line Tools are ready.
xcode-select --install
Command to install Xcode Command Line Tools
git --version
Verify Git installation after Xcode Command Line Tools
xcode-select --install will either install them or confirm they are already installed.The Homebrew Installation Process
Installing Homebrew itself is a straightforward process, typically involving a single command executed in your terminal. This command downloads a script from the official Homebrew website and runs it to set up Homebrew on your system. The script will guide you through the process, explaining what it's doing and asking for your password when necessary to install files in system directories.
flowchart TD
    A[Open Terminal] --> B{"Check for Xcode Command Line Tools?"}
    B -- No --> C[Run 'xcode-select --install']
    B -- Yes --> D[Run Homebrew Installation Command]
    C --> D
    D --> E[Enter macOS Password (if prompted)]
    E --> F[Homebrew Installation Script Runs]
    F --> G[Verify Homebrew Installation]
    G --> H[Start Using Homebrew!]
Homebrew Installation Workflow
1. Execute the Installation Command
Copy and paste the following command into your Terminal. This command is provided directly by the Homebrew project and is the recommended way to install it.
2. Follow On-Screen Prompts
The script will explain what it's about to do. Press Return or Enter to continue. You will likely be prompted to enter your macOS user password. This is necessary for Homebrew to create directories and set permissions in /usr/local or /opt/homebrew (depending on your macOS version and architecture).
3. Complete Installation
Wait for the script to finish. It will download necessary files and configure your environment. Once complete, you'll see a message indicating successful installation.
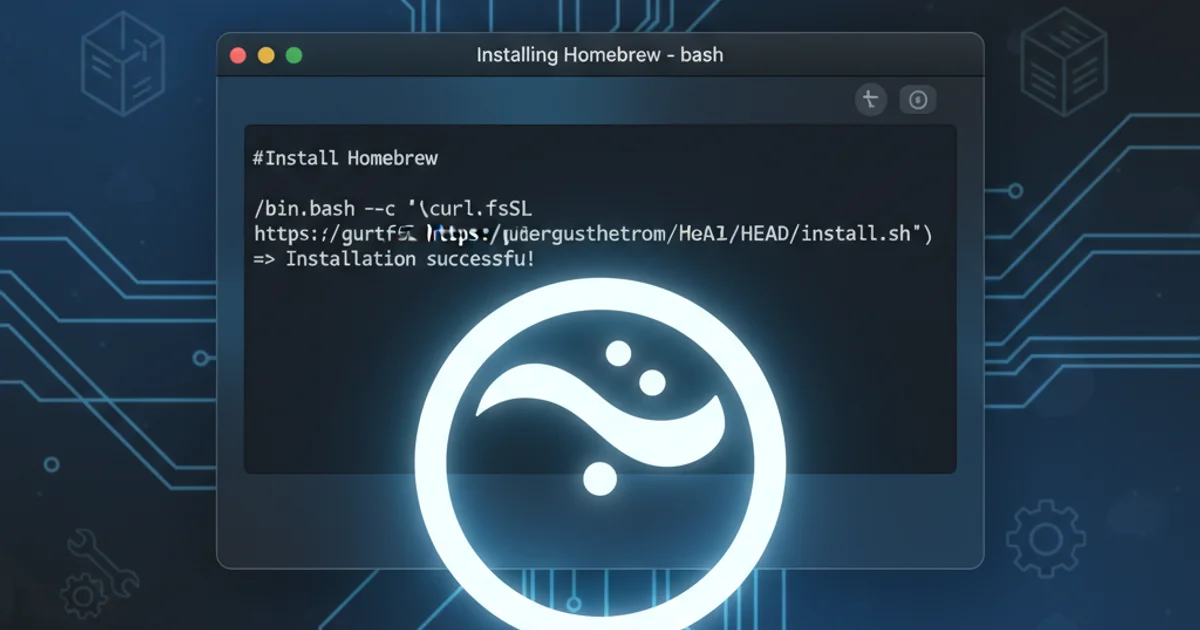
/bin/bash -c "$(curl -fsSL https://raw.githubusercontent.com/Homebrew/install/HEAD/install.sh)"
Official Homebrew installation command
Verifying Your Homebrew Installation
After the installation script completes, it's crucial to verify that Homebrew is correctly installed and configured in your system's PATH. This ensures you can use brew commands from any directory in your terminal.
1. Run brew doctor
The brew doctor command is Homebrew's built-in diagnostic tool. It checks for potential issues, missing dependencies, or misconfigurations in your Homebrew setup. It will report 'Your system is ready to brew.' if everything is in order, or provide instructions on how to fix any problems.
2. Check Homebrew Version
You can also quickly check the installed Homebrew version to confirm it's working.
brew doctor
Run Homebrew's diagnostic tool
brew --version
Check the installed Homebrew version
Congratulations! You have successfully installed Homebrew on your macOS system. You can now use brew install <package_name> to install a vast array of software, brew upgrade to update your installed packages, and brew uninstall <package_name> to remove them. Explore the Homebrew documentation to discover more commands and capabilities.