Add a folder to the PATH environment variable in Windows 10 (with screenshots)
Categories:
How to Add a Folder to the PATH Environment Variable in Windows 10
Learn step-by-step how to modify your system's PATH environment variable in Windows 10, allowing you to run executables from any directory without specifying their full path.
The PATH environment variable in Windows is a crucial system setting that tells your operating system where to look for executable files (like .exe, .bat, or .cmd files) when you type a command in Command Prompt or PowerShell. By adding a folder to your PATH, you can run programs located in that folder from any directory, saving you the hassle of navigating to the program's specific location every time. This article will guide you through the process of adding a new folder to your PATH in Windows 10, complete with screenshots and a clear workflow diagram.
Understanding the PATH Variable
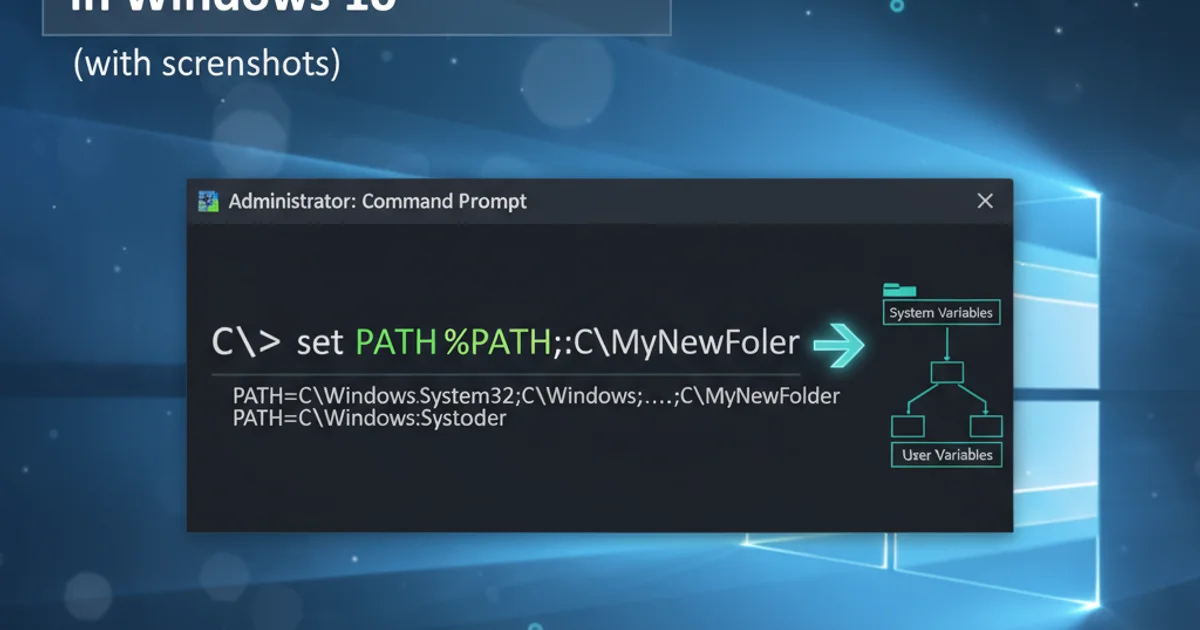
Before we dive into the steps, it's helpful to understand what the PATH variable does. Imagine you have a program called mytool.exe located in C:\MyCustomTools. If this folder is not in your PATH, you would have to type C:\MyCustomTools\mytool.exe every time you want to run it from a different directory. However, if C:\MyCustomTools is added to your PATH, you can simply type mytool.exe from any location in Command Prompt, and Windows will find and execute it. This significantly improves efficiency for developers, system administrators, and power users.
flowchart TD
    A[User types command 'mytool.exe'] --> B{Is 'mytool.exe' in current directory?}
    B -- No --> C{Check directories listed in PATH variable}
    C --> D{Is 'mytool.exe' found in any PATH directory?}
    D -- Yes --> E[Execute 'mytool.exe']
    D -- No --> F[Error: 'mytool.exe' not recognized]
    B -- Yes --> E
How Windows resolves executable commands using the PATH variable.
Accessing Environment Variables
Windows provides a graphical interface to manage environment variables. There are two types: 'User variables' (specific to your user account) and 'System variables' (affecting all users on the computer). For most custom tools, adding to 'User variables' is sufficient. If the tool needs to be accessible by all users, or if it's a system-wide utility, 'System variables' is the appropriate choice. We will focus on modifying 'System variables' as it's a common requirement and covers the general process.
1. Step 1: Open System Properties
Right-click on the 'This PC' icon on your desktop or in File Explorer, then select 'Properties'. Alternatively, you can search for 'Edit the system environment variables' in the Windows search bar and click the result.
2. Step 2: Access Environment Variables
In the 'System' window, click on 'Advanced system settings' on the left-hand side. This will open the 'System Properties' dialog. Navigate to the 'Advanced' tab, and then click the 'Environment Variables...' button at the bottom.
3. Step 3: Edit the PATH Variable
In the 'Environment Variables' window, under 'System variables', scroll down and find the 'Path' variable. Select it and click the 'Edit...' button. This will open the 'Edit environment variable' dialog.
4. Step 4: Add Your New Folder
In the 'Edit environment variable' window, click 'New' and paste the full path to the folder you want to add (e.g., C:\MyCustomTools). Ensure there are no trailing backslashes unless the path specifically requires it. Click 'OK' on all open windows to save your changes.
5. Step 5: Verify the Change
Open a new Command Prompt or PowerShell window (existing windows won't reflect the changes). Type echo %PATH% and press Enter. You should see your newly added folder listed among the paths. Now, you can navigate to any directory and run executables from your added folder by just typing their name.
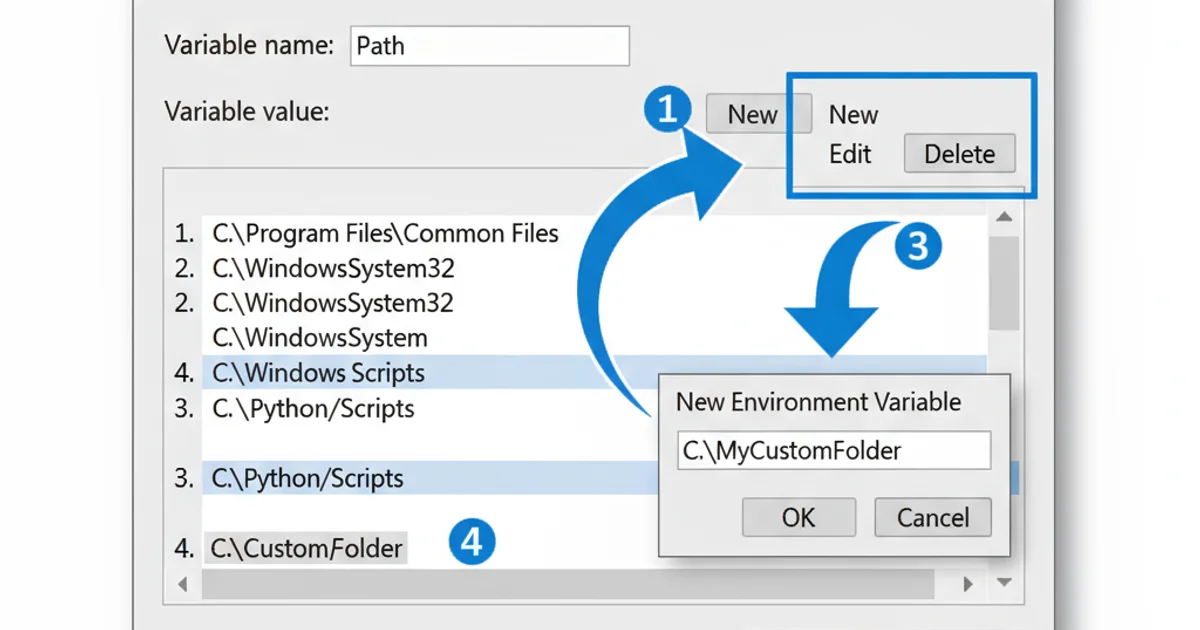
Adding a new folder path in the 'Edit environment variable' dialog.