How can I move EC2 instances to a different subnet?
Categories:
Migrating EC2 Instances to a Different Subnet: A Comprehensive Guide
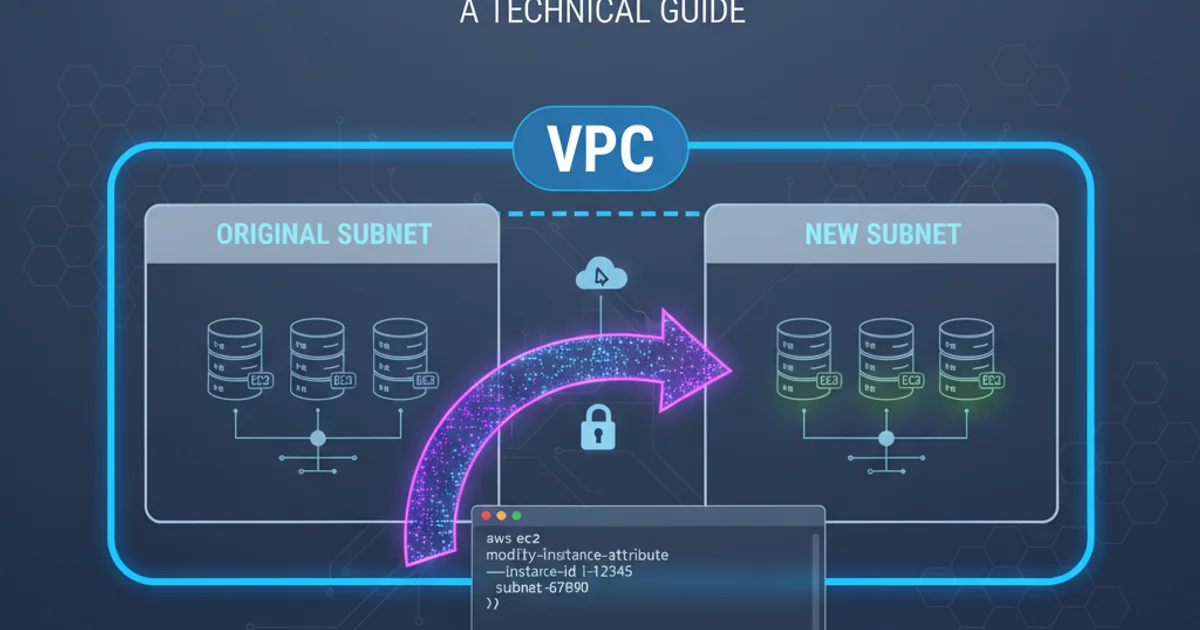
Learn the methods and considerations for moving your Amazon EC2 instances between subnets within the same VPC, ensuring minimal downtime and proper network configuration.
Moving an Amazon EC2 instance to a different subnet is a common operational task in cloud environments. This might be necessary for various reasons, such as re-architecting your network, isolating specific applications, or optimizing network performance and security. While AWS doesn't provide a direct 'move' function for running instances between subnets, there are established methods to achieve this, primarily involving creating a new instance in the target subnet from a snapshot or AMI of the original instance. This article will guide you through the process, covering both Linux and Windows instances, and highlight important considerations.
Understanding the Constraints and Implications
Before attempting to move an EC2 instance, it's crucial to understand the underlying AWS networking model. An EC2 instance's network interface (ENI) is tied to the subnet it was launched in. This means you cannot simply change the subnet of a running or stopped instance. The process inherently involves creating a new instance. This has several implications:
- IP Address Change: The new instance will receive a new private IP address from the target subnet's CIDR block. If you rely on specific private IPs, you'll need to update any configurations or DNS records.
- Public IP Address Change: If the original instance had a public IP, the new instance will get a new one. If you need a static public IP, ensure you associate an Elastic IP (EIP) with the new instance.
- Downtime: The process involves stopping the original instance and launching a new one, which will incur downtime. Plan this during a maintenance window.
- Instance ID Change: The new instance will have a different instance ID.
- Metadata: Ensure any instance metadata or user data scripts are correctly applied to the new instance.
flowchart TD
    A[Original EC2 Instance in Subnet A] --> B{Create AMI/Snapshot};
    B --> C[Stop Original Instance];
    C --> D[Launch New Instance from AMI/Snapshot];
    D --> E{Configure New Instance in Subnet B};
    E --> F[Verify Functionality];
    F --> G[Terminate Original Instance (Optional)];

    subgraph Original Subnet
        A
        C
    end

    subgraph Target Subnet
        D
        E
    end
High-level process for moving an EC2 instance to a new subnet.
Method 1: Using an Amazon Machine Image (AMI)
Creating an AMI is the most common and recommended method for migrating an EC2 instance. An AMI includes a template for the root volume, launch permissions, and a block device mapping that specifies the volumes to attach when launching the instance. This method is suitable for both Linux and Windows instances.
1. Prepare the Original Instance
Before creating an AMI, ensure your instance is in a consistent state. For critical applications, it's best to stop the instance to guarantee data integrity, especially for databases. If stopping is not an option, ensure all data is flushed to disk.
2. Create an AMI
Navigate to the EC2 console, select your instance, then go to 'Actions' > 'Image and templates' > 'Create image'. Provide a name and description for your AMI. You can choose to 'No reboot' for Linux instances, but stopping is safer. For Windows instances, a reboot is often required for a consistent image.
3. Launch a New Instance from the AMI
Once the AMI is available (its status will change from 'pending' to 'available'), go to the EC2 console, select 'AMIs' under 'Images', find your newly created AMI, and click 'Launch instance from AMI'. During the launch wizard, select the target subnet where you want the instance to reside. Configure other settings like instance type, security groups, key pair, and user data as needed. Ensure you attach the correct Elastic IP if required.
4. Verify and Terminate
After the new instance is running, thoroughly test its functionality, network connectivity, and application performance. Once you've confirmed everything is working as expected, you can terminate the original instance. Remember to deregister the AMI if it's no longer needed to avoid storage costs.
Method 2: Detaching and Reattaching the Root Volume (Linux Only)
This method is generally more complex and riskier than using an AMI, and it's primarily applicable to Linux instances where the root volume is a standard EBS volume. It involves detaching the root volume from the original instance and attaching it to a new, temporary instance launched in the target subnet, then making it the root volume of that new instance. This method is NOT recommended for Windows instances or instances with complex boot configurations.
1. Stop the Original Instance
Stop the EC2 instance you wish to move. This is critical to ensure data consistency on the root volume.
2. Detach the Root Volume
Identify the root volume (usually /dev/sda1 or /dev/xvda) attached to the original instance. Detach it from the instance. Note down the device name it was attached as.
3. Launch a Temporary Instance
Launch a new, temporary EC2 instance of the same operating system and instance type in the target subnet. This instance will serve as a host to re-attach your original root volume.
4. Attach Original Root Volume to Temporary Instance
Attach the detached root volume from step 2 to the temporary instance as a secondary data volume (e.g., /dev/sdf).
5. Modify fstab (if necessary)
SSH into the temporary instance, mount the original root volume, and check its /etc/fstab file. If it contains device names (like /dev/xvda1), you might need to update them to UUIDs or labels to ensure proper booting when it becomes a root volume again. This step is crucial for bootability.
6. Detach and Re-attach as Root
Stop the temporary instance. Detach the original root volume from it. Then, attach this volume back to the same temporary instance but this time as the root device (e.g., /dev/sda1 or /dev/xvda).
7. Start and Verify
Start the temporary instance. It should now boot using your original root volume in the new subnet. Verify all applications and network configurations. Once confirmed, you can terminate the original instance and the temporary instance (if it was just for the migration).
fstab configurations or if the original instance had specific kernel modules or drivers tied to its initial launch configuration. Always create a snapshot of the root volume before attempting this method.Post-Migration Checklist
After successfully moving your EC2 instance to a new subnet, perform the following checks and updates:
1. Update DNS Records
If you use DNS records (e.g., Route 53) pointing to the instance's IP address, update them with the new private or public IP.
2. Re-associate Elastic IP
If you were using an Elastic IP, disassociate it from the old instance (if it wasn't automatically released) and associate it with the new instance.
3. Verify Security Groups and Network ACLs
Ensure the new instance is associated with the correct security groups and that the target subnet's Network ACLs allow the necessary inbound and outbound traffic.
4. Update Dependent Services
Any services or applications that communicate with this instance by its private IP address will need to be updated (e.g., load balancers, other EC2 instances, databases).
5. Monitor Performance and Logs
Closely monitor the new instance's performance, system logs, and application logs for any issues.
6. Clean Up Old Resources
Terminate the old EC2 instance and deregister any AMIs or delete snapshots that are no longer needed to avoid incurring unnecessary costs.
# Example: Associating an Elastic IP with a new instance
aws ec2 associate-address \
    --instance-id i-0abcdef1234567890 \
    --allocation-id eipalloc-0abcdef1234567890
AWS CLI command to associate an Elastic IP with a new EC2 instance.