How do you create a freestanding C++ program?
Categories:
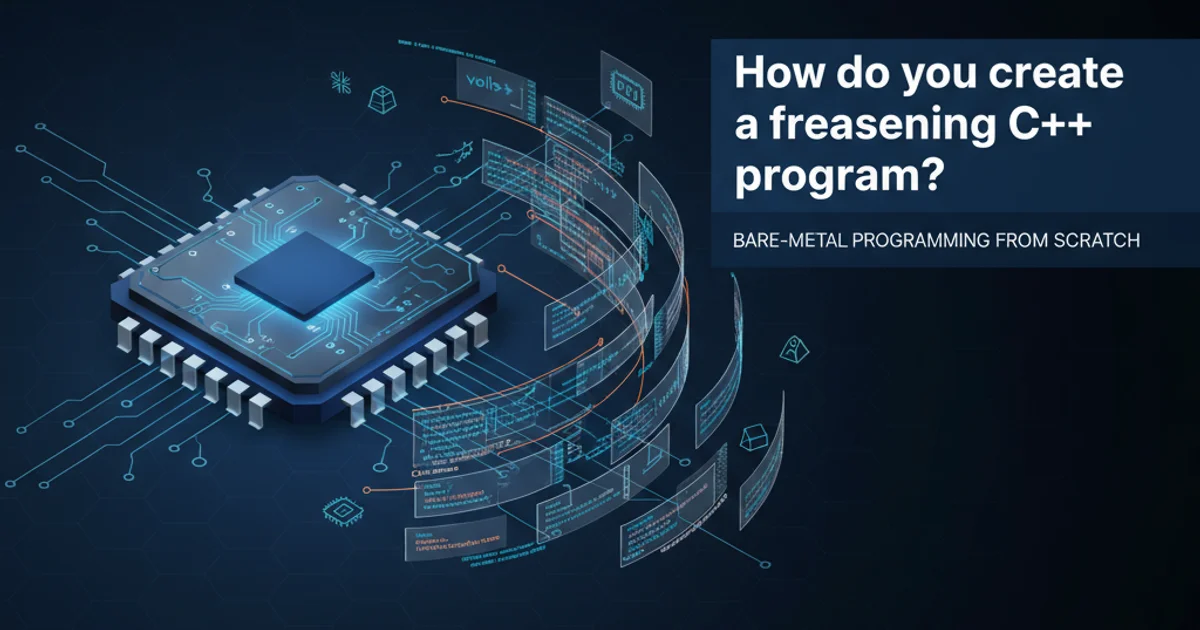
Crafting Freestanding C++ Programs: Beyond the OS
Explore the intricacies of developing C++ applications that run without a traditional operating system, delving into bare-metal programming, custom runtimes, and embedded systems.
Most C++ programs are written to run on an operating system (OS) like Windows, Linux, or macOS. These programs rely heavily on OS services for memory management, file I/O, process scheduling, and more. However, there are scenarios where you might need a "freestanding" C++ program – one that operates without an OS, directly interacting with the hardware. This is common in embedded systems, bootloaders, firmware, and specialized high-performance computing contexts.
Understanding the Freestanding Environment
A freestanding C++ environment is one where the standard library and OS-specific services are either unavailable or severely limited. This means you cannot use functions like std::cout, new, delete, or any form of dynamic memory allocation without providing your own implementations. The program starts execution at a designated entry point (often _start or main with specific linkage) and is responsible for initializing the hardware, setting up the stack, and managing all resources.
flowchart TD
    A[Program Start (e.g., _start)] --> B{Initialize CPU/Registers}
    B --> C{Set up Stack Pointer}
    C --> D{Initialize Global/Static Data}
    D --> E{Call C++ Constructors}
    E --> F[Call main() function]
    F --> G{Program Logic}
    G --> H{Handle Interrupts/Events}
    H --> I{Loop or Halt}
    I --> J{Call C++ Destructors (if exiting)}
    J --> K[Halt/Reboot]
Typical execution flow of a freestanding C++ program.
In such an environment, you're essentially building your own minimal runtime. This involves direct hardware access, often through memory-mapped I/O or specific CPU instructions. The compiler toolchain must be configured for a "bare-metal" target, which usually means using a cross-compiler and linking against a custom or minimal C runtime library (like newlib-nano or none at all).
Key Considerations for Freestanding C++
Developing freestanding C++ requires careful attention to several areas that are typically abstracted away by an OS:
1. Toolchain and Linker Script
A cross-compiler (e.g., arm-none-eabi-g++ for ARM Cortex-M) is essential. The linker script (.ld file) is critical; it defines memory regions (FLASH, RAM), specifies the entry point, and dictates where different sections of your code and data will reside. Without an OS, the linker script becomes your primary memory manager.
/* Example Linker Script (simplified for ARM Cortex-M) */
MEMORY
{
  FLASH (rx) : ORIGIN = 0x08000000, LENGTH = 128K
  RAM (rwx)  : ORIGIN = 0x20000000, LENGTH = 32K
}

ENTRY(_start)

SECTIONS
{
  .text : {
    *(.isr_vector)
    *(.text)
    *(.rodata)
  } > FLASH

  .data : AT(ADDR(.text) + SIZEOF(.text)) {
    _sdata = .;
    *(.data)
    _edata = .;
  } > RAM

  .bss : {
    _sbss = .;
    *(.bss)
    _ebss = .;
  } > RAM

  .stack : {
    . = ALIGN(8);
    _estack = .;
  } > RAM
}
A simplified linker script defining memory regions and section placement.
2. Startup Code and Runtime Initialization
You need to provide your own startup code, typically written in assembly or a mix of assembly and C. This code is executed immediately after reset and performs essential tasks:
- Initialize Stack Pointer: Set up the main stack.
- Initialize Data Sections: Copy initialized data from FLASH to RAM (
.datasection) and zero-out uninitialized data (.bsssection). - Call Constructors: Invoke global/static object constructors.
- Call
main(): Finally, transfer control to your C++mainfunction.
// Minimal C++ entry point for a freestanding environment
extern "C" void _start() {
    // 1. Copy .data from FLASH to RAM
    extern unsigned int _sdata, _edata, _etext;
    unsigned int *src = &_etext;
    unsigned int *dst = &_sdata;
    while (dst < &_edata) {
        *dst++ = *src++;
    }

    // 2. Zero-fill .bss section
    extern unsigned int _sbss, _ebss;
    dst = &_sbss;
    while (dst < &_ebss) {
        *dst++ = 0;
    }

    // 3. Call global constructors (if any)
    // This often requires compiler-specific hooks or iterating through a table
    // For simplicity, omitted here, but crucial for C++ objects.

    // 4. Call main function
    extern int main();
    main();

    // If main returns, halt or reset
    while (1) { /* Loop indefinitely or trigger a reset */ }
}
A basic _start function in C++ for bare-metal initialization.
3. Standard Library and Language Features
Many standard library features are unavailable. For example:
- I/O:
std::cout,printfrequire custom implementations (e.g., writing to a UART peripheral). - Dynamic Memory:
new,delete,malloc,freeare not available unless you provide a custom heap manager. - Exceptions: Exception handling often requires OS support. It's usually disabled or implemented with significant overhead.
- RTTI: Run-Time Type Information (
dynamic_cast,typeid) is also often disabled to save space.
You'll need to implement basic utilities yourself or use highly specialized embedded libraries. For example, a simple printf might involve writing characters directly to a serial port's data register.
// Example: Minimal UART output function
// (Assumes a specific microcontroller's UART register map)

#define UART_BASE_ADDR 0x40002000 // Example base address
#define UART_DR_OFFSET 0x00      // Data Register offset
#define UART_SR_OFFSET 0x18      // Status Register offset
#define UART_SR_TXE_BIT (1 << 7) // Transmit Empty bit

volatile unsigned int* const UART_DR = (volatile unsigned int*)(UART_BASE_ADDR + UART_DR_OFFSET);
volatile unsigned int* const UART_SR = (volatile unsigned int*)(UART_BASE_ADDR + UART_SR_OFFSET);

void putc(char c) {
    while (!(*UART_SR & UART_SR_TXE_BIT)); // Wait until transmit buffer is empty
    *UART_DR = (unsigned int)c;            // Send character
}

void puts(const char* s) {
    while (*s) {
        putc(*s++);
    }
}

int main() {
    // Basic UART initialization would go here (baud rate, etc.)
    // ...
    puts("Hello from freestanding C++!\r\n");
    while(1);
    return 0;
}
A simple putc and puts implementation for a hypothetical UART peripheral.
<iostream>, <vector>, <string>, or <thread> unless you are absolutely certain they have been adapted for your specific freestanding environment. Most will pull in OS dependencies.Building and Flashing
After compilation and linking, you'll typically get an ELF (Executable and Linkable Format) file. This file needs to be converted into a binary format (e.g., .bin or .hex) suitable for flashing onto your target hardware. Tools like objcopy are used for this conversion. The final binary is then loaded onto the microcontroller's flash memory using a JTAG/SWD debugger or a bootloader.
1. Write Code
Develop your C++ source files, ensuring minimal dependencies and direct hardware interaction where necessary.
2. Create Linker Script
Define memory layout, entry point, and section placement in a .ld file specific to your target hardware.
3. Compile and Link
Use a cross-compiler (e.g., arm-none-eabi-g++) with appropriate flags (-ffreestanding, -nostdlib, -nostdinc++) and link with your custom startup code and linker script.
4. Convert to Binary
Use objcopy to convert the ELF output to a raw binary or Intel HEX format (.bin, .hex).
5. Flash to Hardware
Use a debugger (like OpenOCD with GDB) or a dedicated flashing tool to load the binary onto the target microcontroller's flash memory.
6. Debug and Test
Utilize hardware debuggers to step through your code, inspect registers, and verify functionality on the actual device.