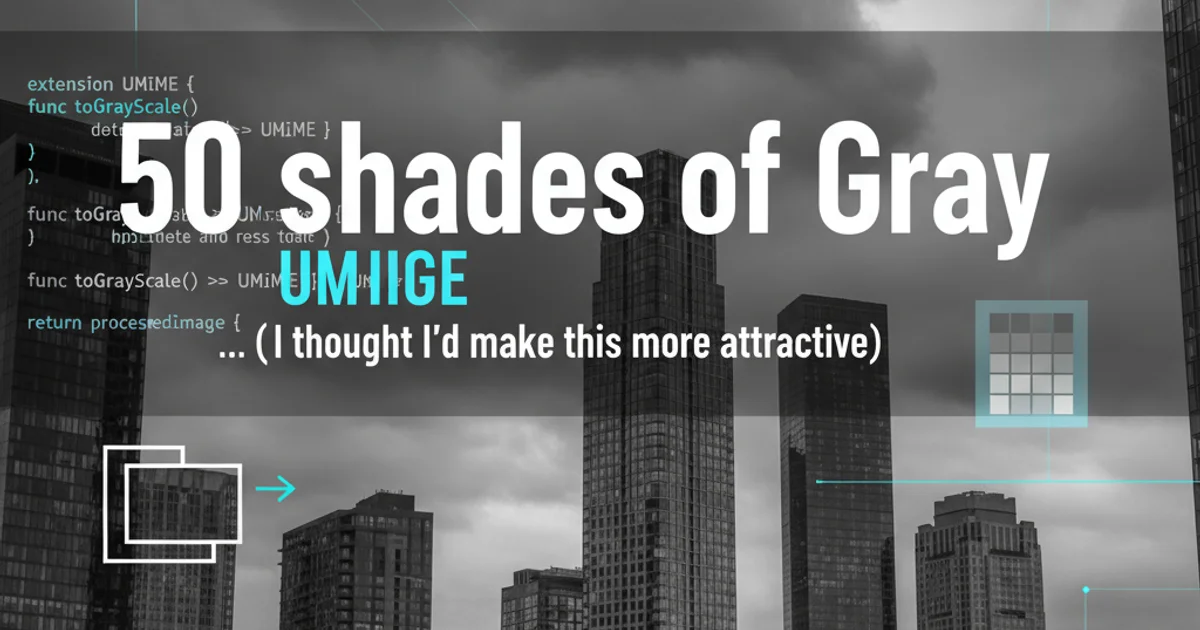
"50 shades of Gray" in UIImage... (I thought I'd make this more attractive)
Categories:
50 Shades of Gray: Mastering Grayscale UIImage in iOS
Explore various techniques to convert UIImages to grayscale in iOS 7 and beyond, from Core Image filters to custom pixel manipulation, and understand their performance implications.
Converting a UIImage to grayscale is a common requirement in iOS development, whether for aesthetic purposes, accessibility features, or to indicate a disabled state for an image. While it might seem straightforward, there are several approaches, each with its own advantages and performance characteristics. This article delves into the most effective methods available in iOS 7 and later, guiding you through Core Image filters, Core Graphics, and even direct pixel manipulation.
Method 1: Core Image Filters (CIFilter)
Core Image provides a powerful and efficient way to apply various image processing effects, including converting an image to grayscale. The CIPhotoEffectMono filter is specifically designed for this purpose, offering a quick and high-quality solution. This method is generally recommended for its performance and ease of use, especially for static images or when applying other Core Image effects.
import UIKit
import CoreImage

extension UIImage {
    func toGrayscaleWithCIFilter() -> UIImage? {
        guard let ciImage = CIImage(image: self) else { return nil }

        if let filter = CIFilter(name: "CIPhotoEffectMono") {
            filter.setValue(ciImage, forKey: kCIInputImageKey)
            if let outputImage = filter.outputImage {
                let context = CIContext(options: nil)
                if let cgImage = context.createCGImage(outputImage, from: outputImage.extent) {
                    return UIImage(cgImage: cgImage)
                }
            }
        }
        return nil
    }
}
UIImage extension for grayscale conversion using CIPhotoEffectMono.
CIFilter, consider creating a single CIContext instance if you're processing multiple images. Recreating the context for each image can introduce performance overhead.Method 2: Core Graphics (CGContext)
Core Graphics offers a more granular control over image rendering. By drawing the image into a grayscale CGContext, you can achieve the desired effect. This method is particularly useful if you need to perform other custom drawing operations alongside the grayscale conversion or if you prefer a lower-level approach without the overhead of Core Image's filter chain management. It's also a good fallback if Core Image isn't suitable for some reason.
import UIKit
import CoreGraphics

extension UIImage {
    func toGrayscaleWithCoreGraphics() -> UIImage? {
        guard let cgImage = self.cgImage else { return nil }

        let colorSpace = CGColorSpaceCreateDeviceGray()
        let bitmapInfo = CGBitmapInfo(rawValue: CGImageAlphaInfo.none.rawValue)
        let context = CGContext(data: nil,
                                width: cgImage.width,
                                height: cgImage.height,
                                bitsPerComponent: 8,
                                bytesPerRow: 0,
                                space: colorSpace,
                                bitmapInfo: bitmapInfo.rawValue)

        guard let ctx = context else { return nil }

        let rect = CGRect(x: 0, y: 0, width: cgImage.width, height: cgImage.height)
        ctx.draw(cgImage, in: rect)

        if let grayscaleCGImage = ctx.makeImage() {
            return UIImage(cgImage: grayscaleCGImage)
        }
        return nil
    }
}
UIImage extension for grayscale conversion using Core Graphics.
flowchart TD
    A[Original UIImage] --> B{Convert to CIImage?}
    B -- Yes --> C[Apply CIPhotoEffectMono Filter]
    C --> D[Get Filter Output CIImage]
    D --> E[Create CGImage from CIImage]
    E --> F[Create UIImage from CGImage]
    F --> G[Grayscale UIImage (CIFilter)]

    B -- No --> H{Convert to CGImage?}
    H -- Yes --> I[Create Grayscale CGContext]
    I --> J[Draw Original CGImage into Context]
    J --> K[Create CGImage from Context]
    K --> L[Create UIImage from CGImage]
    L --> M[Grayscale UIImage (Core Graphics)]
Comparison of Grayscale Conversion Workflows: Core Image vs. Core Graphics
Method 3: Direct Pixel Manipulation (Advanced)
For highly specific scenarios or when absolute maximum performance is critical (e.g., real-time video processing), direct pixel manipulation might be considered. This involves accessing the raw pixel data of the image, iterating through each pixel, and calculating its grayscale value (e.g., using luminosity method: 0.2126 * R + 0.7152 * G + 0.0722 * B). This method is significantly more complex and error-prone but offers the most control. It's generally not recommended for typical UI image processing due to its complexity and the availability of higher-level APIs.
Performance Considerations
The choice of method often comes down to performance and complexity. Core Image filters are highly optimized and often leverage the GPU, making them very fast for many operations. Core Graphics, while CPU-bound, is also efficient for drawing operations. Direct pixel manipulation, if implemented correctly, can be extremely fast but requires significant development effort and careful optimization. For most UIImage grayscale conversions, CIFilter is the best balance of performance and simplicity.
1. Choose Your Method
Decide whether Core Image, Core Graphics, or direct pixel manipulation best suits your project's needs based on performance, complexity, and required control.
2. Implement the Extension
Add the chosen grayscale conversion method as an extension to UIImage for easy reusability throughout your application.
3. Test and Profile
Thoroughly test the implementation with various image sizes and types. Use Xcode's Instruments to profile performance, especially if processing many images or in real-time scenarios.
4. Integrate into UI
Apply the grayscale image to UIImageView or other UI components as needed. Remember to handle optional returns from the conversion methods.