How do I use gl.h in a C++ program?
Categories:
Integrating gl.h: A Comprehensive Guide to OpenGL in C++

Unlock the power of OpenGL in your C++ applications. This guide covers setting up your environment, initializing OpenGL, and rendering your first graphics using gl.h.
Integrating gl.h into a C++ program is the foundational step for developing graphics applications with OpenGL. While gl.h itself is a header file containing function declarations and constants for the core OpenGL API, it doesn't provide the actual implementation. This implementation is provided by your graphics driver. Furthermore, modern OpenGL development often involves using a 'loader' library to access functions beyond OpenGL 1.1, as gl.h typically only exposes the older fixed-function pipeline. This article will guide you through the essential steps to get started, focusing on a common setup using a loader like GLAD or GLEW.
Understanding the Role of gl.h and OpenGL Loaders
gl.h is the primary header for OpenGL. It defines the core OpenGL functions and constants. However, the functions declared in gl.h are often only for OpenGL version 1.1, which is quite old. To use newer OpenGL features (versions 2.0 and above), you need to dynamically load the function pointers from your graphics driver. This is where OpenGL loader libraries come into play. Libraries like GLAD (GL Loader Generator) or GLEW (OpenGL Extension Wrangler Library) automate this process, making it much easier to access modern OpenGL functionality.
flowchart TD
    A[C++ Application] --> B["Include <GL/gl.h>"]
    B --> C["Link with OpenGL Library (e.g., opengl32.lib)"]
    C --> D["Initialize OpenGL Loader (e.g., GLAD/GLEW)"]
    D --> E["Access Modern OpenGL Functions (e.g., glGenVertexArrays)"]
    E --> F[Graphics Driver]
    F --> G[GPU Hardware]
    style A fill:#f9f,stroke:#333,stroke-width:2px
    style D fill:#bbf,stroke:#333,stroke-width:2px
Flow of OpenGL function calls from application to GPU
Setting Up Your Development Environment
Before you can write any OpenGL code, you need to configure your development environment. This typically involves setting up a build system (like CMake) and acquiring the necessary libraries. For this guide, we'll assume a basic C++ project setup and focus on the OpenGL-specific dependencies.
1. Choose a Windowing Library
OpenGL itself doesn't handle window creation or input. You'll need a library like GLFW, SDL, or FreeGLUT for this. GLFW is a popular choice for modern OpenGL development due to its lightweight nature and ease of use. Download and install GLFW from its official website.
2. Acquire an OpenGL Loader
We recommend GLAD. Go to the GLAD website (glad.dav1d.de), select your desired OpenGL version (e.g., 4.6), profile (Core), and generate the loader. Download the generated files and add them to your project. You'll typically get a glad.h header and a glad.c source file.
3. Configure Your Build System
If you're using CMake, you'll need to add GLFW and GLAD to your CMakeLists.txt. This involves specifying include directories and linking libraries. For Visual Studio, you'd add include paths and library paths manually.
cmake_minimum_required(VERSION 3.3)
project(OpenGL_Example)

set(CMAKE_CXX_STANDARD 17)
set(CMAKE_CXX_STANDARD_REQUIRED ON)

# Add GLAD source file
add_library(glad STATIC src/glad.c)

# Find GLFW
find_package(glfw3 CONFIG REQUIRED)

# Create executable
add_executable(my_opengl_app main.cpp)

# Link libraries and include directories
target_link_libraries(my_opengl_app PRIVATE glfw glad)
target_include_directories(my_opengl_app PRIVATE ${GLFW_INCLUDE_DIRS} ${PROJECT_SOURCE_DIR}/include)
Example CMakeLists.txt for GLFW and GLAD setup
Basic OpenGL Program Structure
Once your environment is set up, you can start writing your OpenGL application. A typical program will involve initializing GLFW, creating a window, initializing GLAD, setting up the rendering loop, and handling events.
#include <iostream>
#include <glad/glad.h> // Include GLAD before GLFW
#include <GLFW/glfw3.h>

void framebuffer_size_callback(GLFWwindow* window, int width, int height)
{
    glViewport(0, 0, width, height);
}

void processInput(GLFWwindow *window)
{
    if(glfwGetKey(window, GLFW_KEY_ESCAPE) == GLFW_PRESS)
        glfwSetWindowShouldClose(window, true);
}

int main()
{
    // 1. Initialize GLFW
    glfwInit();
    glfwWindowHint(GLFW_CONTEXT_VERSION_MAJOR, 3);
    glfwWindowHint(GLFW_CONTEXT_VERSION_MINOR, 3);
    glfwWindowHint(GLFW_OPENGL_PROFILE, GLFW_OPENGL_CORE_PROFILE);

    // 2. Create a window
    GLFWwindow* window = glfwCreateWindow(800, 600, "LearnOpenGL", NULL, NULL);
    if (window == NULL)
    {
        std::cout << "Failed to create GLFW window" << std::endl;
        glfwTerminate();
        return -1;
    }
    glfwMakeContextCurrent(window);
    glfwSetFramebufferSizeCallback(window, framebuffer_size_callback);

    // 3. Initialize GLAD
    if (!gladLoadGLLoader((GLADloadproc)glfwGetProcAddress))
    {
        std::cout << "Failed to initialize GLAD" << std::endl;
        return -1;
    }

    // 4. Rendering loop
    while (!glfwWindowShouldClose(window))
    {
        processInput(window);

        // Render commands
        glClearColor(0.2f, 0.3f, 0.3f, 1.0f);
        glClear(GL_COLOR_BUFFER_BIT);

        glfwSwapBuffers(window);
        glfwPollEvents();
    }

    // 5. Terminate GLFW
    glfwTerminate();
    return 0;
}
Minimal OpenGL program structure using GLFW and GLAD
glad/glad.h) before any other OpenGL-related headers like GLFW/glfw3.h. This ensures that the loader correctly overrides any older OpenGL 1.1 declarations.Compiling and Running Your Program
After writing your code, you'll need to compile and link it. If you're using CMake, simply run cmake . in your project directory (or a build subdirectory) and then cmake --build .. This will generate your executable. For other build systems, ensure all necessary include paths and library paths are correctly specified.
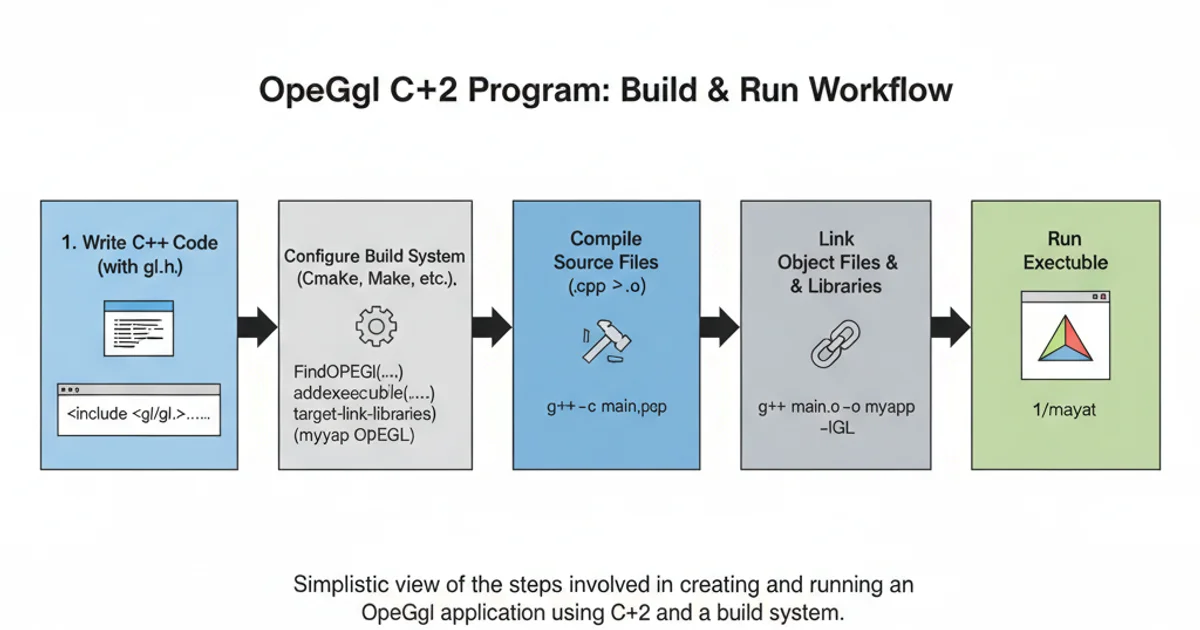
Typical workflow for building and running an OpenGL application