eclipse c/c++ CDT build just one file
Categories:
Building a Single File in Eclipse CDT: A Comprehensive Guide
Learn how to compile and link individual C/C++ files within Eclipse CDT projects, bypassing a full project rebuild for faster development and testing.
Eclipse CDT (C/C++ Development Tooling) is a powerful IDE for C/C++ development. While it excels at managing large projects with complex build systems, there are often scenarios where you only need to compile and test a single source file without rebuilding the entire project. This can significantly speed up development, especially when working on isolated components or debugging specific functions. This article will guide you through various methods to achieve this, from simple right-click options to advanced build configurations.
Why Build a Single File?
Rebuilding an entire C/C++ project can be a time-consuming process, particularly for large codebases. This overhead can hinder rapid iteration during development. Compiling a single file offers several advantages:
- Faster Iteration: Quickly test changes in a specific source file without waiting for unrelated files to compile.
- Focused Debugging: Isolate and debug issues in a single compilation unit.
- Resource Efficiency: Reduce CPU and memory usage by only compiling necessary files.
- Learning and Experimentation: Easily compile and run small code snippets or examples without setting up a full project structure for each.
flowchart TD
    A[Modify Single .cpp/.c File] --> B{Need to Test Quickly?}
    B -- Yes --> C[Build Single File]
    C --> D[Run/Debug Single File]
    B -- No --> E[Full Project Rebuild]
    E --> F[Run/Debug Project]
    D --> G[Continue Development]
    F --> G
Decision flow for single file vs. full project build
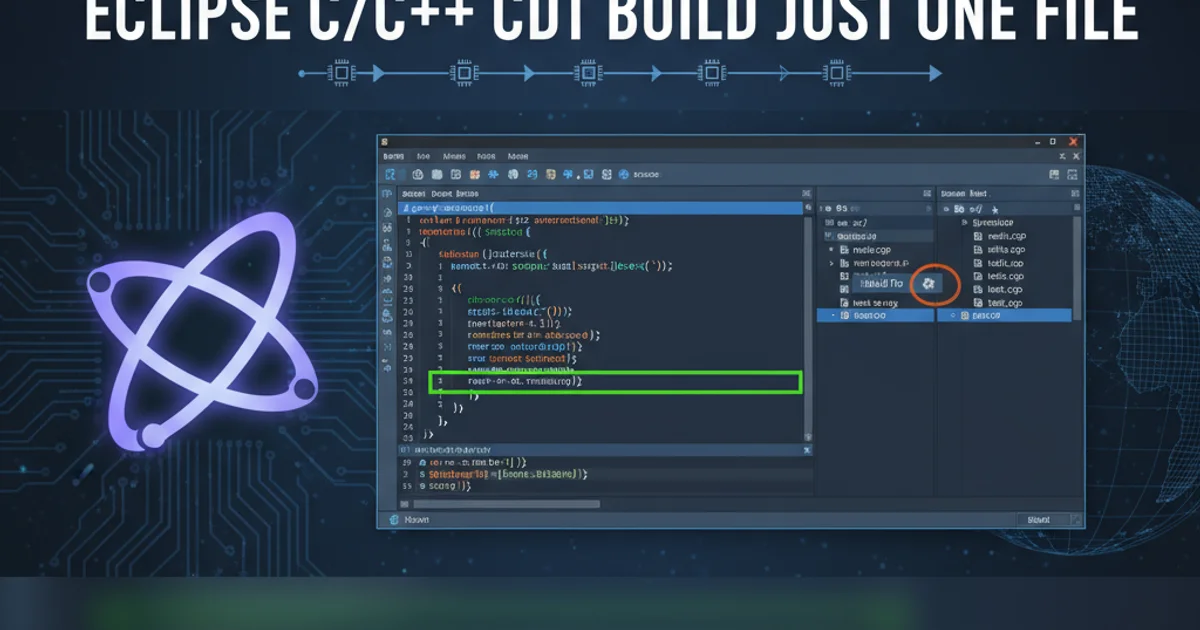
Method 1: Using the 'Build Selected Files' Option
The simplest way to build a single file in Eclipse CDT is often through the context menu. This method is straightforward and doesn't require extensive configuration changes.
1. Open Your Project
Ensure your C/C++ project is open in the Eclipse Project Explorer.
2. Locate the File
Navigate to the specific .c or .cpp source file you wish to build within the Project Explorer.
3. Right-Click and Build
Right-click on the desired source file. In the context menu, look for C/C++ Build -> Build Selected File(s) or a similar option. The exact wording might vary slightly depending on your CDT version and project type.
4. Check Console Output
Monitor the Console view for the build output. If successful, you should see the compilation and linking commands for just that file.
Method 2: Modifying Build Configurations for Specific Files
For more control, especially if you want to compile a file with different flags or link it into a separate executable, you can modify the project's build configurations. This approach is more involved but offers greater flexibility.
1. Access Project Properties
Right-click on your project in the Project Explorer and select Properties.
2. Navigate to C/C++ Build Settings
In the Properties dialog, go to C/C++ Build -> Settings.
3. Exclude File from Build
Under the Tool Settings tab, find the GCC C++ Compiler (or GCC C Compiler) section. Go to Excludes and add the files you don't want to build by default. This is crucial if you want to build only one specific file.
4. Create a New Build Configuration (Optional but Recommended)
Instead of modifying the default configuration, it's often better to create a new one. Go to C/C++ Build -> Manage Configurations... and create a new configuration (e.g., 'SingleFileBuild'). Then, apply the exclusion rules to this new configuration.
5. Configure Single File Build Command
For the specific file you want to build, you might need to create a custom build step or a separate makefile target. This is advanced and depends heavily on your project's build system (e.g., Managed Build vs. Makefile Project). For Managed Build projects, you can sometimes override compiler/linker commands for specific files, but it's often easier to use the 'Build Selected File(s)' option or a custom Makefile.
Method 3: Using a Custom Makefile (for Makefile Projects)
If your project uses a custom Makefile (i.e., it's a 'Makefile Project' in CDT), you have the most flexibility. You can define specific targets to compile and link individual files.
CXX = g++
CXXFLAGS = -Wall -g

all: main.o my_module.o
	$(CXX) $(CXXFLAGS) main.o my_module.o -o my_program

main.o: main.cpp
	$(CXX) $(CXXFLAGS) -c main.cpp -o main.o

my_module.o: my_module.cpp
	$(CXX) $(CXXFLAGS) -c my_module.cpp -o my_module.o

# Target to build only my_module.cpp
build_my_module:
	$(CXX) $(CXXFLAGS) -c my_module.cpp -o my_module.o

clean:
	rm -f *.o my_program
In the example Makefile above, the build_my_module target specifically compiles my_module.cpp into my_module.o. To use this in Eclipse CDT:
- Go to Project Properties ->
C/C++ Build. - Under the
Builder Settingstab, ensureBuild commandis set tomake. - In the
Build targetssection, you can add a new target (e.g.,build_my_module) and select it for building. You can also specify this target when manually invokingmakefrom the command line or Eclipse's external tools.