How to filter wireshark to see only dns queries that are sent/received from/by my computer?
Categories:
Filtering Wireshark for DNS Queries from Your Computer
Learn how to effectively filter Wireshark captures to isolate DNS queries originating from or destined for your local machine, simplifying network troubleshooting and analysis.
Wireshark is an indispensable tool for network analysis and troubleshooting. When dealing with DNS (Domain Name System) issues, it's often crucial to pinpoint exactly which DNS queries are being sent by your computer and which responses it receives. This article will guide you through the process of setting up Wireshark filters to achieve this, helping you diagnose connectivity problems, identify suspicious activity, or simply understand your machine's DNS behavior.
Understanding DNS Traffic and Wireshark Filters
DNS operates primarily over UDP port 53 for standard queries and TCP port 53 for zone transfers or larger responses. When your computer needs to resolve a domain name (e.g., www.google.com), it sends a DNS query to a configured DNS server. The server then responds with the corresponding IP address. To effectively filter this traffic in Wireshark, we'll leverage display filters that target the DNS protocol and your computer's IP address.
sequenceDiagram
    participant YourComputer as Your Computer
    participant DNSServer as DNS Server

    YourComputer->>DNSServer: DNS Query (e.g., www.example.com)
    DNSServer-->>YourComputer: DNS Response (e.g., 93.184.216.34)
    YourComputer->>YourComputer: Application uses IP address
Basic DNS Query-Response Flow
Identifying Your Computer's IP Address
Before you can filter by your computer's IP, you need to know what it is. This can be your local IP address (e.g., 192.168.1.100) if you're interested in traffic on your local network segment, or your public IP address if you're analyzing traffic that goes out to the internet directly (less common for DNS queries unless you're the DNS server itself). For most troubleshooting, your local IP is sufficient.
Windows
Open Command Prompt or PowerShell and type:
ipconfig
Look for 'IPv4 Address' under your active network adapter (e.g., Ethernet adapter, Wireless LAN adapter).
macOS/Linux
Open Terminal and type:
ifconfig
or for a more modern approach:
ip addr show
Look for 'inet' address associated with your active network interface (e.g., eth0, en0).
Applying Wireshark Display Filters for DNS Traffic
Once you have your IP address, you can construct powerful Wireshark display filters. The goal is to show only DNS packets where your IP is either the source (querying) or the destination (receiving a response). We'll combine the dns protocol filter with IP address filters.
1. Start Wireshark and Capture Traffic
Launch Wireshark and select the network interface connected to the internet (e.g., Wi-Fi, Ethernet). Start a capture by clicking the blue fin icon or going to Capture > Start.
2. Apply the Basic DNS Filter
In the display filter bar at the top of Wireshark, type dns and press Enter. This will show all DNS packets captured on your network, regardless of source or destination.
3. Refine with Your IP Address
Now, combine the dns filter with your IP address. Replace YOUR_IP_ADDRESS with the actual IP address you found earlier. The filter should look like this:
dns and (ip.addr == YOUR_IP_ADDRESS)
This filter will display all DNS packets where your computer's IP address is involved, either as the source or the destination. This includes both queries sent from your computer and responses received by your computer.
4. Further Refinement (Optional): Specific Query/Response
If you want to see only queries from your computer, you can use:
dns and ip.src == YOUR_IP_ADDRESS
To see only responses to your computer, use:
dns and ip.dst == YOUR_IP_ADDRESS
For even more granularity, you can filter by DNS query type (e.g., A record, AAAA record) or specific domain names. For example, to see queries for example.com:
dns and dns.qry.name == "example.com" and (ip.addr == YOUR_IP_ADDRESS)
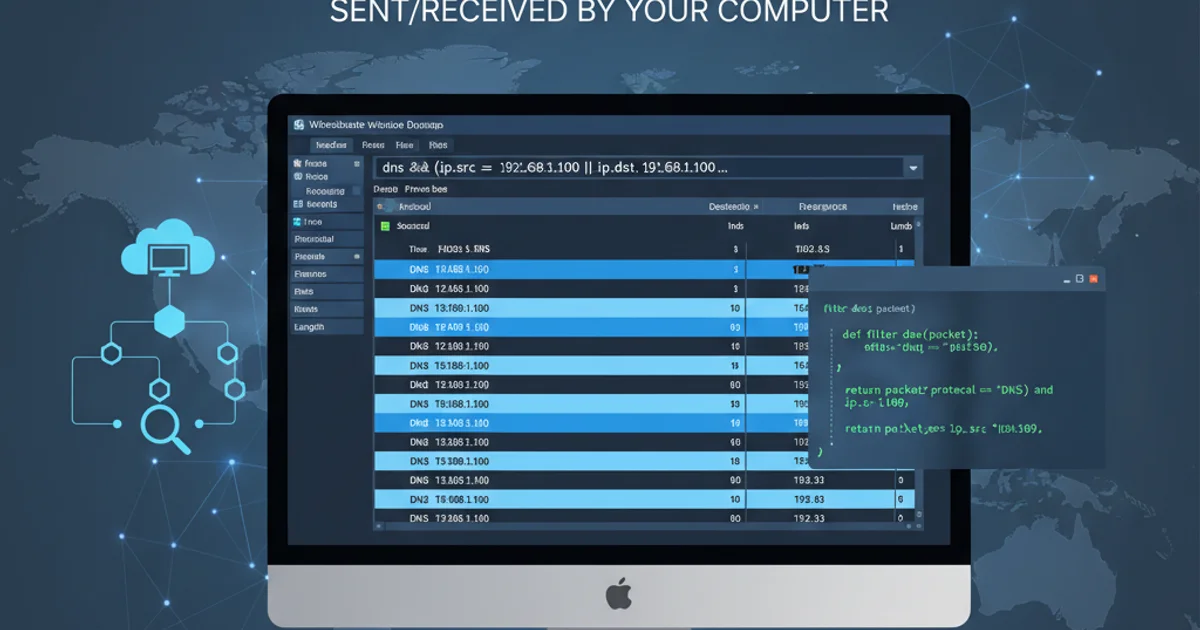
dns and (ip.addr == 192.168.1.100)
Example Wireshark filter for DNS traffic involving a specific IP address.
Analyzing the Filtered Results
Once the filter is applied, you'll see a streamlined view of DNS traffic. Look for packets with 'Standard query' in the Info column (these are your computer's queries) and 'Standard query response' (these are the replies from the DNS server). You can expand the DNS section in the Packet Details pane to see the query name, type, and the resolved IP address in the response.