How to save the catured image in application's internal memory
Categories:
Saving Captured Images to Android Internal Storage
Learn how to capture images using the Android camera and securely store them within your application's internal memory, ensuring data privacy and efficient management.
Storing captured images within an Android application's internal memory is a common requirement for many apps, especially those dealing with sensitive user data or requiring offline access. Internal storage is private to your application, meaning other apps cannot access these files directly. This article will guide you through the process of capturing an image using the camera intent and then saving that image to your app's internal storage.
Understanding Android Internal Storage
Android's internal storage is a secure location on the device that is exclusively accessible by your application. When your app is uninstalled, all files saved to its internal storage are removed. This makes it an ideal place for storing user-specific data, temporary files, or images that should not be shared with other applications or the user's gallery.
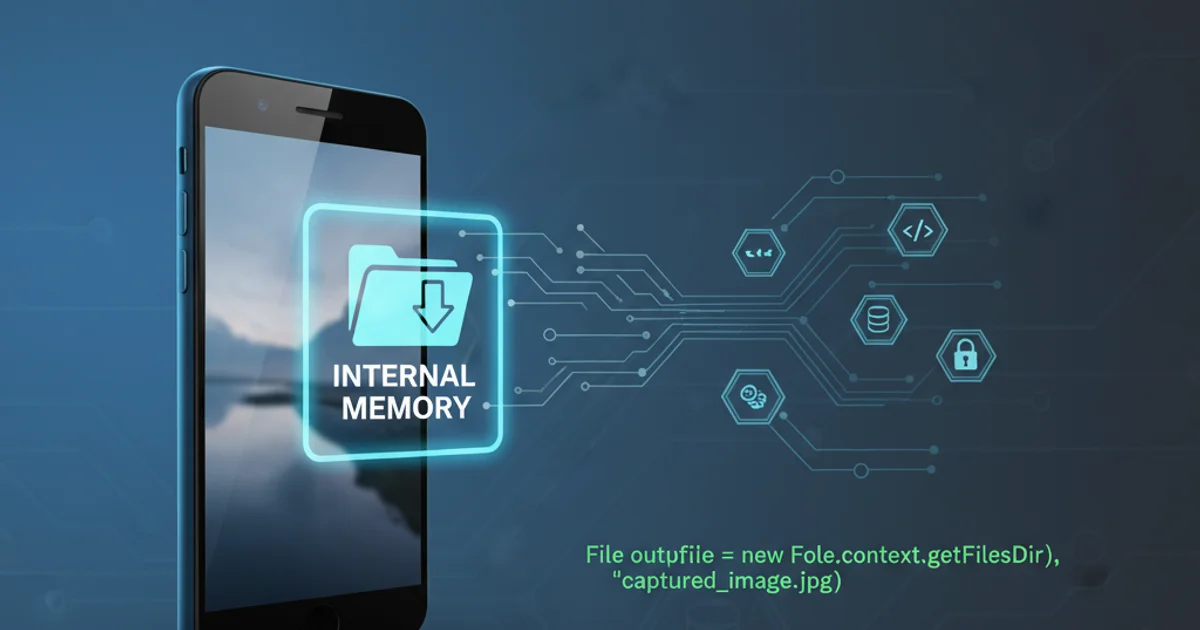
Files saved to internal storage are typically stored in a directory specific to your application, such as /data/data/YOUR_PACKAGE_NAME/files/. You can access this directory using methods like getFilesDir() or getCacheDir() from your Context object.
flowchart TD
    A[User taps 'Capture Image'] --> B{Start Camera Intent}
    B --> C[Camera App Captures Photo]
    C --> D{Image Data Returned to App}
    D --> E[Process Image Bitmap]
    E --> F[Open FileOutputStream to Internal Storage]
    F --> G[Compress Bitmap to OutputStream]
    G --> H[Close OutputStream]
    H --> I[Image Saved to Internal Storage]
Workflow for capturing and saving an image to internal storage.
Capturing an Image with Camera Intent
The standard way to capture an image in Android without implementing a custom camera UI is to use the ACTION_IMAGE_CAPTURE intent. This intent delegates the task to the device's default camera application. After the user takes a picture, the camera app returns the result to your activity via onActivityResult().
To receive a full-sized image, you typically need to provide a Uri where the camera app should save the image. If you don't provide a Uri, the camera app might return a small thumbnail in the intent's extras, which is usually not what you want for saving.
import android.content.Intent;
import android.graphics.Bitmap;
import android.net.Uri;
import android.os.Bundle;
import android.os.Environment;
import android.provider.MediaStore;
import androidx.appcompat.app.AppCompatActivity;
import androidx.core.content.FileProvider;

import java.io.File;
import java.io.IOException;
import java.text.SimpleDateFormat;
import java.util.Date;

public class MainActivity extends AppCompatActivity {

    static final int REQUEST_IMAGE_CAPTURE = 1;
    private String currentPhotoPath;

    @Override
    protected void onCreate(Bundle savedInstanceState) {
        super.onCreate(savedInstanceState);
        setContentView(R.layout.activity_main);

        findViewById(R.id.captureButton).setOnClickListener(v -> dispatchTakePictureIntent());
    }

    private void dispatchTakePictureIntent() {
        Intent takePictureIntent = new Intent(MediaStore.ACTION_IMAGE_CAPTURE);
        // Ensure that there's a camera activity to handle the intent
        if (takePictureIntent.resolveActivity(getPackageManager()) != null) {
            // Create the File where the photo should go
            File photoFile = null;
            try {
                photoFile = createImageFile();
            } catch (IOException ex) {
                // Error occurred while creating the File
                ex.printStackTrace();
            }
            // Continue only if the File was successfully created
            if (photoFile != null) {
                Uri photoURI = FileProvider.getUriForFile(this,
                        "com.example.myapp.fileprovider", // Replace with your package name and fileprovider authority
                        photoFile);
                takePictureIntent.putExtra(MediaStore.EXTRA_OUTPUT, photoURI);
                startActivityForResult(takePictureIntent, REQUEST_IMAGE_CAPTURE);
            }
        }
    }

    private File createImageFile() throws IOException {
        // Create an image file name
        String timeStamp = new SimpleDateFormat("yyyyMMdd_HHmmss").format(new Date());
        String imageFileName = "JPEG_" + timeStamp + "_";
        // Use getExternalFilesDir for temporary storage before moving to internal
        // Or directly use getFilesDir() if you want to save directly to internal
        File storageDir = getExternalFilesDir(Environment.DIRECTORY_PICTURES);
        File image = File.createTempFile(
                imageFileName,  /* prefix */
                ".jpg",         /* suffix */
                storageDir      /* directory */
        );

        // Save a file: path for use with ACTION_VIEW intents
        currentPhotoPath = image.getAbsolutePath();
        return image;
    }

    @Override
    protected void onActivityResult(int requestCode, int resultCode, Intent data) {
        super.onActivityResult(requestCode, resultCode, data);
        if (requestCode == REQUEST_IMAGE_CAPTURE && resultCode == RESULT_OK) {
            // The image is saved to currentPhotoPath (external files dir initially)
            // Now, move it to internal storage
            saveImageToInternalStorage(currentPhotoPath);
        }
    }

    private void saveImageToInternalStorage(String imagePath) {
        // Implementation for saving to internal storage will go here
        // This will involve reading the image from imagePath and writing to internal storage
    }
}
Code to dispatch a camera intent and prepare a file for the captured image.
<provider> in your AndroidManifest.xml for FileProvider and add necessary permissions like CAMERA and WRITE_EXTERNAL_STORAGE (for API < 29) or READ_EXTERNAL_STORAGE.Saving the Image to Internal Storage
Once the camera app has saved the image to the temporary file specified by currentPhotoPath, you need to read that image and write it to your application's internal storage. This involves loading the image into a Bitmap, compressing it, and then writing it to a FileOutputStream obtained from openFileOutput().
It's crucial to handle IOException during file operations and to close all streams properly to prevent resource leaks.
import android.graphics.Bitmap;
import android.graphics.BitmapFactory;
import java.io.File;
import java.io.FileOutputStream;
import java.io.IOException;

// ... inside your MainActivity class ...

    private void saveImageToInternalStorage(String imagePath) {
        File imageFile = new File(imagePath);
        if (!imageFile.exists()) {
            // Handle case where the image file doesn't exist
            return;
        }

        Bitmap bitmap = BitmapFactory.decodeFile(imageFile.getAbsolutePath());
        if (bitmap == null) {
            // Handle case where bitmap could not be decoded
            return;
        }

        FileOutputStream fos = null;
        try {
            // Create a unique filename for the internal storage
            String timeStamp = new SimpleDateFormat("yyyyMMdd_HHmmss").format(new Date());
            String filename = "IMG_" + timeStamp + ".jpg";

            fos = openFileOutput(filename, MODE_PRIVATE);
            bitmap.compress(Bitmap.CompressFormat.JPEG, 90, fos);
            fos.flush();
            // Optionally, delete the temporary file from external storage
            imageFile.delete();

            // Log or show a message that the image is saved
            // String internalFilePath = getFilesDir() + File.separator + filename;
            // Log.d("ImageSave", "Image saved to internal storage: " + internalFilePath);

        } catch (IOException e) {
            e.printStackTrace();
        } finally {
            if (fos != null) {
                try {
                    fos.close();
                } catch (IOException e) {
                    e.printStackTrace();
                }
            }
            // Recycle the bitmap to free up memory
            if (!bitmap.isRecycled()) {
                bitmap.recycle();
            }
        }
    }

    // Add this method to retrieve images later
    private Bitmap loadImageFromInternalStorage(String filename) {
        File file = new File(getFilesDir(), filename);
        if (file.exists()) {
            return BitmapFactory.decodeFile(file.getAbsolutePath());
        }
        return null;
    }
Method to read the captured image and save it to internal storage.
OutOfMemoryError.1. Set up FileProvider
Define a FileProvider in your AndroidManifest.xml and create a file_paths.xml resource file to specify accessible paths for the camera app. This is crucial for securely sharing file Uris.
2. Request Permissions
Ensure your app has CAMERA permission. For older Android versions (API < 29), WRITE_EXTERNAL_STORAGE is also needed if you're using getExternalFilesDir(). Request these permissions at runtime if targeting API 23+.
3. Dispatch Camera Intent
Create an Intent with MediaStore.ACTION_IMAGE_CAPTURE, generate a unique temporary File for the output, and pass its Uri (obtained via FileProvider) as MediaStore.EXTRA_OUTPUT.
4. Handle Result in onActivityResult
In your activity's onActivityResult method, check for REQUEST_IMAGE_CAPTURE and RESULT_OK. If successful, the image will be saved to the temporary file path you provided.
5. Save to Internal Storage
Load the image from the temporary file into a Bitmap. Then, open a FileOutputStream to your app's internal storage directory (e.g., using openFileOutput()) and compress the Bitmap into this stream. Close all streams and optionally delete the temporary external file.