Play audio as microphone input
Categories:
Simulating Microphone Input with Virtual Audio Devices
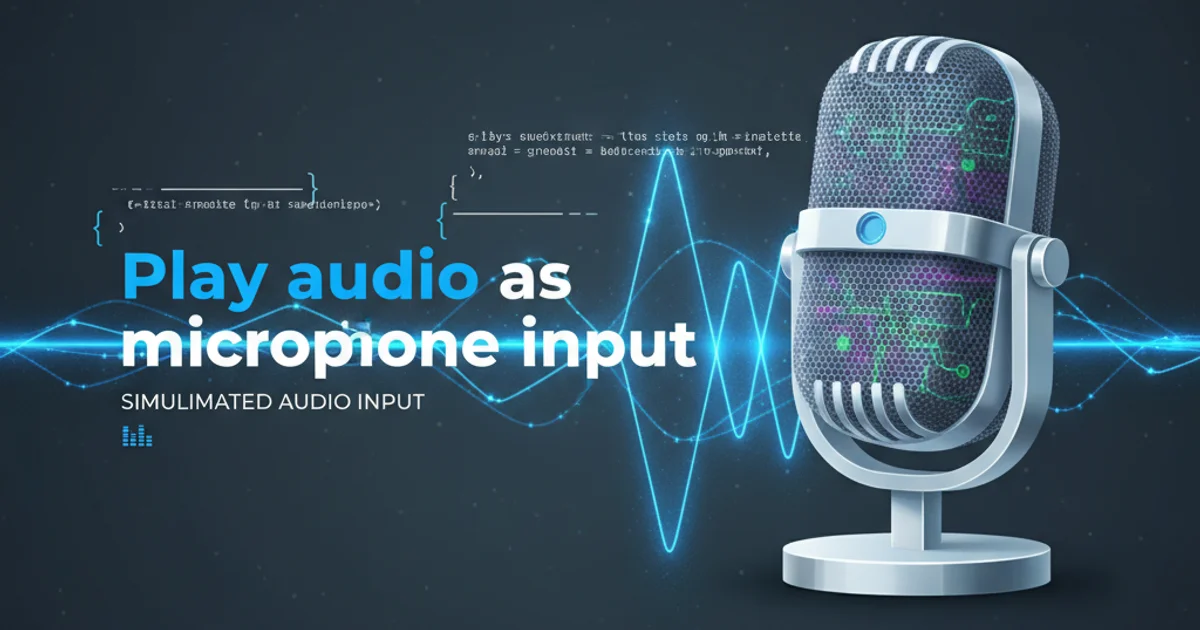
Learn how to play audio files as if they were live microphone input, enabling advanced audio routing and testing scenarios for applications.
Many applications require microphone input, but sometimes you need to feed pre-recorded audio or generated sounds directly into an application as if it were coming from a live microphone. This is particularly useful for testing, automation, or creating custom audio pipelines without physical hardware. This article explores how to achieve this using virtual audio devices and common operating system tools.
Understanding Virtual Audio Devices
A virtual audio device acts as a software-based sound card. It can create a 'loopback' where audio output from one application can be routed as input to another. This eliminates the need for physical cables or complex hardware setups. The core concept involves creating a virtual cable that connects an audio player's output to an application's microphone input.
flowchart TD
    A[Audio Player] --> B("Virtual Audio Cable (Output)")
    B --> C("Virtual Audio Cable (Input)")
    C --> D[Application (Microphone Input)]
    style A fill:#f9f,stroke:#333,stroke-width:2px
    style D fill:#bbf,stroke:#333,stroke-width:2px
Conceptual flow of audio through a virtual audio device
Setting Up on Windows
On Windows, you'll typically need a third-party virtual audio cable software. Popular options include VB-Audio Virtual Cable or VoiceMeeter. Once installed, these tools create new playback and recording devices in your system's sound settings. The process generally involves setting your audio player's output to the virtual cable's output, and your target application's microphone input to the virtual cable's input.
1. Install Virtual Audio Cable Software
Download and install a virtual audio cable solution like VB-Audio Virtual Cable. This will add new 'playback' and 'recording' devices to your system.
2. Configure Audio Player Output
Open your audio player (e.g., VLC, Windows Media Player) and go to its audio settings. Set the output device to the 'VB-Audio Virtual Cable' or similar virtual output device.
3. Configure Application Input
Open the application that requires microphone input (e.g., a video conferencing tool, a game). In its audio settings, select the 'VB-Audio Virtual Cable' or similar virtual input device as its microphone.
4. Play Audio
Start playing your desired audio file in the audio player. The sound will now be routed through the virtual cable and appear as microphone input in your target application.
Setting Up on macOS
macOS has a built-in capability for creating aggregate devices, but for a simple virtual audio cable, a third-party tool like Soundflower or BlackHole is often preferred. These tools install a virtual audio driver that can be selected as both an output and input device.
1. Install BlackHole
Download and install BlackHole from GitHub or its official website. This will create a new virtual audio device in your Sound Preferences.
2. Configure System Output
Go to System Settings > Sound > Output. Select 'BlackHole 2ch' (or similar) as your output device. This routes all system audio to BlackHole.
3. Configure Application Input
Open the application requiring microphone input. In its audio settings, select 'BlackHole 2ch' as its microphone input.
4. Play Audio
Play any audio on your Mac. It will now be fed into the application as microphone input. Remember to switch your system output back to your speakers/headphones when done.
Advanced Use Cases and Scripting
Beyond simple playback, virtual audio devices can be integrated into scripts for automated testing or dynamic audio manipulation. For instance, you could use Python libraries like sounddevice or PyAudio to programmatically play audio files to a virtual input, allowing for precise control over timing and content.
import sounddevice as sd
import soundfile as sf

filename = 'your_audio_file.wav'
device_name = 'VB-Audio Virtual Cable'

data, fs = sf.read(filename, dtype='float32')

# Find the device index for the virtual cable
devices = sd.query_devices()
output_device_id = None
for i, dev in enumerate(devices):
    if device_name in dev['name'] and dev['max_output_channels'] > 0:
        output_device_id = i
        break

if output_device_id is None:
    print(f"Error: Virtual audio device '{device_name}' not found.")
else:
    print(f"Playing '{filename}' to '{device_name}' (device ID: {output_device_id})")
    sd.play(data, fs, device=output_device_id)
    sd.wait() # Wait until file is done playing
    print("Playback finished.")
Python script to play an audio file to a specific virtual audio output device.