How to set up an SSH config-file for beginners
Categories:
SSH Config File for Beginners: Streamline Your Connections
Learn how to create and use an SSH config file to simplify connecting to remote servers, manage multiple hosts, and enhance your workflow, especially on Windows.
Connecting to remote servers via SSH is a fundamental skill for developers, system administrators, and anyone working with cloud infrastructure. While the basic ssh user@host command works, it can become cumbersome when dealing with multiple servers, non-standard ports, or complex authentication methods. This is where the SSH config file comes in. It allows you to define custom settings for each host, making your SSH experience much more efficient and user-friendly. This guide will walk you through setting up your first SSH config file, focusing on clarity for beginners and including Windows-specific considerations.
What is an SSH Config File?
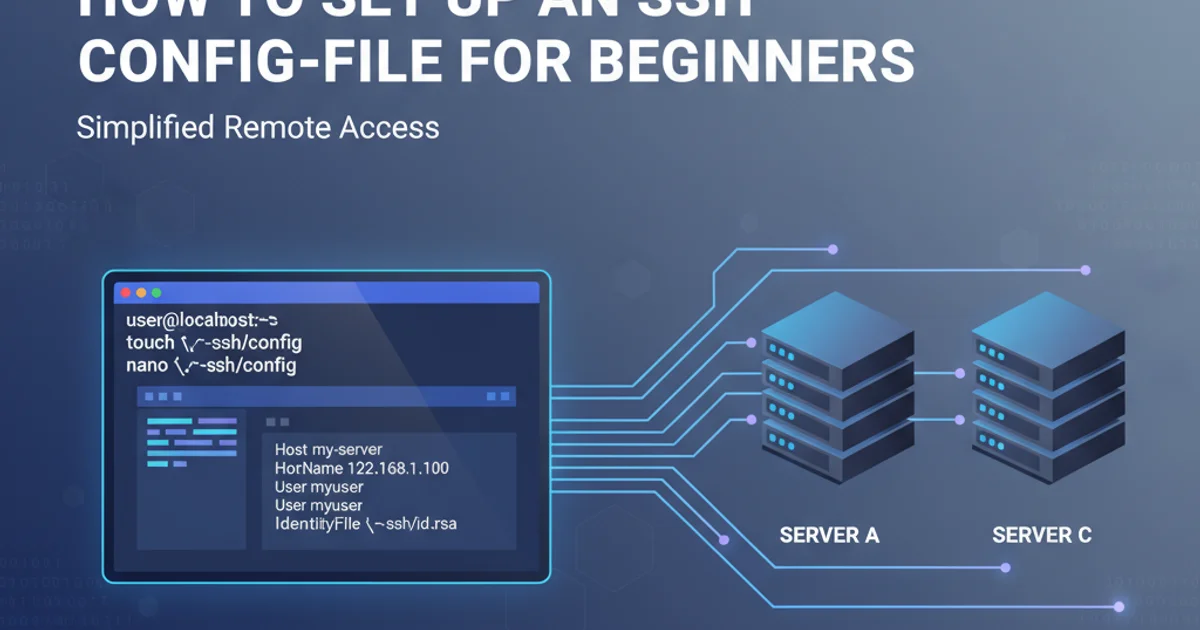
The SSH config file (typically named config) is a plain text file that OpenSSH clients read to determine connection parameters for specific hosts. Instead of typing out long commands with various flags every time, you can define aliases and settings once in this file. When you then type ssh my_server_alias, SSH automatically applies all the pre-configured options for my_server_alias.
flowchart TD
    A[User types 'ssh my_server_alias'] --> B{SSH Client Reads Config File}
    B --> C{Finds 'Host my_server_alias' entry}
    C --> D{Extracts Hostname, User, Port, IdentityFile, etc.}
    D --> E[Establishes Connection using Configured Parameters]
    E --> F[Connected to Remote Server]
How the SSH Config File Streamlines Connections
Locating and Creating Your SSH Config File
The SSH config file is located in the .ssh directory within your user's home directory. This directory is hidden by default on most operating systems. If the .ssh directory or the config file doesn't exist, you'll need to create them.
C:\Users\YourUsername\. On Linux/macOS, it's ~ (which expands to /home/YourUsername/ or /Users/YourUsername/). The .ssh directory should have strict permissions (read/write for owner only) to prevent unauthorized access.1. Step 1: Open Terminal or PowerShell
On Linux/macOS, open your terminal. On Windows, open PowerShell (recommended) or Command Prompt.
2. Step 2: Navigate to Your Home Directory
Type cd ~ and press Enter. This will take you to your user's home directory.
3. Step 3: Create the .ssh Directory (if it doesn't exist)
Type mkdir .ssh and press Enter. If it already exists, you'll get an error, which you can ignore.
4. Step 4: Create or Open the Config File
Type notepad .ssh\config (Windows) or nano ~/.ssh/config (Linux/macOS) and press Enter. This will open the file in a text editor. If the file doesn't exist, the editor will create it.
5. Step 5: Set Permissions (Linux/macOS only)
After saving the file, run chmod 600 ~/.ssh/config to set the correct permissions. This ensures only you can read and write to the file. Windows handles permissions differently, so this step is not needed there.
Basic SSH Config File Syntax
The config file uses a simple, human-readable syntax. Each block starts with Host followed by an alias, and then contains key-value pairs for various settings. Here are some common directives:
Host my_web_server
    Hostname 192.168.1.100
    User webadmin
    Port 2222
    IdentityFile ~/.ssh/id_rsa_webserver

Host github.com
    Hostname github.com
    User git
    IdentityFile ~/.ssh/github_key
Example SSH config file entries
Let's break down these directives:
Host entries, like Host *.example.com, to apply settings to multiple hosts. A special Host * entry applies settings to all hosts unless overridden by a more specific entry.Common SSH Config Directives Explained
Understanding these directives will allow you to customize your SSH connections effectively.
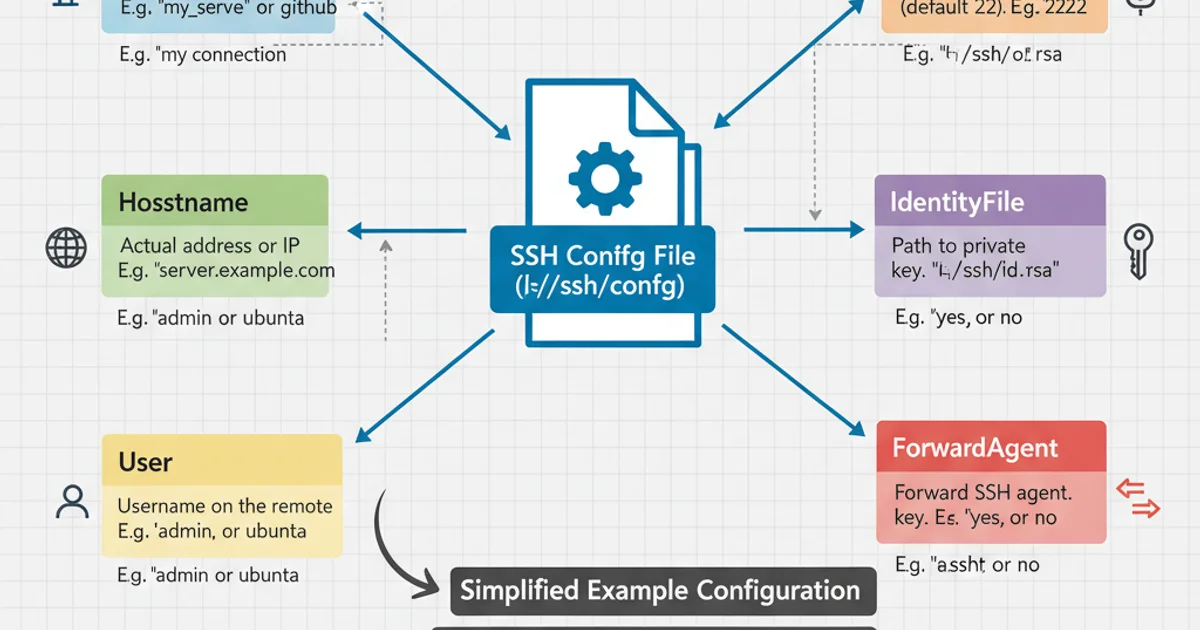
Key Directives in an SSH Config File
Host: This is the alias you'll use on the command line (e.g.,ssh my_web_server). It can also be a pattern.Hostname: The actual IP address or domain name of the remote server. If omitted, it defaults to theHostvalue.User: The username to log in with on the remote server. If omitted, it defaults to your local username.Port: The port number to connect to on the remote server. Defaults to22if not specified.IdentityFile: The path to your private SSH key file. This is crucial for key-based authentication. Make sure the file has correct permissions (read-only for owner).ForwardAgent: Set toyesto enable SSH agent forwarding. This allows you to use your local SSH keys to authenticate to another server from the remote server, without having your private key on the remote server. Very useful for jumping between servers or interacting with Git repositories from a remote machine.StrictHostKeyChecking: Set tono(use with caution!) to bypass the prompt asking you to confirm the host's fingerprint. It's generally recommended to leave this asyesoraskfor security, especially for production servers.ServerAliveInterval: Sends a 'keep alive' message every X seconds to prevent connections from timing out due to inactivity. Useful for long-running sessions.
Putting It All Together: A Practical Example
Let's create a more comprehensive example for a common scenario.
# Global settings for all hosts (unless overridden)
Host *
    ServerAliveInterval 60
    ServerAliveCountMax 3
    ForwardAgent yes

# My Production Web Server
Host prod-web
    Hostname 192.0.2.10
    User deployuser
    Port 22
    IdentityFile ~/.ssh/prod_web_key
    # StrictHostKeyChecking yes (default, good practice)

# My Development Database Server
Host dev-db
    Hostname dev-db.example.com
    User dbadmin
    Port 2222
    IdentityFile ~/.ssh/dev_db_key

# GitHub connection (using a specific key)
Host github.com
    Hostname github.com
    User git
    IdentityFile ~/.ssh/github_rsa
A more complete SSH config example
With this configuration, you can now simply type:
ssh prod-webto connect to your production web server.ssh dev-dbto connect to your development database server.ssh github.comto interact with GitHub using your specified key.
This significantly reduces typing and potential errors, making your workflow much smoother.
IdentityFile). Never share them and ensure their file permissions are set correctly (read-only for your user). On Windows, ensure the file is not accessible by other users on your system.