HC-06 bluetooth module
Categories:
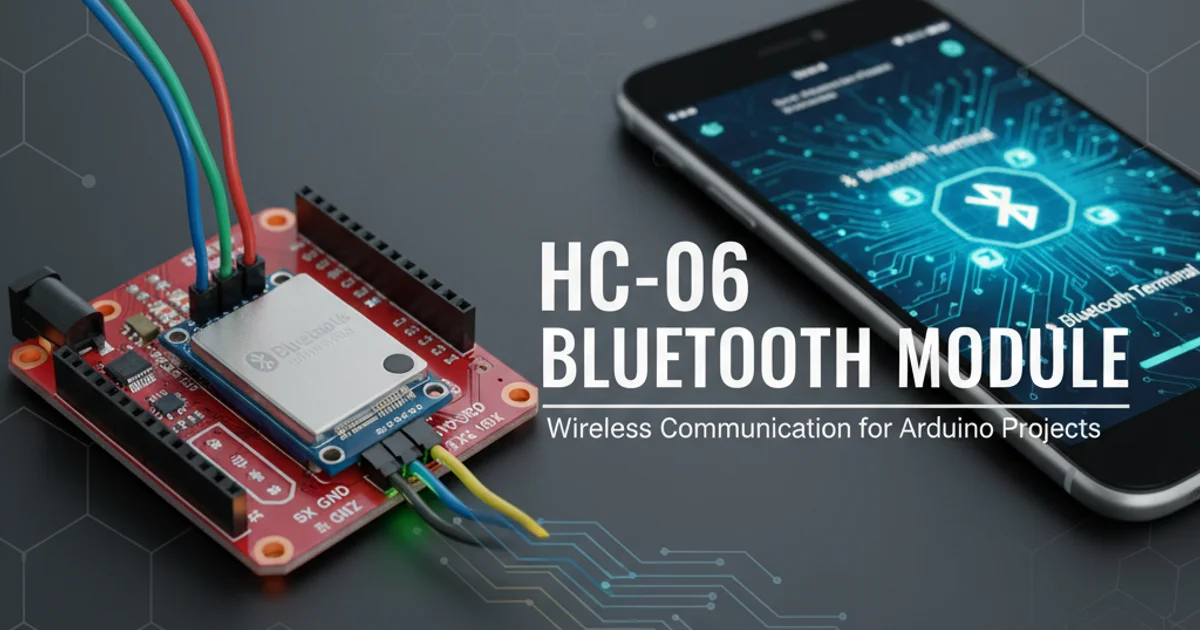
Mastering the HC-06 Bluetooth Module for Arduino and Android
Learn how to effectively use the HC-06 Bluetooth module to establish wireless serial communication between an Arduino and an Android device, enabling remote control and data exchange.
The HC-06 Bluetooth module is a popular and cost-effective solution for adding wireless communication capabilities to your Arduino projects. It operates as a Bluetooth slave device, meaning it can only accept connections from other Bluetooth masters (like your Android phone or PC). This article will guide you through connecting the HC-06 to an Arduino, configuring it, and developing a basic Android application to communicate with it, opening up a world of possibilities for remote control and data logging.
Understanding the HC-06 Module
The HC-06 is a Class 2 Bluetooth module with a typical range of about 10 meters. It communicates with microcontrollers like the Arduino via a standard UART (Universal Asynchronous Receiver/Transmitter) serial interface. Key features include:
- Slave-only operation: It cannot initiate connections.
- AT Command support: Used for configuration (e.g., changing name, baud rate, PIN).
- Low power consumption: Suitable for battery-powered projects.
- Simple interface: Typically 4 pins (VCC, GND, TX, RX) for basic operation.
flowchart TD
    A[Android Device] -->|Bluetooth Connection| B(HC-06 Module)
    B -->|UART Serial| C[Arduino Microcontroller]
    C -->|Control/Sense| D[Actuators/Sensors]
    A -- Data/Commands --> C
    C -- Data/Status --> A
Basic communication flow between Android, HC-06, and Arduino
Connecting HC-06 to Arduino
Connecting the HC-06 to your Arduino is straightforward. You'll primarily use the UART pins. It's crucial to remember that the HC-06 typically operates at 3.3V logic levels, but many Arduino boards (like the Uno) use 5V. While some HC-06 modules have built-in level shifters, it's safer to use a voltage divider on the Arduino's TX pin (connected to HC-06's RX) to prevent damage. For simplicity, we'll assume a 5V tolerant module or that you're using a 3.3V Arduino.
Wiring Diagram:
- HC-06 VCC -> Arduino 5V
- HC-06 GND -> Arduino GND
- HC-06 TX -> Arduino RX (Pin 0 or SoftwareSerial RX)
- HC-06 RX -> Arduino TX (Pin 1 or SoftwareSerial TX - use a voltage divider if 5V Arduino)
Configuring HC-06 with AT Commands
Before using the HC-06, you might want to change its name or baud rate. This is done using AT commands. The HC-06 enters AT command mode automatically when it's not paired. You'll need to use the Arduino's serial monitor to send these commands. Ensure the HC-06 is powered on but not connected to any other Bluetooth device.
Common AT Commands:
AT: Returns 'OK'. (Test command)AT+NAMEyourname: Sets the module's name to 'yourname'.AT+PINxxxx: Sets the pairing PIN to 'xxxx' (default is '1234').AT+BAUDx: Sets the baud rate (e.g.,AT+BAUD4for 9600 bps). Refer to documentation for specific baud rate codes.
#include <SoftwareSerial.h>

SoftwareSerial bluetooth(10, 11); // RX, TX

void setup() {
  Serial.begin(9600);    // Monitor serial for debugging
  bluetooth.begin(9600); // HC-06 default baud rate
  Serial.println("Enter AT commands:");
}

void loop() {
  if (bluetooth.available()) {
    Serial.write(bluetooth.read());
  }
  if (Serial.available()) {
    bluetooth.write(Serial.read());
  }
}
Upload this sketch to your Arduino. Open the Serial Monitor (set to 9600 baud, 'No line ending'). Type AT and press Enter. You should see 'OK' returned. Then try AT+NAMEmyArduinoBT to change the name. Remember to disconnect the Arduino's TX/RX pins (0 and 1) if you're using them for SoftwareSerial during upload.
Android Application for Communication
Developing an Android application to communicate with the HC-06 involves several steps:
- Permissions: Declare Bluetooth permissions in
AndroidManifest.xml. - Bluetooth Adapter: Get the default Bluetooth adapter.
- Pairing: Pair with the HC-06 module (usually done through Android settings).
- Discovery (Optional): Scan for devices if not already paired.
- Connect: Establish a
BluetoothSocketconnection using the HC-06's MAC address and a standard SPP (Serial Port Profile) UUID. - Data Transfer: Use
InputStreamandOutputStreamfrom the socket to send and receive data.
BLUETOOTH_SCAN, BLUETOOTH_ADVERTISE, and BLUETOOTH_CONNECT permissions in addition to BLUETOOTH and BLUETOOTH_ADMIN.AndroidManifest.xml
<manifest ...>
Java (Connect & Send)
import android.bluetooth.BluetoothAdapter; import android.bluetooth.BluetoothDevice; import android.bluetooth.BluetoothSocket; import java.io.IOException; import java.io.OutputStream; import java.util.UUID;
public class BluetoothClient { private static final UUID MY_UUID = UUID.fromString("00001101-0000-1000-8000-00805F9B34FB"); // SPP UUID private BluetoothAdapter btAdapter; private BluetoothSocket btSocket; private OutputStream outStream;
public BluetoothClient() {
    btAdapter = BluetoothAdapter.getDefaultAdapter();
}

public void connect(String address) throws IOException {
    BluetoothDevice device = btAdapter.getRemoteDevice(address);
    btSocket = device.createRfcommSocketToServiceRecord(MY_UUID);
    btSocket.connect();
    outStream = btSocket.getOutputStream();
}

public void write(String message) throws IOException {
    outStream.write(message.getBytes());
}

public void disconnect() throws IOException {
    if (btSocket != null) {
        btSocket.close();
    }
}
}
This Java code snippet provides a basic structure for connecting to a Bluetooth device (like the HC-06) and sending data. You would typically call connect() with the HC-06's MAC address (found in Android's Bluetooth settings after pairing) and then use write() to send commands or data to your Arduino. Remember to handle exceptions and manage the Bluetooth connection lifecycle properly within your Android application.
1. Pair HC-06 with Android
Go to your Android device's Bluetooth settings, scan for devices, find your HC-06 (by its configured name, e.g., 'myArduinoBT'), and pair using the PIN (default '1234').
2. Upload Arduino Sketch
Upload your Arduino sketch (e.g., a simple LED control sketch that listens for '1' or '0' on serial) to your Arduino board. Ensure the HC-06 is connected correctly.
3. Run Android App
Develop and run your Android application. Use the HC-06's MAC address to establish a connection. Once connected, send commands (e.g., '1' to turn on an LED, '0' to turn it off) from your Android app to the Arduino via the HC-06.