git stash and apply
Categories:
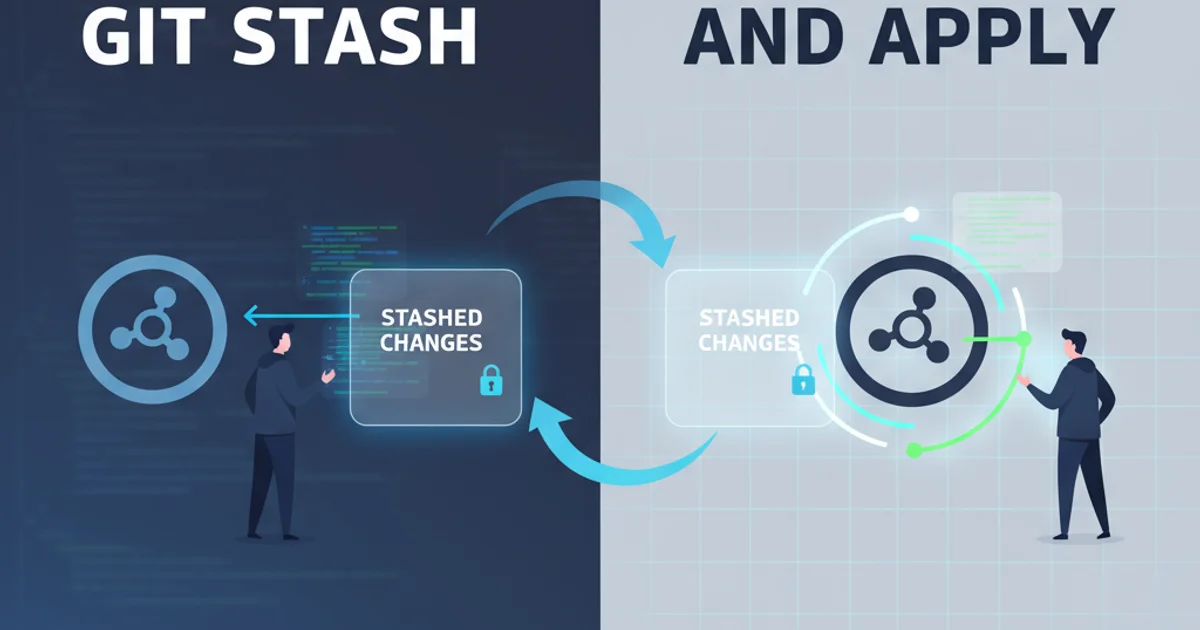
Mastering Git Stash and Apply for Clean Workflows
Learn how to effectively use git stash and git apply to temporarily save changes, switch contexts, and maintain a clean working directory in Git.
In the fast-paced world of software development, it's common to find yourself in a situation where you've started working on a feature or bug fix, but then an urgent task comes up, or you need to switch branches for a quick review. Committing incomplete work is generally discouraged as it clutters your commit history with half-finished changes. This is where git stash comes to the rescue. It allows you to temporarily save your uncommitted changes (both staged and unstaged) and revert your working directory to a clean state, without creating a new commit.
Understanding Git Stash
git stash takes your modified tracked files and staged changes, saves them on a stack of unfinished changes, and then reverts your working directory to match the HEAD commit. This means your working directory becomes clean, as if you just cloned the repository or checked out a fresh branch. It's incredibly useful for context switching without committing incomplete work.
git stash save "Work in progress on feature X"
# or simply
git stash
Saving current changes to the stash
When you run git stash, Git performs the following actions:
1. Saves Modified Tracked Files
It records the state of your modified tracked files.
2. Saves Staged Changes
It also records any changes you've explicitly staged using git add.
3. Cleans Working Directory
It then reverts your working directory and staging area to the state of the HEAD commit, making it clean.
git stash does not stash untracked files or ignored files. To include untracked files, use git stash -u or git stash --include-untracked. To include ignored files as well, use git stash -a or git stash --all.Applying Stashed Changes
Once you've completed your urgent task or switched back to your original branch, you'll want to retrieve your stashed changes. This is done using git stash apply or git stash pop. The primary difference is that pop removes the stash from the stack after applying it, while apply leaves it on the stack.
git stash list
# stash@{0}: On main: Work in progress on feature X
# stash@{1}: On dev: Quick fix for bug Y

git stash apply stash@{0}
# or to apply the most recent stash and keep it
git stash apply

git stash pop
# to apply the most recent stash and remove it from the stack
Listing and applying stashed changes
flowchart TD
    A[Start Work on Feature] --> B{Urgent Task Arises?}
    B -->|Yes| C[git stash]
    C --> D[Switch Branch / Work on Urgent Task]
    D --> E{Urgent Task Done?}
    E -->|Yes| F[Switch Back to Original Branch]
    F --> G[git stash apply / pop]
    G --> H[Continue Work on Feature]
    B -->|No| H
    H --> I[Commit Changes]
Workflow of using git stash for context switching
Resolving Conflicts with Stash
Just like with git merge or git rebase, applying a stash can sometimes lead to merge conflicts. This happens if the changes in your stash conflict with the current state of your working directory. Git will mark the conflicting files, and you'll need to resolve them manually.
git stash apply
# Auto-merging conflicting_file.js
# CONFLICT (content): Merge conflict in conflicting_file.js

# Resolve conflicts manually
# ... edit conflicting_file.js ...

git add conflicting_file.js
git commit -m "Resolved stash conflicts"
Handling merge conflicts after applying a stash
git stash pop, the stash will still be dropped from the stack even if the apply fails. It's often safer to use git stash apply first, resolve any conflicts, and then manually drop the stash with git stash drop once you're sure everything is correct.Managing Multiple Stashes
You can have multiple stashes saved. Each stash is identified by an index (e.g., stash@{0}, stash@{1}). You can view all your stashes using git stash list and inspect the contents of a specific stash using git stash show.
git stash list
# stash@{0}: On main: My latest changes
# stash@{1}: On feature/new-ui: UI updates

git stash show stash@{1}
# Shows diff for the stash at index 1

git stash drop stash@{1}
# Removes the stash at index 1

git stash clear
# Removes all stashes
Commands for managing multiple stashes