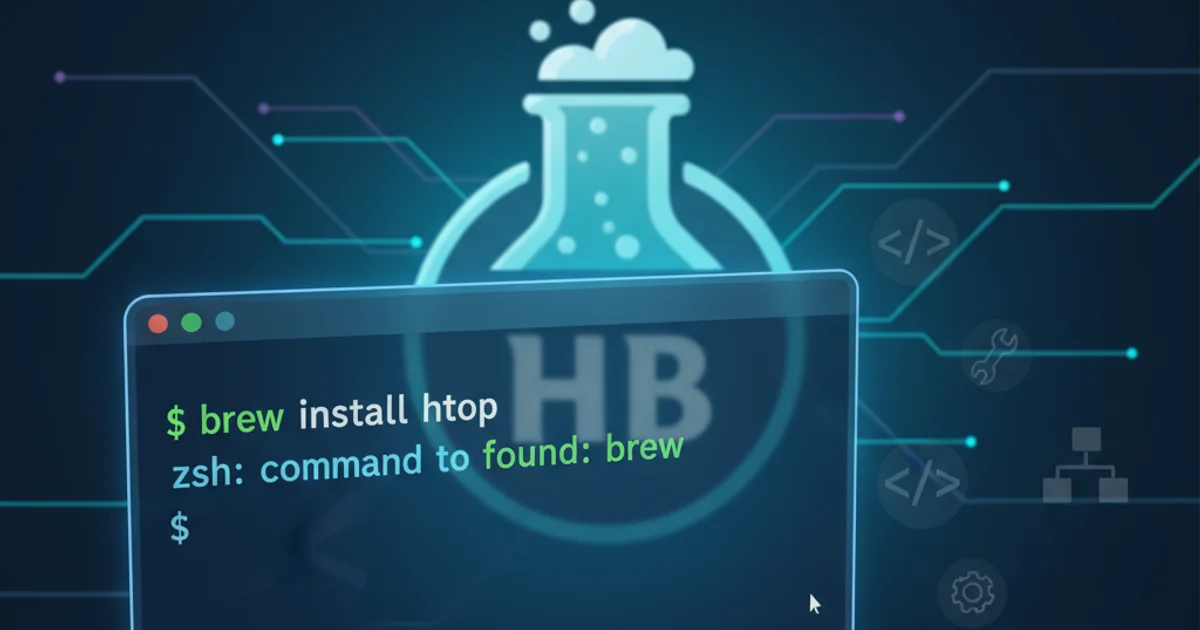
After installing Homebrew I get `zsh: command not found: brew`
zsh: command not found: brew with practical examples, diagrams, and best practices. Covers macos, terminal, homebrew development techniques with visual expla...Categories:
Fixing 'zsh: command not found: brew' After Homebrew Installation on macOS
Encountering 'command not found: brew' after installing Homebrew is a common issue on macOS. This article provides comprehensive solutions to correctly configure your shell environment and get Homebrew working.
Homebrew is an essential package manager for macOS, simplifying the installation of various software. However, after a fresh installation, many users, especially those on newer macOS versions using Zsh as their default shell, encounter the frustrating error zsh: command not found: brew. This typically means your shell doesn't know where to find the brew executable. This guide will walk you through the common causes and provide step-by-step solutions to resolve this issue.
Understanding the 'command not found' Error
When you type a command like brew into your terminal, your shell (Zsh in this case) searches for an executable file with that name in a list of directories specified by your PATH environment variable. If the directory where brew is installed is not included in your PATH, the shell won't find it, resulting in the 'command not found' error. Homebrew typically installs itself in /opt/homebrew (for Apple Silicon) or /usr/local (for Intel Macs), and these paths need to be correctly added to your shell's configuration.
flowchart TD
    A[User types 'brew' in Terminal] --> B{Is 'brew' in PATH?}
    B -- Yes --> C[Execute 'brew' command]
    B -- No --> D[zsh: command not found: brew]
    D --> E[Check Homebrew installation path]
    E --> F[Add Homebrew path to shell configuration]
    F --> G[Reload shell configuration]
    G --> A
Flowchart illustrating the 'command not found' error resolution process.
Verifying Homebrew Installation and Path
Before attempting fixes, it's crucial to confirm that Homebrew was installed correctly and to identify its installation path. The Homebrew installer usually provides instructions on what to add to your shell's configuration file. If you missed these, you can find them again.
1. Check Homebrew's Installation Script Output
If you just ran the Homebrew installation script, it likely printed instructions at the end. Look for lines similar to these, which tell you what to add to your shell's configuration file:
2. Manually Find Homebrew's Installation Path
If you can't find the installer output, you can try to locate the brew executable. For Apple Silicon Macs, it's typically in /opt/homebrew/bin. For Intel Macs, it's usually in /usr/local/bin. You can use the find command, though it might take some time:
echo 'eval "$(/opt/homebrew/bin/brew shellenv)"'
# OR for Intel Macs:
echo 'eval "$(/usr/local/bin/brew shellenv)"'

# Example output from installer:
# Next steps:
# - Add Homebrew to your PATH in ~/.zprofile:
#    echo 'eval "$(/opt/homebrew/bin/brew shellenv)"' >> ~/.zprofile
# - Run these two commands in your terminal to add Homebrew to your PATH:
#    eval "$(/opt/homebrew/bin/brew shellenv)"
Typical Homebrew installation instructions for Zsh.
find / -name brew 2>/dev/null
Searching for the 'brew' executable (may require sudo and take a while).
Adding Homebrew to Your Zsh PATH
Once you know the correct path (e.g., /opt/homebrew/bin or /usr/local/bin), you need to add it to your PATH environment variable. For Zsh, this is typically done in ~/.zprofile or ~/.zshrc.
~/.zprofile for Zsh. This file is sourced once at login, which is generally preferred for setting environment variables like PATH that don't change frequently. ~/.zshrc is sourced for every new interactive shell.1. Open Your Zsh Configuration File
Use a text editor like nano or vim to open ~/.zprofile. If it doesn't exist, it will be created.
2. Add the Homebrew Path
Add the following line to the end of your ~/.zprofile file. Make sure to use the correct path for your system (Apple Silicon or Intel).
3. Save and Close the File
If using nano, press Ctrl+X, then Y to confirm saving, and Enter to confirm the filename. If using vim, press Esc, then type :wq and press Enter.
4. Reload Your Shell Configuration
For the changes to take effect, you need to reload your shell configuration. You can do this by sourcing the file or by simply opening a new terminal window/tab.
5. Verify Homebrew Installation
Now, try running the brew command again. It should now be recognized.
nano ~/.zprofile
Opening .zprofile with nano.
# For Apple Silicon Macs (M1/M2/M3):
echo 'eval "$(/opt/homebrew/bin/brew shellenv)"' >> ~/.zprofile

# For Intel Macs:
echo 'eval "$(/usr/local/bin/brew shellenv)"' >> ~/.zprofile
Adding Homebrew's shell environment setup to .zprofile.
source ~/.zprofile
Reloading the .zprofile file.
brew help
brew doctor
Verifying Homebrew is now recognized and working.
/opt/homebrew/bin or /usr/local/bin directly to your PATH using export PATH="/opt/homebrew/bin:$PATH". The eval "$(brew shellenv)" command is the recommended and more robust way, as it handles all necessary environment variables that Homebrew might require.Troubleshooting Common Issues
If the above steps don't resolve the issue, consider these additional troubleshooting tips.
1. Check for Typos
Carefully review your ~/.zprofile or ~/.zshrc file for any typos in the eval "$(/path/to/brew shellenv)" line. Even a single misplaced character can prevent it from working.
2. Verify Shell Type
Ensure you are actually using Zsh. You can check your current shell with echo $SHELL. If it's not Zsh, you might need to configure a different shell's profile file (e.g., ~/.bash_profile or ~/.bashrc for Bash).
3. Permissions Issues
While rare for Homebrew, incorrect file permissions could prevent the shell from reading your configuration files or executing brew. You can check permissions with ls -l ~/.zprofile.
4. Reinstall Homebrew
As a last resort, if you suspect a corrupted installation, you can uninstall and reinstall Homebrew. Be aware that this will remove all packages installed via Homebrew.
/bin/bash -c "$(curl -fsSL https://raw.githubusercontent.com/Homebrew/install/HEAD/uninstall.sh)"

/bin/bash -c "$(curl -fsSL https://raw.githubusercontent.com/Homebrew/install/HEAD/install.sh)"
Commands to uninstall and then reinstall Homebrew.