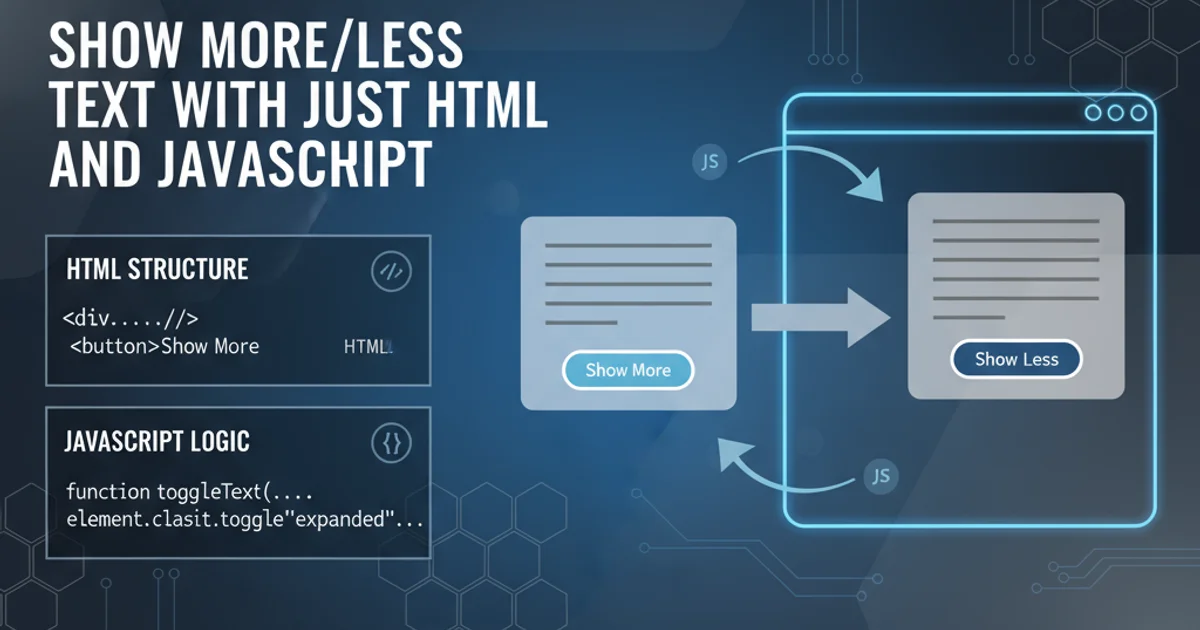
show more/Less text with just HTML and JavaScript
Categories:
Dynamic Text Display: Show More/Less with HTML and JavaScript

Learn how to implement a 'Show More/Less' feature using only HTML and vanilla JavaScript, enhancing user experience by managing content length dynamically.
Long blocks of text can overwhelm users and clutter your web page. A common and effective solution is to implement a 'Show More/Less' toggle, allowing users to expand or collapse content as needed. This article will guide you through creating such a feature using basic HTML for structure and vanilla JavaScript for interactivity, without relying on external libraries or complex frameworks.
The Core Concept: HTML Structure and CSS Styling
The foundation of our 'Show More/Less' component lies in its HTML structure and initial CSS styling. We'll use a container element for the text, a hidden span for the 'more' content, and a button to toggle its visibility. CSS will initially hide the 'more' content and provide basic styling for the button.
<div class="text-container">
  <p>
    This is the initial visible text. It provides a brief overview of the content.
    <span class="more-text" style="display: none;">
      This is the additional content that will be shown or hidden. It can be a long paragraph, a list, or any other HTML element. Users can click 'Show More' to reveal this part and 'Show Less' to hide it again.
    </span>
  </p>
  <button class="toggle-button">Show More</button>
</div>
Basic HTML structure for the 'Show More/Less' component.
.text-container {
  max-width: 600px;
  margin: 20px auto;
  padding: 15px;
  border: 1px solid #ddd;
  border-radius: 5px;
  background-color: #f9f9f9;
}

.text-container p {
  margin-bottom: 10px;
  line-height: 1.6;
}

.toggle-button {
  background-color: #007bff;
  color: white;
  border: none;
  padding: 8px 15px;
  border-radius: 4px;
  cursor: pointer;
  font-size: 1em;
  transition: background-color 0.3s ease;
}

.toggle-button:hover {
  background-color: #0056b3;
}
Minimal CSS for styling the container, paragraph, and button.
Adding Interactivity with JavaScript
The real magic happens with JavaScript. We'll select the button and the hidden text, then attach an event listener to the button. When clicked, the JavaScript will toggle the display style of the 'more' content and update the button's text accordingly.
document.addEventListener('DOMContentLoaded', () => {
  const toggleButton = document.querySelector('.toggle-button');
  const moreText = document.querySelector('.more-text');

  if (toggleButton && moreText) {
    toggleButton.addEventListener('click', () => {
      if (moreText.style.display === 'none') {
        moreText.style.display = 'inline'; // Or 'block' depending on content
        toggleButton.textContent = 'Show Less';
      } else {
        moreText.style.display = 'none';
        toggleButton.textContent = 'Show More';
      }
    });
  }
});
JavaScript to handle the 'Show More/Less' toggle functionality.
aria-expanded and aria-controls attributes to your button and the expandable content. This helps screen readers convey the state of the component to users.How the Toggle Mechanism Works
The JavaScript code listens for a click event on the button. Upon a click, it checks the current display style of the more-text span. If it's none (meaning hidden), it changes it to inline (or block if the content is a block-level element like a paragraph) and updates the button text to 'Show Less'. If it's visible, it reverses the process, hiding the text and changing the button text back to 'Show More'.
flowchart TD
    A[User loads page] --> B{Initial State: 'More' text hidden}
    B --> C[Button text: 'Show More']
    C --> D{User clicks 'Show More' button}
    D --> E{Is 'More' text hidden?}
    E -- Yes --> F[Set 'More' text display to 'inline']
    E -- Yes --> G[Set button text to 'Show Less']
    G --> H{User clicks 'Show Less' button}
    H --> I{Is 'More' text hidden?}
    I -- No --> J[Set 'More' text display to 'none']
    I -- No --> K[Set button text to 'Show More']
Flowchart illustrating the 'Show More/Less' toggle logic.
DOMContentLoaded event ensures that the JavaScript runs only after the entire HTML document has been loaded and parsed, preventing errors if the script tries to access elements that don't exist yet.Refinements and Best Practices
While the basic implementation works, there are several ways to refine it for better user experience and maintainability. Consider using CSS classes to toggle visibility instead of directly manipulating style.display. This separates concerns and allows for more complex transitions or animations.
.more-text {
  display: none;
}

.more-text.is-visible {
  display: inline;
}
Using a CSS class for toggling visibility.
document.addEventListener('DOMContentLoaded', () => {
  const toggleButton = document.querySelector('.toggle-button');
  const moreText = document.querySelector('.more-text');

  if (toggleButton && moreText) {
    toggleButton.addEventListener('click', () => {
      moreText.classList.toggle('is-visible');
      if (moreText.classList.contains('is-visible')) {
        toggleButton.textContent = 'Show Less';
      } else {
        toggleButton.textContent = 'Show More';
      }
    });
  }
});
Updated JavaScript using classList.toggle.
This approach is cleaner and allows for more advanced CSS transitions if you want to animate the expansion/collapse. For example, you could add max-height and overflow: hidden with a transition to the .more-text class, and then change max-height to a large value when is-visible is applied.