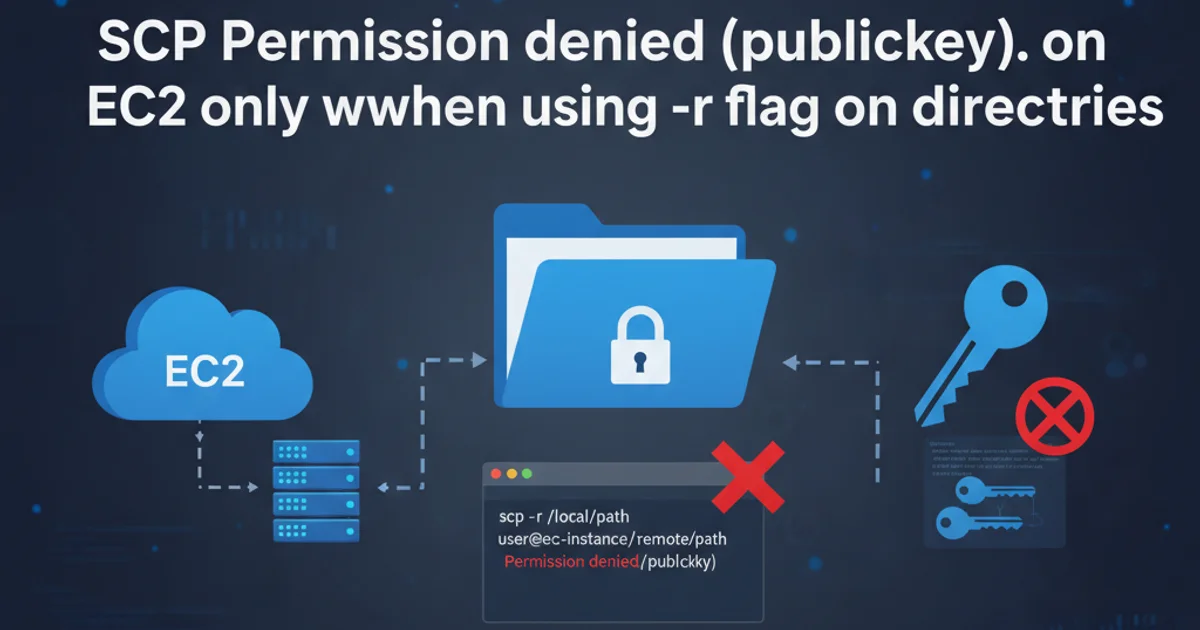
SCP Permission denied (publickey). on EC2 only when using -r flag on directories
Categories:
Resolving SCP Permission Denied (publickey) on EC2 for Directory Transfers
Understand and troubleshoot the 'Permission denied (publickey)' error encountered when using SCP with the -r flag to transfer directories to an AWS EC2 instance.
Transferring files to an AWS EC2 instance using scp is a common task. While single file transfers often work seamlessly, you might encounter a 'Permission denied (publickey)' error specifically when attempting to transfer entire directories using the -r (recursive) flag. This issue can be particularly perplexing because scp might work perfectly for individual files, leading to confusion about the root cause. This article will delve into the common reasons behind this specific error and provide a comprehensive guide to diagnose and resolve it.
Understanding the 'Permission denied (publickey)' Error
The 'Permission denied (publickey)' error indicates that the SSH client (which scp relies on) failed to authenticate with the EC2 instance using the provided private key. When this error occurs only with the -r flag, it suggests that the core SSH connection might be fine for initial authentication, but something in the directory transfer process or the subsequent operations on the remote server is causing a re-authentication attempt or a permission check that fails. This is often not a problem with the public key itself, but rather with how the SSH agent or the scp command handles multiple connections or sub-processes required for recursive transfers.
flowchart TD
    A[Start SCP -r command] --> B{Initial SSH Connection & Auth?}
    B -- Yes --> C{SCP attempts to list/create remote directory}
    B -- No --> D[Permission denied (publickey) - Basic SSH failure]
    C --> E{Remote server permissions allow directory creation/listing?}
    E -- Yes --> F{SCP attempts to transfer files recursively}
    E -- No --> G[Permission denied (publickey) - Remote directory access issue]
    F --> H{File transfer successful}
    F --> I[Permission denied (publickey) - File-level access issue or re-auth failure]
    G --> J[Troubleshoot remote user/directory permissions]
    I --> K[Troubleshoot SSH agent, key permissions, or remote user context]
    D --> L[Troubleshoot local key permissions, SSH config, or remote user]
    H --> M[End - Success]
Flowchart illustrating potential points of failure during an SCP recursive transfer.
Common Causes and Solutions
Several factors can contribute to this specific scp -r failure. It's crucial to systematically check each potential cause to pinpoint the exact problem. The most frequent culprits involve incorrect permissions on the local private key, issues with the SSH agent, or problems with the remote user's home directory or the target directory permissions on the EC2 instance.
.pem file) has strict permissions (read-only for the owner). Incorrect permissions like chmod 777 will cause SSH to reject the key.Troubleshooting Steps
Follow these steps to diagnose and resolve the 'Permission denied (publickey)' error during recursive SCP transfers to your EC2 instance.
1. Verify Local Private Key Permissions
Your private key file (.pem) must have specific permissions to be accepted by SSH. It should only be readable by the owner. Use chmod 400 or chmod 600 on your private key file. For example, if your key is my-key.pem, run: chmod 400 my-key.pem.
2. Ensure SSH Agent is Running and Key is Added
The SSH agent can help manage your keys and avoid repeated password/passphrase prompts. Ensure it's running and your key is added. Run eval "$(ssh-agent -s)" to start the agent (if not already running) and then ssh-add my-key.pem to add your key. This is especially helpful for scp -r as it might open multiple connections.
3. Specify the Identity File Explicitly
Always use the -i flag to explicitly specify your private key with scp. Even if it's in your ~/.ssh directory, explicitly pointing to it can resolve ambiguity. Example: scp -i my-key.pem -r /local/path ec2-user@your-ec2-ip:/remote/path.
4. Check Remote User and Target Directory Permissions
Log into your EC2 instance via SSH (which should work if the key is fine for single connections) and verify the permissions of the target directory where you're trying to transfer files. The ec2-user (or your chosen user) must have write permissions to this directory. Use ls -ld /remote/path to check. If necessary, adjust permissions using sudo chown ec2-user:ec2-user /remote/path and sudo chmod 755 /remote/path.
5. Test with Verbose Output
Add the -v flag to your scp command for verbose output. This can provide crucial debugging information about the authentication process and where it's failing. Example: scp -v -i my-key.pem -r /local/path ec2-user@your-ec2-ip:/remote/path.
6. Consider Using rsync Instead of SCP
For large directory transfers, rsync is often more robust and efficient than scp. It also uses SSH for transport. The command would look like: rsync -avz -e "ssh -i my-key.pem" /local/path/ ec2-user@your-ec2-ip:/remote/path/. Note the trailing slash on the source path to transfer contents, not the directory itself.
# Correct local private key permissions
chmod 400 my-key.pem

# Start SSH agent and add key
eval "$(ssh-agent -s)"
ssh-add my-key.pem

# SCP command with explicit key and verbose output
scp -v -i my-key.pem -r /path/to/local/directory ec2-user@your-ec2-ip:/path/to/remote/directory

# Example rsync command
rsync -avz -e "ssh -i my-key.pem" /path/to/local/directory/ ec2-user@your-ec2-ip:/path/to/remote/directory/
Essential commands for troubleshooting and executing SCP/rsync transfers.