Modern UI application design for Windows Form Application
Categories:
Modern UI Design for Windows Forms Applications

Explore contemporary UI/UX principles and practical techniques to revitalize your Windows Forms applications, making them more engaging and user-friendly.
Windows Forms (WinForms) has been a cornerstone for desktop application development in .NET for many years. While powerful, its default controls and design philosophy can often lead to applications that feel dated in today's user experience (UX) landscape. This article will guide you through modernizing your WinForms applications, focusing on aesthetics, usability, and performance to deliver a compelling user interface (UI).
Embracing Modern Design Principles
Modern UI design is characterized by minimalism, clarity, and responsiveness. For WinForms, this means moving beyond the default gray aesthetic and embracing flat design, subtle shadows, and thoughtful use of color. Focus on providing clear visual hierarchy, ample whitespace, and intuitive navigation. Consider the user's journey and streamline interactions to reduce cognitive load.
flowchart TD
    A[Start: Legacy WinForms App] --> B{Identify UI/UX Pain Points}
    B --> C{Research Modern Design Trends}
    C --> D{Choose a Design System/Theme}
    D --> E[Implement Custom Controls/Styling]
    E --> F{Optimize Layout & Responsiveness}
    F --> G{Integrate Animations/Transitions}
    G --> H{User Testing & Iteration}
    H --> I[End: Modern WinForms App]
Workflow for Modernizing a WinForms Application UI
Styling and Custom Controls
The default WinForms controls offer limited styling options. To achieve a modern look, you'll often need to either customize existing controls extensively or create your own. Libraries like MaterialSkin or Bunifu UI can provide a quick facelift by implementing Material Design principles. Alternatively, you can draw custom controls using GDI+ or leverage third-party component suites that offer highly customizable and modern-looking controls.
using System.Drawing;
using System.Windows.Forms;

public class ModernButton : Button
{
    public ModernButton()
    {
        this.FlatStyle = FlatStyle.Flat;
        this.FlatAppearance.BorderSize = 0;
        this.BackColor = Color.FromArgb(52, 152, 219); // A nice blue
        this.ForeColor = Color.White;
        this.Font = new Font("Segoe UI", 10F, FontStyle.Regular);
        this.Text = "Click Me";
        this.Size = new Size(120, 40);
    }

    protected override void OnMouseEnter(System.EventArgs e)
    {
        base.OnMouseEnter(e);
        this.BackColor = Color.FromArgb(41, 128, 185); // Darker blue on hover
    }

    protected override void OnMouseLeave(System.EventArgs e)
    {
        base.OnMouseLeave(e);
        this.BackColor = Color.FromArgb(52, 152, 219); // Original blue
    }
}
Layout and Responsiveness
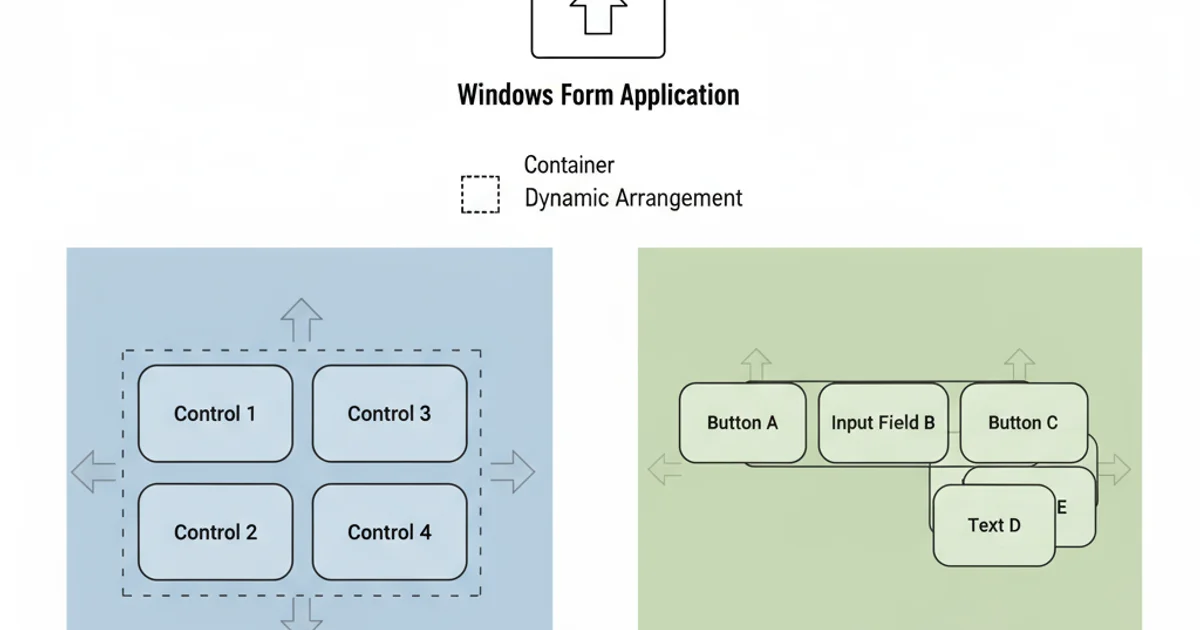
Modern applications are expected to adapt to different screen sizes and resolutions. WinForms offers several controls to aid in responsive design, such as TableLayoutPanel and FlowLayoutPanel. These containers automatically arrange child controls, making it easier to create flexible layouts. Anchor and Dock properties are also crucial for ensuring controls resize correctly when their parent container changes size.
Leveraging Layout Panels for Responsive WinForms UI
using System.Windows.Forms;

public partial class MainForm : Form
{
    public MainForm()
    {
        InitializeComponent();
        SetupResponsiveLayout();
    }

    private void SetupResponsiveLayout()
    {
        // Example: Using TableLayoutPanel for a two-column layout
        TableLayoutPanel tableLayout = new TableLayoutPanel();
        tableLayout.Dock = DockStyle.Fill;
        tableLayout.ColumnCount = 2;
        tableLayout.RowCount = 1;
        tableLayout.ColumnStyles.Add(new ColumnStyle(SizeType.Percent, 30F));
        tableLayout.ColumnStyles.Add(new ColumnStyle(SizeType.Percent, 70F));

        // Add controls to the tableLayout
        Panel leftPanel = new Panel { BackColor = System.Drawing.Color.LightGray, Dock = DockStyle.Fill };
        Panel rightPanel = new Panel { BackColor = System.Drawing.Color.White, Dock = DockStyle.Fill };

        tableLayout.Controls.Add(leftPanel, 0, 0);
        tableLayout.Controls.Add(rightPanel, 1, 0);

        this.Controls.Add(tableLayout);
    }
}
Dock, Anchor, TableLayoutPanel, and FlowLayoutPanel to ensure your UI adapts gracefully to different screen resolutions and window sizes.Enhancing User Experience with Animations and Transitions
Subtle animations and transitions can significantly improve the perceived responsiveness and polish of your application. While WinForms doesn't have built-in animation frameworks like WPF, you can achieve smooth effects using Timer components or custom drawing with GDI+. Common animations include fading in/out, sliding panels, or subtle hover effects on buttons. Be mindful not to overdo animations, as excessive use can distract users and degrade performance.
1. Implement a Fade-In Effect for a Form
Add a Timer component to your form. In the form's Load event, set the form's Opacity to 0 and start the timer. In the timer's Tick event, gradually increase the form's Opacity until it reaches 1, then stop and disable the timer.
2. Create a Sliding Panel
Use a Timer to animate the Left or Top property of a Panel control. When a button is clicked, start the timer and in its Tick event, incrementally change the panel's position until it reaches its desired destination, then stop the timer.
3. Add Hover Effects to Custom Buttons
As shown in the ModernButton example, override the OnMouseEnter and OnMouseLeave methods to change background colors, border styles, or even trigger small scaling animations using a Timer for a more dynamic feel.