NETSH Command in Windows 7
Categories:
Mastering Network Configuration with NETSH in Windows 7
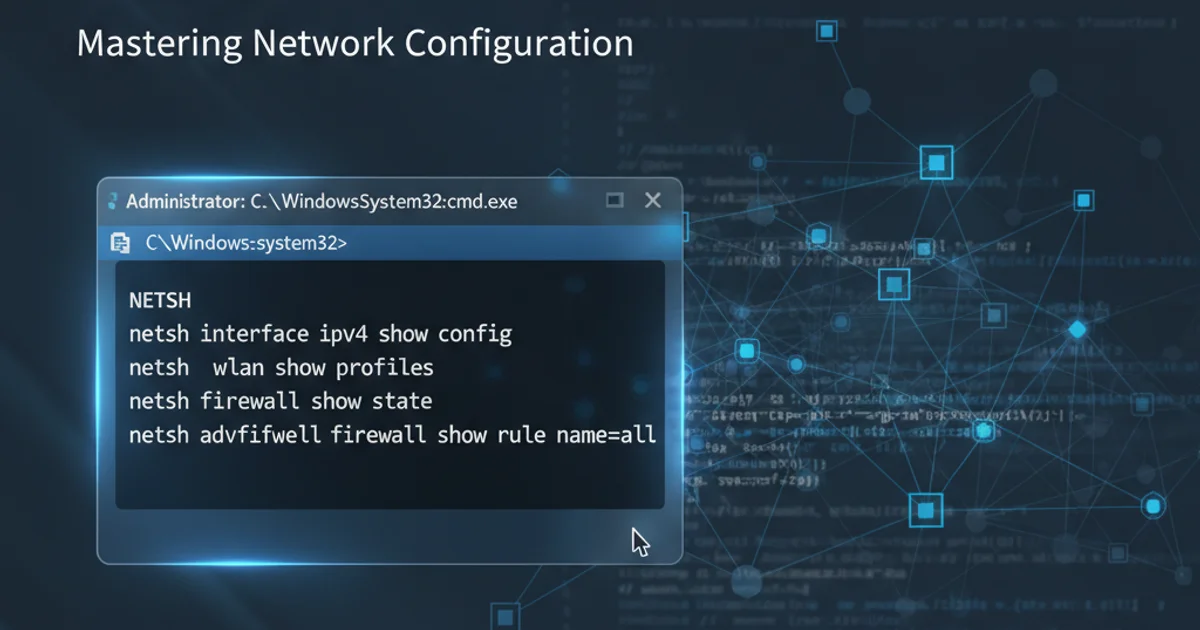
Explore the power of the NETSH command-line utility in Windows 7 for advanced network configuration, troubleshooting, and management of network interfaces, Wi-Fi profiles, and firewall settings.
The netsh (Network Shell) command is a powerful, scriptable command-line utility in Windows that allows you to configure and display the status of various network components. While modern Windows versions offer more graphical tools, netsh remains an invaluable tool for system administrators and advanced users, especially in environments like Windows 7 where granular control is often preferred or necessary. This article will guide you through its core functionalities, focusing on common use cases for Wi-Fi and general network management.
Understanding the NETSH Contexts
The netsh command operates within a hierarchical structure of contexts. Each context provides a specific set of commands related to a particular network component or service. For instance, the wlan context is used for wireless network configurations, while interface handles general network adapter settings. Navigating these contexts is key to effectively using netsh.
graph TD
    A[netsh] --> B[interface]
    A --> C[wlan]
    A --> D[advfirewall]
    A --> E[dhcpclient]
    B --> B1[ip]
    B --> B2[ipv6]
    C --> C1[show]
    C --> C2[add]
    C --> C3[delete]
    D --> D1[firewall]
    D1 --> D2[show]
    D1 --> D3[add rule]
    E --> E1[show]
    E --> E2[set]
    B1 --> B1_1[show addresses]
    B1 --> B1_2[set address]
    C1 --> C1_1["show profiles"]
    C1 --> C1_2["show interfaces"]
    C2 --> C2_1["add profile"]
    C3 --> C3_1["delete profile"]

    style A fill:#f9f,stroke:#333,stroke-width:2px
    style B fill:#bbf,stroke:#333,stroke-width:2px
    style C fill:#bbf,stroke:#333,stroke-width:2px
    style D fill:#bbf,stroke:#333,stroke-width:2px
    style E fill:#bbf,stroke:#333,stroke-width:2px
Hierarchical structure of NETSH contexts and common sub-commands.
To enter a specific context, you simply type the context name after netsh. For example, netsh wlan will put you into the wireless LAN context. You can then execute commands specific to that context. To return to the main netsh prompt or exit, you can type .. or exit, respectively. Alternatively, you can execute a command directly from the main prompt by specifying the full path, like netsh wlan show profiles.
Managing Wi-Fi Profiles with NETSH WLAN
One of the most common and useful applications of netsh in Windows 7 is managing wireless network profiles. This includes viewing existing profiles, exporting them for backup or deployment, importing them, and even deleting unwanted ones. This is particularly handy for troubleshooting connectivity issues or setting up multiple machines with the same Wi-Fi configuration.
netsh wlan show profiles
netsh wlan show profiles name="MyHomeWiFi" key=clear
netsh wlan export profile name="MyHomeWiFi" folder="C:\WiFi_Profiles" key=clear
netsh wlan add profile filename="C:\WiFi_Profiles\MyHomeWiFi.xml"
Common NETSH WLAN commands for managing Wi-Fi profiles.
key=clear, be aware that the Wi-Fi password will be visible in plain text within the generated XML file. Handle these files securely.Configuring IP Settings and Network Interfaces
Beyond Wi-Fi, netsh also provides extensive control over wired network interfaces, including IP address configuration, DNS settings, and interface status. The netsh interface ip context is where most of these operations take place. You can switch between DHCP and static IP configurations, set specific IP addresses, subnet masks, gateways, and DNS servers.
netsh interface ip show config
netsh interface ip set address "Local Area Connection" static 192.168.1.100 255.255.255.0 192.168.1.1
netsh interface ip set dns "Local Area Connection" static 8.8.8.8 primary
netsh interface ip add dns "Local Area Connection" 8.8.4.4 index=2
netsh interface ip set address "Local Area Connection" dhcp
netsh interface set interface "Local Area Connection" admin=disable
netsh interface set interface "Local Area Connection" admin=enable
Examples of configuring IP settings and managing interface status.
1. Identify Network Interface Name
Open Command Prompt as Administrator and run netsh interface ip show config to list all network adapters and their exact names (e.g., "Local Area Connection", "Wireless Network Connection").
2. Set Static IP Address
Use the command netsh interface ip set address "Your Interface Name" static 192.168.1.100 255.255.255.0 192.168.1.1 (replace with your desired IP, subnet, and gateway).
3. Configure DNS Servers
Set primary DNS with netsh interface ip set dns "Your Interface Name" static 8.8.8.8 primary and add a secondary with netsh interface ip add dns "Your Interface Name" 8.8.4.4 index=2.
4. Verify Configuration
Run netsh interface ip show config "Your Interface Name" to confirm the changes have been applied successfully.
5. Revert to DHCP (Optional)
If needed, revert to automatic IP configuration using netsh interface ip set address "Your Interface Name" dhcp and netsh interface ip set dns "Your Interface Name" dhcp.