Handbrake: save custom preset/encoding command out for use on handbrake-cli on another machine
Categories:
HandBrake: Exporting Custom Presets for CLI Use on Another Machine
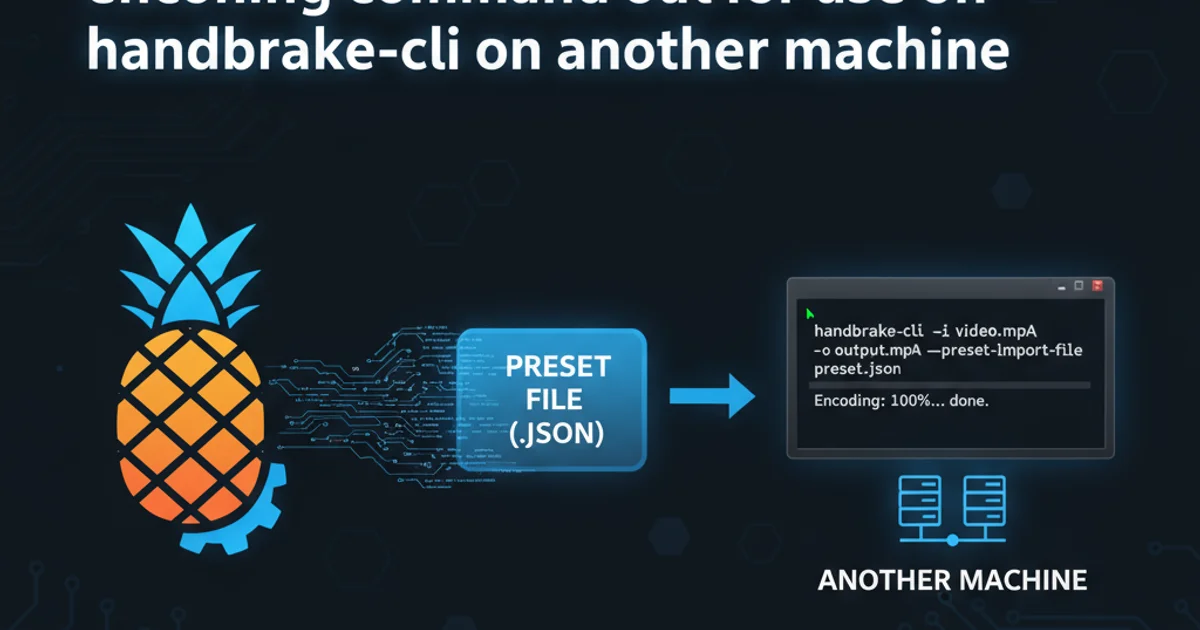
Learn how to save your custom HandBrake presets and extract the underlying encoding commands for seamless use with HandBrake CLI on a different Ubuntu machine, ensuring consistent video transcoding across environments.
HandBrake is a powerful open-source video transcoder, widely used for converting video from nearly any format to a selection of modern, widely supported codecs. While its graphical user interface (GUI) is intuitive for creating custom encoding settings, often you'll want to apply these same settings in an automated fashion or on a headless server using HandBrake CLI (Command Line Interface). This article guides you through the process of exporting your custom presets and, crucially, extracting the exact command-line parameters for use on another machine, specifically focusing on Ubuntu environments.
Understanding HandBrake Presets and CLI
HandBrake presets are essentially collections of encoding settings (video codec, audio tracks, subtitles, filters, dimensions, etc.) saved for quick reuse. The GUI allows you to define these settings visually. When you use HandBrake CLI, you need to provide these settings as command-line arguments. The challenge lies in translating a GUI preset into a precise CLI command, especially when dealing with complex settings or filters. Fortunately, HandBrake provides a mechanism to export presets, and with a little inspection, we can derive the CLI equivalent.
flowchart TD
    A[HandBrake GUI on Machine A] --> B{Create/Modify Custom Preset}
    B --> C[Export Preset (.json)]
    C --> D{Transfer .json to Machine B}
    D --> E[Import Preset to HandBrake GUI on Machine B]
    E --> F[Open Source Video in GUI on Machine B]
    F --> G[Select Imported Preset]
    G --> H[Preview/Start Encode]
    H --> I[Extract CLI Command from Activity Log]
    I --> J[Use CLI Command on Machine B (or other headless server)]
Workflow for exporting HandBrake presets and extracting CLI commands.
Exporting Your Custom Preset from HandBrake GUI
The first step is to export your custom preset from the HandBrake GUI. This creates a JSON file containing all the settings defined in your preset. This file can then be imported into HandBrake GUI on another machine, or used as a reference to construct your CLI commands.
1. Open HandBrake and Select Your Preset
Launch HandBrake GUI. In the 'Presets' menu (usually on the right sidebar or via the 'Presets' menu bar item), select the custom preset you wish to export.
2. Export the Preset
With the preset selected, go to 'Presets' > 'Export Presets...'. Choose a location to save the JSON file (e.g., my_custom_preset.json).
3. Transfer the JSON File
Copy this my_custom_preset.json file to your target machine (e.g., via SCP, USB drive, or cloud storage).
Extracting the Encoding Command for HandBrake CLI
The most reliable way to get the exact HandBrakeCLI command corresponding to your GUI preset is to let the GUI generate it for you. HandBrake's 'Activity Log' provides a detailed breakdown of the encoding process, including the full command-line arguments it uses internally.
1. Import Preset (if on a new machine)
If you're on a new machine, open HandBrake GUI, go to 'Presets' > 'Import Presets...' and select the my_custom_preset.json file you transferred earlier.
2. Load a Source Video
Open any small source video file in HandBrake GUI. This is necessary to trigger an encoding process and generate the log.
3. Select Your Preset and Start Encode
Ensure your imported custom preset is selected. Choose a short output destination and click 'Start Encode'. You don't need to let it finish; a few seconds of encoding are enough.
4. Open the Activity Log
Once encoding starts (or finishes), go to 'Activity' > 'Show Activity Log'. This will open a new window with detailed logs.
5. Locate and Copy the CLI Command
Scroll through the activity log. Look for a line that starts with HandBrakeCLI followed by a long string of parameters. This is the command you need. Copy this entire line.
HandBrakeCLI -i "/path/to/input.mkv" -o "/path/to/output.mp4" --preset-import-file "/path/to/my_custom_preset.json" --preset "My Custom Preset Name" --encoder x264 --quality 20 --rate 29.97 --width 1280 --height 720 --crop 0:0:0:0 --loose-crop --modulus 2 --markers --verbose 1 --optimize --decomb --denoise="hqdn3d" --audio-lang-list eng --audio-encoder-list "aac" --audio-bitrate-list "160" --all-audio --subtitle-lang-list eng --subtitle-burned --all-subtitles --chapters 1-10
Example of a HandBrakeCLI command extracted from the activity log.
--preset-import-file and --preset arguments are correctly pointing to your JSON file and preset name if you choose to use them.Using the Extracted Command on HandBrake CLI (Ubuntu)
Now that you have the command, you can execute it directly on your Ubuntu machine. Ensure HandBrake CLI is installed.
1. Install HandBrake CLI (if not already installed)
On your Ubuntu machine, open a terminal and install HandBrake CLI using apt:
sudo apt update
sudo apt install handbrake-cli
2. Execute the Command
Paste the copied command into your terminal. Remember to adjust the input (-i) and output (-o) file paths to match your current files. You can also remove the --preset-import-file and --preset arguments if all settings are explicitly defined in the command, or keep them if you prefer to reference the JSON preset.
HandBrakeCLI -i "/home/user/videos/source.mkv" -o "/home/user/videos/output.mp4" --encoder x264 --quality 20 --rate 29.97 --width 1280 --height 720 --crop 0:0:0:0 --loose-crop --modulus 2 --markers --verbose 1 --optimize --decomb --denoise="hqdn3d" --audio-lang-list eng --audio-encoder-list "aac" --audio-bitrate-list "160" --all-audio --subtitle-lang-list eng --subtitle-burned --all-subtitles --chapters 1-10
Adjusted HandBrakeCLI command for a specific input and output file.