Git push rejected "non-fast-forward"
Categories:
Resolving Git Push Rejected: 'non-fast-forward' Errors

Learn why Git rejects pushes with 'non-fast-forward' errors and how to resolve them using git pull, git rebase, or git push --force safely.
The 'non-fast-forward' error is one of the most common issues Git users encounter, especially when collaborating on a shared repository. It occurs when your local branch history has diverged from the remote branch history. In simpler terms, someone else has pushed changes to the same branch on the remote repository since you last pulled, and your local branch is no longer a direct ancestor of the remote branch. Git, by default, prevents you from overwriting these changes to protect the remote history.
Understanding the 'non-fast-forward' Error
When you attempt to git push, Git compares your local branch's history with the remote branch's history. A 'fast-forward' push is possible only if the remote branch can be updated by simply moving its pointer forward to include your new commits, without losing any existing commits. If the remote branch contains commits that are not present in your local branch (meaning the histories have diverged), Git cannot perform a fast-forward merge and rejects your push to prevent accidental data loss. This mechanism ensures that no work is silently overwritten.

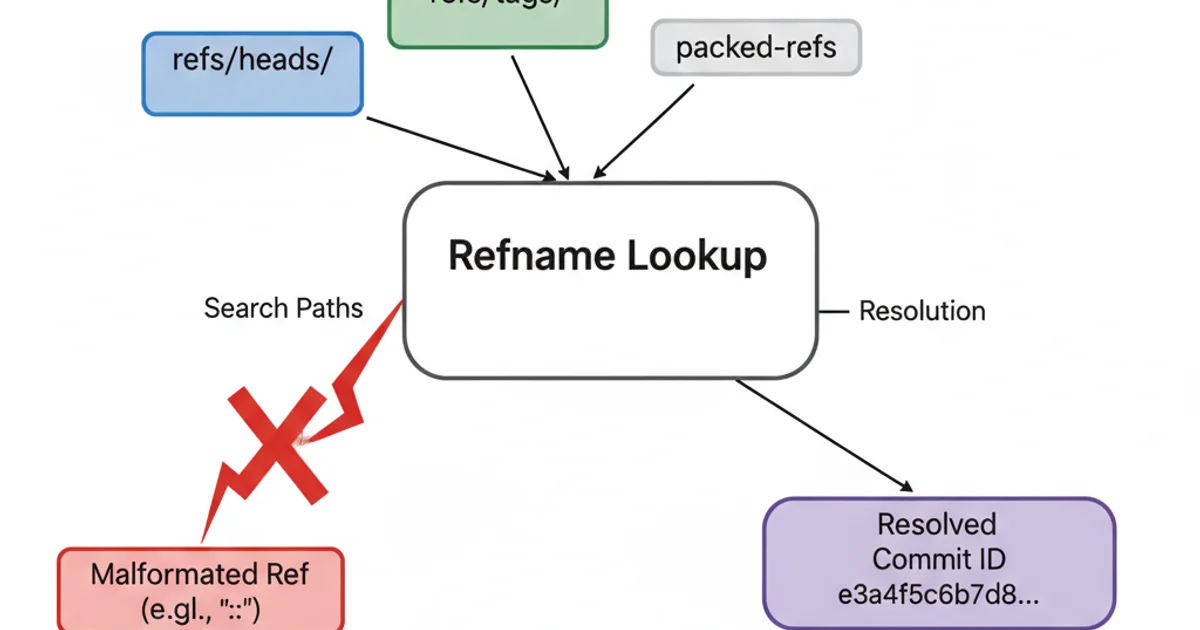
Visualizing a 'non-fast-forward' Git history
Resolving the 'non-fast-forward' Error
There are several strategies to resolve a 'non-fast-forward' error, each with its own implications for your commit history. The most common and recommended approach is to integrate the remote changes into your local branch before pushing. This can be done using git pull (which performs a fetch and a merge by default) or git pull --rebase.
git fetch followed by git status can often reveal remote changes and prevent 'non-fast-forward' errors.Method 1: Git Pull (Fetch + Merge)
The simplest way to resolve a 'non-fast-forward' error is to first pull the remote changes into your local branch. By default, git pull is a shorthand for git fetch followed by git merge FETCH_HEAD. This will create a new merge commit in your local history that combines your changes with the remote changes. After the merge, your local branch history will include all remote commits, allowing for a fast-forward push.
git pull origin <branch-name>
git push origin <branch-name>
Pulling remote changes and then pushing
git pull creates a merge commit, which keeps a record of when the merge happened. This can be desirable for maintaining an explicit history of integrations, but it can also lead to a 'messy' or non-linear history with many merge commits.Method 2: Git Pull --rebase (Fetch + Rebase)
Alternatively, you can use git pull --rebase. This command fetches the remote changes and then reapplies your local commits on top of the updated remote branch. This effectively rewrites your local history, making it appear as if your changes were made after the remote changes. The result is a linear history, which many developers prefer for its cleanliness. However, rebasing rewrites commit history, so it should be used with caution, especially on branches that others have already pulled.
git pull --rebase origin <branch-name>
git push origin <branch-name>
Pulling remote changes with rebase and then pushing
Method 3: Git Push --force (Use with Extreme Caution)
The git push --force (or git push -f) command is a powerful tool that should be used with extreme caution. It bypasses the 'non-fast-forward' check and overwrites the remote branch with your local branch's history, regardless of whether it's a fast-forward change. This means any commits on the remote branch that are not in your local branch will be lost forever. This command is typically reserved for specific scenarios, such as correcting a mistake on a private branch or after a git rebase on a branch that only you are working on and you are certain no one else has pulled from it.
git push --force origin <branch-name>
Forcing a push (use with extreme caution)
git push --force on a shared branch is highly discouraged and can lead to lost work for your teammates. Only use it if you fully understand the implications and are certain no one else's work will be affected. A safer alternative for shared branches is git push --force-with-lease, which fails if the remote branch has been updated since you last fetched, providing a small safeguard.1. Step 1: Fetch Remote Changes
Before attempting to push, always fetch the latest changes from the remote to see if there are any updates you're missing. This doesn't merge anything, just updates your remote-tracking branches.
2. Step 2: Check Status
After fetching, run git status to see if your local branch is behind, ahead, or diverged from the remote branch. This will inform your next action.
3. Step 3: Integrate Remote Changes
If your branch is behind or diverged, integrate the remote changes using either git pull origin <branch-name> (for a merge commit) or git pull --rebase origin <branch-name> (for a linear history, but be cautious on shared branches).
4. Step 4: Resolve Conflicts (if any)
If there are merge conflicts during the pull/rebase, resolve them manually. Git will guide you through the process. After resolving, commit the changes (for git pull) or continue the rebase (for git pull --rebase).
5. Step 5: Push Your Changes
Once your local branch is up-to-date with the remote and all conflicts are resolved, you can safely git push origin <branch-name>.