replace alfresco share 4.2 login screen logo
Categories:
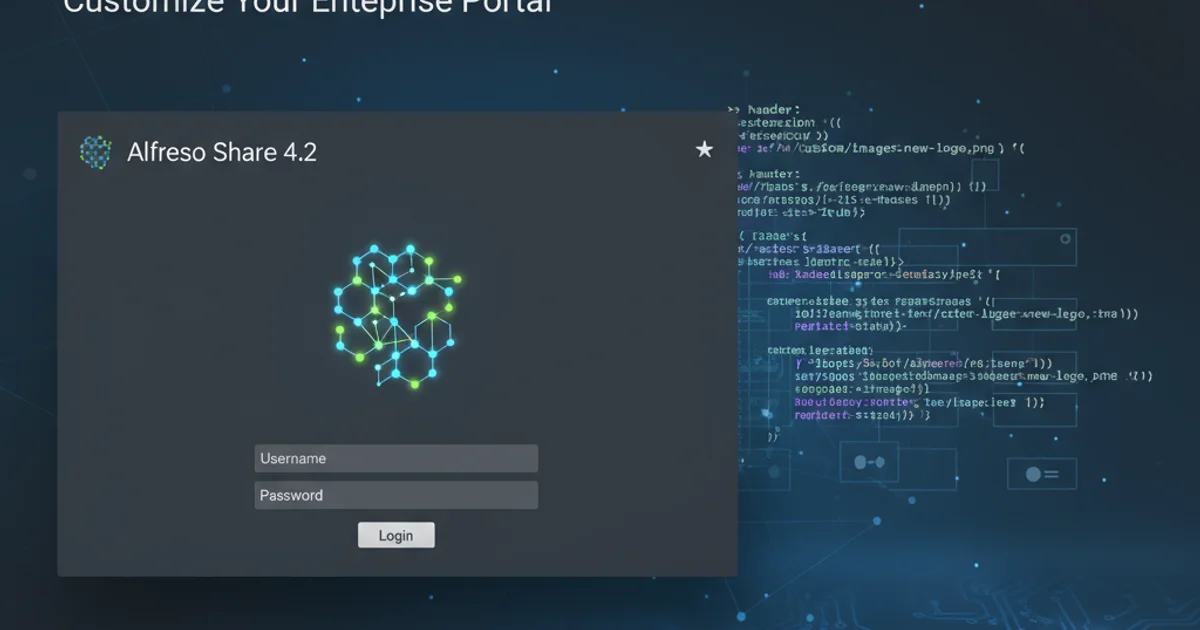
Customizing the Alfresco Share 4.2 Login Screen Logo
Learn how to replace the default Alfresco Share 4.2 login screen logo with your own custom branding image, enhancing the user experience and aligning with corporate identity.
Customizing the login screen of Alfresco Share is a common requirement for organizations looking to brand their enterprise content management system. This article provides a comprehensive guide on how to replace the default Alfresco Share 4.2 login screen logo with a custom image. We'll cover the necessary file modifications, deployment steps, and best practices to ensure a smooth transition.
Understanding the Alfresco Share Login Screen Structure
The Alfresco Share login screen is rendered by a FreeMarker template and uses CSS to style its elements, including the logo. The default logo is typically an image file referenced within these templates and stylesheets. To replace it, you need to identify the correct files and paths, then either replace the image directly or override the CSS that points to it. For Alfresco Share 4.2, the logo is usually defined in the login.css file and referenced in the login.ftl template.
flowchart TD
    A[User Accesses Share Login] --> B{Share Web Application}
    B --> C[Loads login.ftl Template]
    C --> D[References login.css Stylesheet]
    D --> E[CSS Defines .alfresco-logo Background Image]
    E --> F[Browser Renders Login Screen with Logo]
Flow of Alfresco Share Login Screen Rendering
Preparing Your Custom Logo
Before you begin, ensure your custom logo meets the following criteria for optimal display:
- Dimensions: While you can adjust CSS, it's best to size your logo appropriately. A common size for the login logo is around 200-300 pixels wide and 50-100 pixels high, but this can vary based on your specific design.
- Format: Use a web-friendly format like PNG (for transparency) or JPG.
- Name: Choose a descriptive filename, e.g.,
my-company-logo.png.
Method 1: Replacing the Default Image File
This is the simplest method, but it's important to note that direct file replacement might be overwritten during Alfresco upgrades. It involves locating the default logo image and replacing it with your custom image, ensuring your custom image has the exact same filename and path as the original.
1. Locate the Default Logo
Navigate to your Alfresco installation directory. The default logo for Share 4.2 is typically found at: <ALFRESCO_HOME>/tomcat/webapps/share/images/logo.png. The exact path might vary slightly depending on your installation.
2. Backup the Original Logo
Before making any changes, rename the original logo.png to logo_original.png or move it to a backup location. This allows for easy rollback if needed.
3. Place Your Custom Logo
Copy your custom logo file into the same directory (<ALFRESCO_HOME>/tomcat/webapps/share/images/). Ensure your custom logo is named logo.png (or whatever the original filename was).
4. Restart Alfresco
Restart your Alfresco server (Tomcat) for the changes to take effect. After restarting, clear your browser cache and access the Share login page to see your new logo.
Method 2: Overriding CSS with a Custom AMP (Recommended)
This method is more robust and upgrade-safe as it uses an Alfresco Module Package (AMP) to override the default CSS. This approach is preferred for production environments as it keeps your customizations separate from the core Alfresco files.
1. Create a Custom CSS File
Create a new CSS file (e.g., custom-login.css) that overrides the background-image property for the logo element. The relevant CSS class is typically .alfresco-logo or similar. You'll need to inspect the Share login page's HTML to confirm the exact selector.
2. Example custom-login.css
.alfresco-logo {
    background-image: url("../images/my-company-logo.png") !important;
    background-size: contain;
    background-repeat: no-repeat;
    width: 250px; /* Adjust as needed */
    height: 70px;  /* Adjust as needed */
}
Place your my-company-logo.png in a directory like src/main/resources/META-INF/resources/share-header/images/ within your AMP project structure.
3. Create a Custom AMP Project
Set up a Maven project for your Share AMP. You'll need to include your custom-login.css and your logo image within the AMP's resource structure. The CSS file should be placed in a directory that Alfresco Share can discover, typically under web/css or web/components.
4. Example AMP Project Structure
my-share-amp
├── pom.xml
└── src
    └── main
        └── resources
            └── META-INF
                └── resources
                    └── share-header
                        ├── css
                        │   └── custom-login.css
                        └── images
                            └── my-company-logo.png
5. Build and Deploy the AMP
Build your AMP file using Maven (mvn package). Once built, copy the generated .amp file to <ALFRESCO_HOME>/amps_share/. Then, run the Alfresco MMT (Module Management Tool) to install the AMP:
java -jar <ALFRESCO_HOME>/bin/alfresco-mmt.jar install <ALFRESCO_HOME>/amps_share/my-share-amp.amp <ALFRESCO_HOME>/tomcat/webapps/share.war
6. Restart Alfresco and Verify
Restart your Alfresco server. Clear your browser cache and navigate to the Share login page. Your custom logo should now be displayed.
By following these methods, you can successfully replace the default Alfresco Share 4.2 login screen logo with your own custom branding. While direct file replacement is quicker, the AMP-based approach offers better maintainability and upgrade compatibility, making it the recommended choice for long-term solutions.