Line up the heads of Dot graph using PyDot?
Categories:
Aligning Node Heads in PyDot/Graphviz Dot Graphs
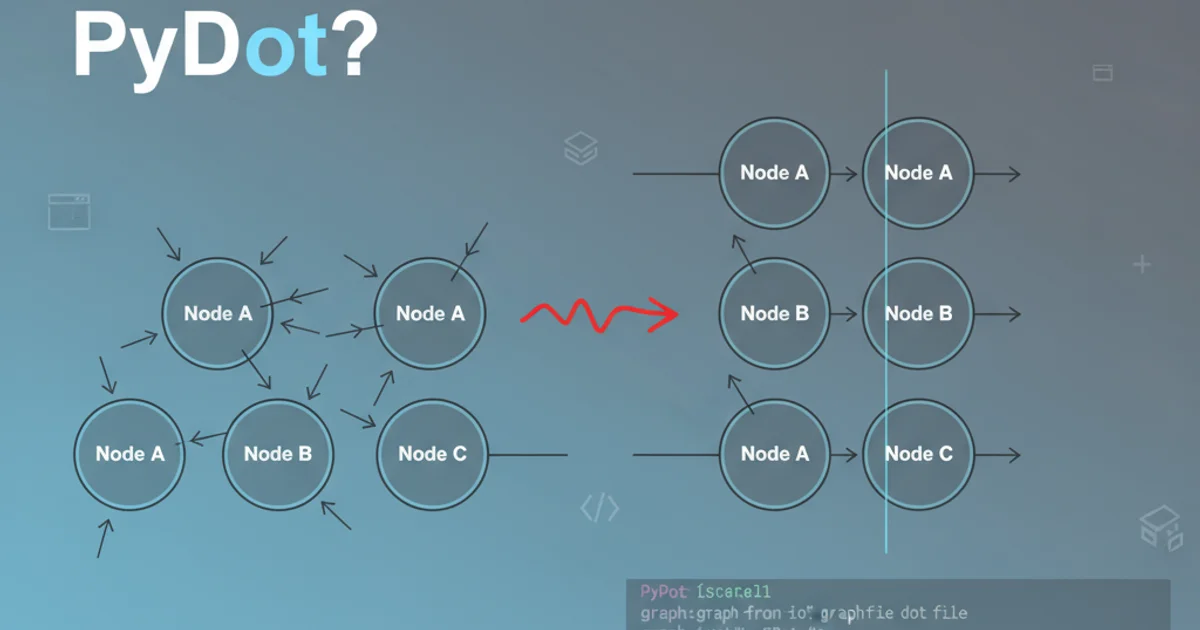
Learn how to precisely align the 'heads' of nodes in your PyDot-generated Graphviz Dot graphs for cleaner, more readable visual representations.
When creating graphs with PyDot and Graphviz, you often need to control the layout of nodes for clarity and aesthetic appeal. One common challenge is aligning specific parts of nodes, such as their 'heads' (the top-most point of a node, or the point where an edge originates from a node in a hierarchical layout). This article will guide you through various techniques to achieve precise alignment in your Dot graphs, focusing on practical PyDot implementations.
Understanding Node Positioning in Graphviz
Graphviz uses a sophisticated layout engine to automatically position nodes and edges. While this automation is powerful, it sometimes requires manual intervention to achieve specific visual requirements. The key to aligning nodes lies in understanding and manipulating attributes like rank, rankdir, pos, and invisible edges. For aligning node 'heads', we often leverage the rank attribute to group nodes into horizontal or vertical layers, ensuring they share the same relative position along one axis.
graph TD
    subgraph "Graphviz Layout Principles"
        A[Node Attributes] --> B{Layout Engine}
        B --> C[Automatic Positioning]
        C --> D{Manual Overrides}
        D --> E["rank" for Alignment]
        D --> F["pos" for Absolute Placement]
        D --> G[Invisible Edges]
    end
    E --> H[Aligning Node Heads]
    F --> H
    G --> H
Overview of Graphviz layout principles and alignment techniques.
Method 1: Using the rank Attribute for Vertical Alignment
The most common and effective way to align node 'heads' (or centers, depending on the rankdir) is by placing them in the same rank. The rank attribute groups nodes into layers. When rankdir is TB (top to bottom) or BT (bottom to top), nodes in the same rank will be aligned horizontally. If rankdir is LR (left to right) or RL (right to left), nodes in the same rank will be aligned vertically. To align node heads vertically, we typically want nodes to be on the same horizontal plane, which means they should be in the same rank when rankdir is LR or RL.
import pydot

graph = pydot.Dot("my_graph", graph_type="digraph", rankdir="LR")

# Nodes to be aligned vertically
node_a = pydot.Node("A", shape="box")
node_b = pydot.Node("B", shape="ellipse")
node_c = pydot.Node("C", shape="diamond")

graph.add_node(node_a)
graph.add_node(node_b)
graph.add_node(node_c)

# Create a subgraph for ranking
# Nodes in the same rank will be aligned vertically when rankdir="LR"
subgraph = pydot.Subgraph("{rank=same; A; B; C;}")
graph.add_subgraph(subgraph)

# Add some edges to demonstrate layout
graph.add_edge(pydot.Edge("Start", "A"))
graph.add_edge(pydot.Edge("Start", "B"))
graph.add_edge(pydot.Edge("Start", "C"))
graph.add_edge(pydot.Edge("A", "End"))

graph.write_png("aligned_heads_rank.png")
Aligning node heads using the rank=same attribute within a subgraph.
rank=same attribute is crucial for grouping nodes. When rankdir="LR", nodes in the same rank will have their centers aligned vertically. To align the heads (top-most points) more precisely, you might need to adjust node shapes or use invisible edges as described in the next method.Method 2: Using Invisible Edges for Fine-Grained Alignment
Sometimes, rank=same might not give you the exact 'head' alignment you desire, especially with varying node sizes or shapes. In such cases, invisible edges can be a powerful tool. By creating an invisible edge between the nodes you want to align, you can influence Graphviz's layout engine without adding visible connections. Combining this with rank=same can provide even more control.
import pydot

graph = pydot.Dot("my_graph_invisible", graph_type="digraph", rankdir="LR")

node_a = pydot.Node("A", shape="box", label="Node A")
node_b = pydot.Node("B", shape="ellipse", label="Node B with longer text")
node_c = pydot.Node("C", shape="diamond", label="Node C")

graph.add_node(node_a)
graph.add_node(node_b)
graph.add_node(node_c)

# Create an invisible edge between nodes to influence their relative positions
# This edge helps align them, especially when combined with rank=same
# The 'constraint=false' attribute can sometimes be useful to prevent the edge from affecting rank too much
# but for alignment, we often want it to influence rank.

# To align heads, we can create a dummy node at the 'head' position and connect it invisibly
# Or, more simply, use an invisible edge between the nodes themselves.

# Let's try to align A, B, C vertically. We'll use rank=same first.
subgraph_rank = pydot.Subgraph("{rank=same; A; B; C;}")
graph.add_subgraph(subgraph_rank)

# Now, add invisible edges to fine-tune. For vertical alignment (LR rankdir),
# connecting them with an invisible edge can help maintain their relative order and alignment.
# We want to align their 'heads' (top-most point). Graphviz usually aligns centers for rank=same.
# To align heads, we might need to introduce a dummy node or adjust node properties.

# A more direct approach for head alignment with LR rankdir:
# Create a dummy node at the 'top' of the desired alignment point
dummy_node = pydot.Node("dummy", style="invisible", width="0", height="0", label="")
graph.add_node(dummy_node)

# Connect dummy to the nodes we want to align, with invisible edges
graph.add_edge(pydot.Edge("dummy", "A", style="invis", constraint="false"))
graph.add_edge(pydot.Edge("dummy", "B", style="invis", constraint="false"))
graph.add_edge(pydot.Edge("dummy", "C", style="invis", constraint="false"))

# Add visible edges for context
graph.add_edge(pydot.Edge("Start", "A"))
graph.add_edge(pydot.Edge("Start", "B"))
graph.add_edge(pydot.Edge("Start", "C"))
graph.add_edge(pydot.Edge("A", "End"))

graph.write_png("aligned_heads_invisible_edges.png")
Using invisible edges and a dummy node to influence vertical head alignment.
constraint=false attribute on an edge tells Graphviz to ignore that edge when determining rank. This can be useful if you want an invisible edge to influence positioning without forcing nodes into the same rank if they shouldn't be. However, for head alignment, you often do want rank influence.Method 3: Combining rank with group (Advanced)
For more complex layouts, especially when dealing with clusters or specific column-like structures, the group attribute can be used in conjunction with rank. The group attribute assigns a node to a group, and nodes in the same group are placed in the same column (or row, depending on rankdir). This is particularly useful when you want to align nodes that are not necessarily in the same rank but should appear vertically aligned.
import pydot

graph = pydot.Dot("my_graph_group", graph_type="digraph", rankdir="TB")

# Nodes for column 1
node1_1 = pydot.Node("N1_1", label="Node 1.1", group="col1")
node1_2 = pydot.Node("N1_2", label="Node 1.2", group="col1")

# Nodes for column 2, aligned with column 1's heads
node2_1 = pydot.Node("N2_1", label="Node 2.1", group="col2")
node2_2 = pydot.Node("N2_2", label="Node 2.2", group="col2")

graph.add_node(node1_1)
graph.add_node(node1_2)
graph.add_node(node2_1)
graph.add_node(node2_2)

# Use invisible edges to align the 'heads' of the columns
# For TB rankdir, we want to align the top of N1_1 and N2_1
# This can be achieved by placing them in the same rank or using an invisible edge

# Let's try to align N1_1 and N2_1's tops (heads) by putting them in the same rank
# and then using group for vertical alignment within their columns.
subgraph_rank_top = pydot.Subgraph("{rank=same; N1_1; N2_1;}")
graph.add_subgraph(subgraph_rank_top)

# Add edges to show structure
graph.add_edge(pydot.Edge("N1_1", "N1_2"))
graph.add_edge(pydot.Edge("N2_1", "N2_2"))
graph.add_edge(pydot.Edge("N1_1", "N2_1", style="invis")) # Invisible edge to reinforce horizontal alignment

graph.write_png("aligned_heads_group.png")
Using group and rank=same to align node heads across different columns.
group attribute's behavior can be subtle and sometimes requires experimentation. It's most effective when you have distinct vertical columns of nodes that you want to keep aligned, and it works best with rankdir="TB" or "BT".Practical Steps for Head Alignment
Here's a summary of the recommended approach to align node heads in your PyDot graphs:
1. Determine rankdir
Decide whether your graph flows top-to-bottom (TB) or left-to-right (LR). This choice dictates how rank=same will affect alignment. For vertical head alignment, rankdir="LR" is often more intuitive with rank=same aligning centers vertically. For horizontal head alignment, rankdir="TB" with rank=same aligns centers horizontally.
2. Identify Nodes for Alignment
Pinpoint the specific nodes whose 'heads' you want to align. These are typically the starting nodes of a particular branch or a set of parallel processes.
3. Apply rank=same
Group the identified nodes into a pydot.Subgraph and apply the rank=same attribute. For example: subgraph = pydot.Subgraph("{rank=same; Node1; Node2;}"). This will align their centers along the non-ranking axis.
4. Fine-tune with Invisible Edges (Optional)
If rank=same doesn't provide the exact 'head' alignment, consider adding invisible edges. You can create a dummy invisible node and connect it to the top of each node you want to align, or create invisible edges directly between the nodes. Experiment with constraint=false if the invisible edge is causing unintended ranking effects.
5. Adjust Node Shapes/Sizes (Optional)
Sometimes, varying node shapes and sizes can make 'head' alignment tricky. Standardizing shapes or using fixedsize=true can help achieve more consistent alignment.
By combining these techniques, you can gain significant control over the layout of your Graphviz diagrams generated with PyDot, leading to clearer and more professional-looking visualizations.