VS 2012 - Project failed to build because of missing Toolset
Categories:
Resolving 'Project failed to build because of missing Toolset' in Visual Studio 2012
Learn how to troubleshoot and fix the common 'missing Toolset' error when building C++ projects in Visual Studio 2012, often caused by incorrect SDK or compiler configurations.
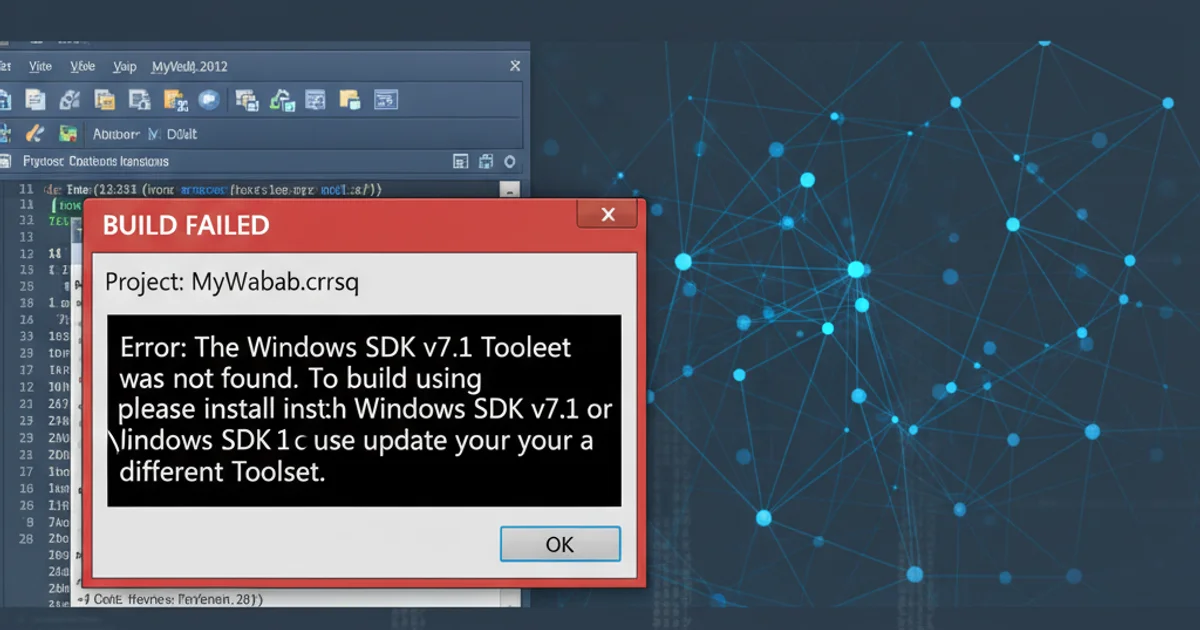
Encountering the error 'Project failed to build because of missing Toolset' in Visual Studio 2012 can be a frustrating experience for C++ developers. This issue typically arises when the project's configuration points to a C++ compiler or Windows SDK version that is either not installed or incorrectly configured on your system. This article will guide you through the common causes and provide step-by-step solutions to get your projects building successfully again.
Understanding the Toolset Error
The 'Toolset' in Visual Studio refers to the collection of compilers, linkers, libraries, and build tools (like MSBuild) used to compile your project. When a project is created or opened, it specifies a particular toolset version (e.g., v110 for Visual Studio 2012, v100 for Visual Studio 2010). If this specified toolset is not found or is corrupted, Visual Studio cannot properly invoke the necessary build components, leading to the build failure.
This problem is particularly common when migrating projects between different versions of Visual Studio, or when setting up a new development environment where not all required components were installed.
flowchart TD
    A[Open VS Project] --> B{Check Project Toolset Setting}
    B -->|Toolset Found| C[Build Project]
    B -->|Toolset Missing| D[Error: 'Missing Toolset']
    D --> E{Is Toolset Installed?}
    E -->|No| F[Install Required Toolset/SDK]
    E -->|Yes| G[Verify VS Installation/Repair]
    F --> C
    G --> C
Flowchart illustrating the cause and resolution path for a missing toolset error.
Common Causes and Solutions
The 'missing Toolset' error can stem from several issues. Identifying the root cause is key to applying the correct fix. Below are the most frequent scenarios and their corresponding solutions.
1. Missing C++ Compiler or Windows SDK
Visual Studio 2012 (and later versions) uses specific C++ compilers and often relies on the Windows SDK for various headers and libraries. If these components were not fully installed, or if you're opening a project that targets a different SDK version than what's available, you'll encounter this error.
For Visual Studio 2012, the primary toolset is v110. If your project explicitly targets an older toolset (like v100 for VS 2010) and you don't have VS 2010 installed, you'll need to either install VS 2010 or upgrade your project's toolset.
1. Install Missing Components
Run the Visual Studio 2012 installer again. Choose 'Modify' and ensure that 'Microsoft Visual C++' and any relevant Windows SDKs (e.g., Windows SDK 8.0 for Windows 8) are selected for installation. If your project targets an older toolset, you might need to install the corresponding older Visual Studio version or its redistributables.
2. Change Project Toolset (If Applicable)
If you're opening an older project, you might need to update its toolset to v110. Right-click your project in Solution Explorer, select 'Properties'. Under 'Configuration Properties' -> 'General', find the 'Platform Toolset' option. Change it to 'Visual Studio 2012 (v110)'. If v110 is not an option, it confirms that the C++ components for VS 2012 are not correctly installed.
2. Corrupted Visual Studio Installation
Sometimes, the Visual Studio installation itself can become corrupted, leading to missing or damaged build tools. A repair operation can often resolve these issues by replacing any problematic files.
1. Repair Visual Studio 2012
Go to 'Control Panel' -> 'Programs and Features'. Find 'Microsoft Visual Studio 2012' in the list, right-click it, and select 'Change'. In the Visual Studio setup wizard, choose the 'Repair' option. This process can take some time but often fixes underlying installation problems.
2. Reboot Your System
After any installation or repair, it's always a good practice to reboot your computer to ensure all changes are properly applied and services are restarted.
3. Incorrect Project Configuration
Occasionally, the project file (.vcxproj) itself might have an incorrect or outdated reference to a toolset. This can happen if the file was manually edited or if there was an issue during a project migration.
<?xml version="1.0" encoding="utf-8"?>
<Project DefaultTargets="Build" ToolsVersion="4.0" xmlns="http://schemas.microsoft.com/developer/msbuild/2003">
  <ItemGroup Label="ProjectConfigurations">
    ...
  </ItemGroup>
  <PropertyGroup Label="Globals">
    ...
  </PropertyGroup>
  <PropertyGroup Label="Configuration">
    <ConfigurationType>Application</ConfigurationType>
    <UseDebugLibraries>true</UseDebugLibraries>
    <PlatformToolset>v110</PlatformToolset> <!-- Ensure this is v110 for VS2012 -->
    <CharacterSet>Unicode</CharacterSet>
  </PropertyGroup>
  ...
</Project>
Example of a .vcxproj file snippet, highlighting the PlatformToolset entry.
1. Manually Edit .vcxproj File
Unload the project in Visual Studio (right-click project -> 'Unload Project'). Right-click the unloaded project and select 'Edit [ProjectName].vcxproj'. Locate the <PlatformToolset> tag. Ensure it is set to v110 for Visual Studio 2012. If it's v100 and you don't have VS 2010, change it to v110. Save the file and reload the project.
2. Check for Missing Property Sheets
Sometimes, custom property sheets (.props files) can override or incorrectly set the toolset. Check your project's property manager (View -> Property Manager) for any inherited property sheets that might be causing conflicts.
.vcxproj files. Incorrect modifications can prevent the project from loading.Conclusion
The 'Project failed to build because of missing Toolset' error in Visual Studio 2012 is a common hurdle, but one that is usually straightforward to resolve. By systematically checking your Visual Studio installation, ensuring the correct C++ components and SDKs are present, and verifying your project's toolset configuration, you can quickly get back to productive development. Remember that maintaining a consistent development environment and regularly updating your Visual Studio components can help prevent such issues in the future.