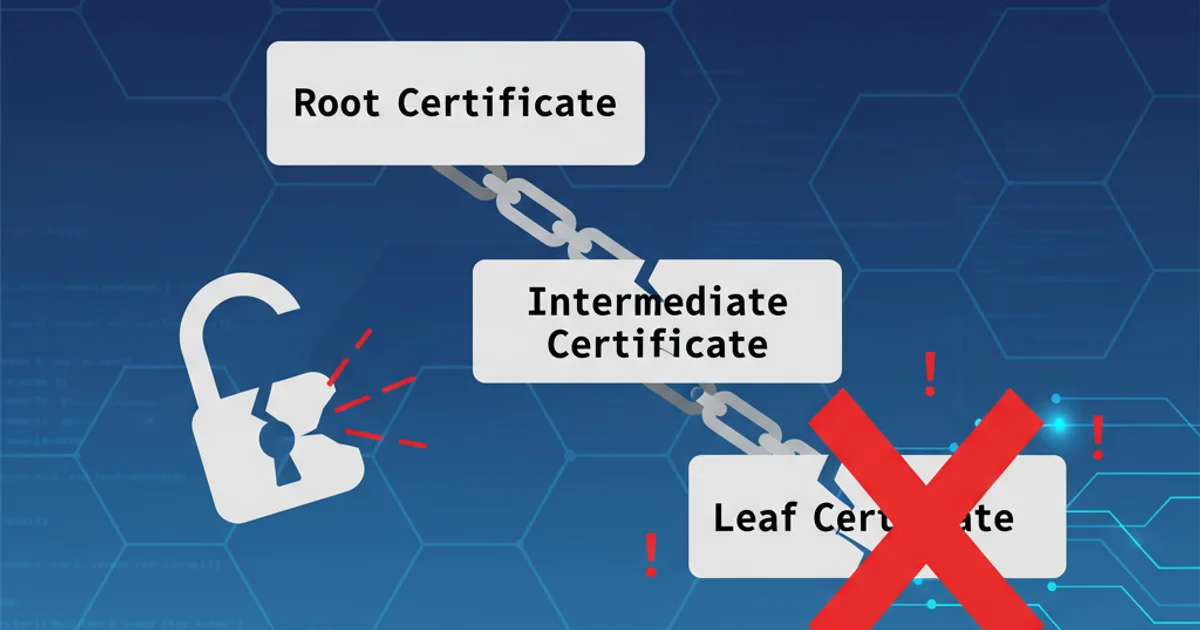
Unable to verify leaf signature
Categories:
Resolving 'UNABLE_TO_VERIFY_LEAF_SIGNATURE' Errors in Node.js

This article provides a comprehensive guide to understanding and resolving the common 'UNABLE_TO_VERIFY_LEAF_SIGNATURE' error encountered in Node.js applications, particularly when making HTTPS requests.
The 'UNABLE_TO_VERIFY_LEAF_SIGNATURE' error is a common issue faced by Node.js developers, especially when interacting with external services over HTTPS. It indicates a problem with the SSL/TLS certificate chain verification process. This error often arises in corporate environments with custom proxy servers, self-signed certificates, or when an intermediate certificate authority (CA) is not properly trusted by the Node.js application's environment. Understanding the root cause is crucial for implementing an effective solution.
Understanding SSL/TLS Certificate Verification
When a Node.js application makes an HTTPS request, it attempts to establish a secure connection with the server. Part of this process involves verifying the server's SSL/TLS certificate. This verification ensures that the server is who it claims to be and that the communication channel is secure. The certificate is typically issued by a Certificate Authority (CA) and forms a 'chain of trust' leading back to a root CA. If any part of this chain cannot be verified, or if an intermediate certificate is missing or untrusted, Node.js will throw the 'UNABLE_TO_VERIFY_LEAF_SIGNATURE' error.
flowchart TD
    A[Node.js Application] --> B{Initiate HTTPS Request}
    B --> C[Server Presents Certificate]
    C --> D{Verify Certificate Chain?}
    D -- Yes --> E[Connection Established]
    D -- No --> F["UNABLE_TO_VERIFY_LEAF_SIGNATURE"]
    F --> G[Check CA Certificates]
    F --> H[Check Proxy/MITM]
    F --> I[Check Self-Signed Certs]
Flowchart of HTTPS Certificate Verification Process
Common Causes and Solutions
The 'UNABLE_TO_VERIFY_LEAF_SIGNATURE' error can stem from several sources. Identifying the specific cause in your environment is the first step towards a resolution. Below are the most common scenarios and their corresponding solutions.
NODE_TLS_REJECT_UNAUTHORIZED='0') should only be used as a last resort for debugging in development environments. It severely compromises security and should NEVER be used in production.1. Corporate Proxy or Man-in-the-Middle (MITM) Inspection
Many corporate networks employ proxy servers that intercept and re-encrypt HTTPS traffic for security scanning. This 'man-in-the-middle' approach means your application receives a certificate issued by the corporate proxy, not the original server. If your Node.js environment doesn't trust the corporate proxy's root CA, verification will fail.
.pem or .crt format.1. Obtain the Corporate CA Certificate
Get the .pem or .crt file for your corporate proxy's root CA from your IT department.
2. Set NODE_EXTRA_CA_CERTS Environment Variable
Point Node.js to your custom CA certificate using the NODE_EXTRA_CA_CERTS environment variable. This tells Node.js to trust additional CAs beyond its default set.
3. Restart Your Application
Ensure your Node.js application is restarted after setting the environment variable for the changes to take effect.
export NODE_EXTRA_CA_CERTS="/path/to/your/corporate_ca.pem"
node your_app.js
Setting NODE_EXTRA_CA_CERTS before running your Node.js application.
2. Self-Signed Certificates
If you are connecting to a server that uses a self-signed certificate (common in development or internal services), Node.js will not trust it by default because it's not issued by a recognized CA. You'll need to explicitly tell Node.js to trust this specific certificate.
1. Obtain the Self-Signed Certificate
Get the .pem or .crt file of the self-signed certificate from the server administrator.
2. Pass Certificate to HTTPS Agent
For individual requests, you can pass the certificate directly to the https.Agent or the agentOptions of libraries like request or axios.
const https = require('https');
const fs = require('fs');

const agent = new https.Agent({
  ca: fs.readFileSync('/path/to/your/self_signed_cert.pem')
});

https.get('https://your-self-signed-server.com', { agent }, (res) => {
  // Handle response
}).on('error', (e) => {
  console.error(e);
});
Using a custom https.Agent to trust a self-signed certificate.
3. Outdated Root Certificates or Node.js Version
Occasionally, the issue might be due to an outdated set of root certificates in your Node.js installation or an older Node.js version that doesn't include newer root CAs. While less common, ensuring your Node.js environment is up-to-date can sometimes resolve these issues.
4. Using request Library with Custom CAs
If you're using the popular request library (though now deprecated, many projects still use it), you can specify custom CA certificates using the ca option in your request configuration.
const request = require('request');
const fs = require('fs');

const customCa = fs.readFileSync('/path/to/your/corporate_ca.pem');

request({
  url: 'https://your-internal-service.com',
  ca: customCa,
  // other options
}, (error, response, body) => {
  if (error) {
    console.error(error);
  } else {
    console.log(body);
  }
});
Passing a custom CA certificate to the request library.