How to install OpenSSL in Windows 10?
Categories:
Installing OpenSSL on Windows 10: A Comprehensive Guide
Learn how to successfully install and configure OpenSSL on your Windows 10 system for secure communication, certificate management, and cryptographic operations.
OpenSSL is a robust, commercial-grade, and full-featured toolkit for the Transport Layer Security (TLS) and Secure Sockets Layer (SSL) protocols as well as a general-purpose cryptography library. While it's often pre-installed on Linux and macOS, Windows users need to install it manually. This guide will walk you through the process of installing OpenSSL on Windows 10, ensuring you have the necessary tools for various cryptographic tasks, including generating SSL certificates, encrypting data, and more.
Why You Need OpenSSL on Windows
OpenSSL is indispensable for developers, system administrators, and anyone working with secure communication. It provides command-line tools for:
- Generating SSL/TLS certificates and keys: Essential for securing websites, VPNs, and other network services.
- Encrypting and decrypting data: Protecting sensitive information.
- Hashing and digital signatures: Verifying data integrity and authenticity.
- Testing SSL/TLS connections: Diagnosing and troubleshooting secure communication issues.
Having OpenSSL readily available on your Windows machine streamlines many security-related tasks.
Choosing the Right OpenSSL Distribution
OpenSSL does not provide official binaries for Windows. Instead, you'll need to download a third-party distribution. The most common and recommended distributions are from:
- Shining Light Productions: Provides stable, well-maintained binaries. This is generally the preferred option for most users.
- OpenSSL for Windows (via SourceForge): Another popular option, often providing more frequent updates.
For this guide, we will focus on the Shining Light Productions distribution due to its widespread use and reliability. Ensure you download the correct version (32-bit or 64-bit) corresponding to your Windows 10 installation.
flowchart TD
    A[Start: Need OpenSSL on Windows] --> B{Choose Distribution}
    B --> C[Shining Light Productions]
    B --> D[OpenSSL for Windows (SourceForge)]
    C --> E{Download Installer}
    D --> E
    E --> F{Run Installer}
    F --> G[Configure Environment Variables]
    G --> H[Verify Installation]
    H --> I[End: OpenSSL Ready]
OpenSSL Installation Workflow on Windows 10
1. Step 1: Download the OpenSSL Installer
Navigate to the Shining Light Productions website (e.g., https://slproweb.com/products/Win32OpenSSL.html). Look for the latest stable version of 'Win64 OpenSSL Light' (for 64-bit Windows) or 'Win32 OpenSSL Light' (for 32-bit Windows). The 'Light' version is usually sufficient as it excludes development files not needed for basic usage. Download the .exe installer.
2. Step 2: Run the Installer
Locate the downloaded .exe file and double-click it to start the installation process. Follow the on-screen prompts:
- Accept the license agreement.
- Choose the installation directory: The default
C:\Program Files\OpenSSL-Win64(orOpenSSL-Win32) is usually fine. Make a note of this path. - Select components: The default components are typically sufficient. If you're unsure, leave them as is.
- Copy OpenSSL DLLs to: Select 'The OpenSSL binaries (/bin) directory' or 'The Windows system directory'. Choosing the binaries directory is generally safer as it keeps OpenSSL components self-contained. If you choose the system directory, be aware of potential conflicts with other applications.
- Complete the installation.
3. Step 3: Configure Environment Variables
For easy access to OpenSSL commands from any directory in Command Prompt or PowerShell, you need to add its bin directory to your system's PATH environment variable.
- Search for 'Environment Variables' in the Windows search bar and select 'Edit the system environment variables'.
- In the System Properties window, click the 'Environment Variables...' button.
- Under 'System variables', find and select the
Pathvariable, then click 'Edit...'. - Click 'New' and add the path to your OpenSSL
bindirectory (e.g.,C:\Program Files\OpenSSL-Win64\bin). - Click 'OK' on all open windows to save the changes.
4. Step 4: Verify the Installation
Open a new Command Prompt or PowerShell window (existing windows won't have the updated PATH). Type the following command and press Enter:
openssl version
If OpenSSL is installed correctly and the PATH variable is set, you should see output similar to OpenSSL 3.0.12 24 Oct 2023 (Library: OpenSSL 3.0.12 24 Oct 2023). If you receive an error like 'openssl is not recognized', double-check your PATH variable configuration and ensure you opened a new terminal window.
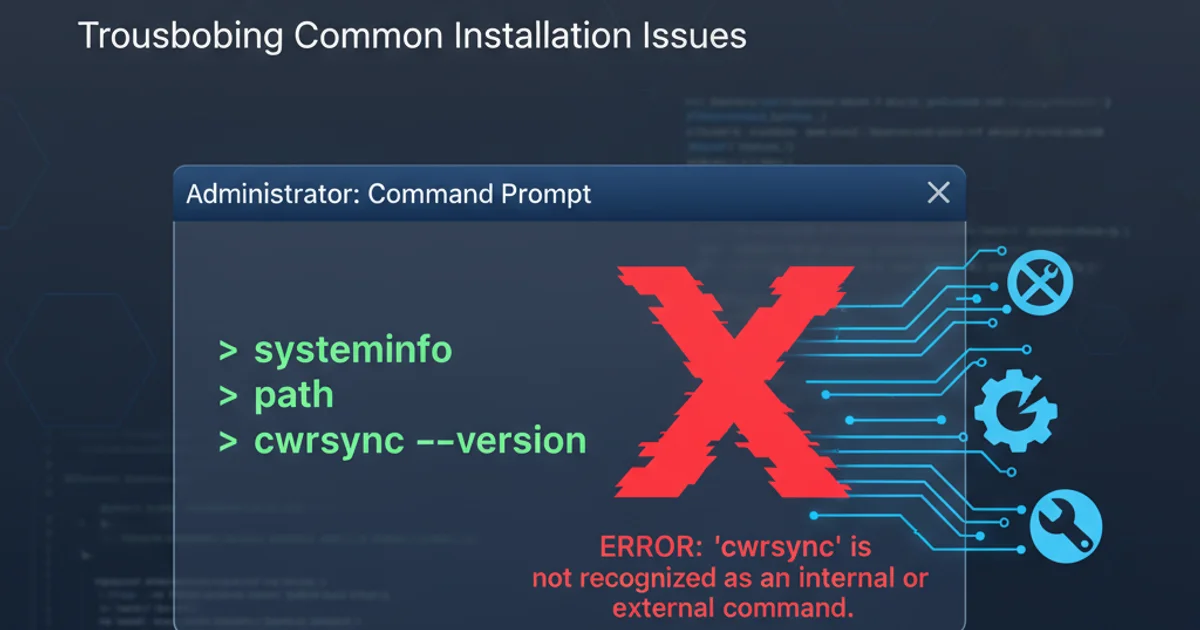
Common Issues and Troubleshooting
While the installation process is generally straightforward, you might encounter a few issues:
- 'openssl is not recognized' error: This almost always indicates an incorrect or missing entry in your system's PATH environment variable. Revisit Step 3 carefully.
- DLL errors (e.g.,
vcruntime140.dllmissing): OpenSSL binaries often depend on Microsoft Visual C++ Redistributable packages. If you encounter such errors, download and install the appropriate Visual C++ Redistributable for Visual Studio from Microsoft's official website (e.g.,vc_redist.x64.exefor 64-bit systems). - Multiple OpenSSL versions: If you have multiple versions installed or other software bundles OpenSSL, ensure your PATH variable points to the desired version's
bindirectory first.
openssl genrsa -out private.key 2048
openssl req -new -key private.key -out certificate.csr
openssl x509 -req -days 365 -in certificate.csr -signkey private.key -out certificate.crt
Example commands to generate a private key, CSR, and self-signed certificate using OpenSSL.